Affiliate links noted in italics are provided for your convenience. For more info, see my full disclosure here.
Hey, Friends! After a long health related hiatus, we finally finished my first major post surgery project! Yay!
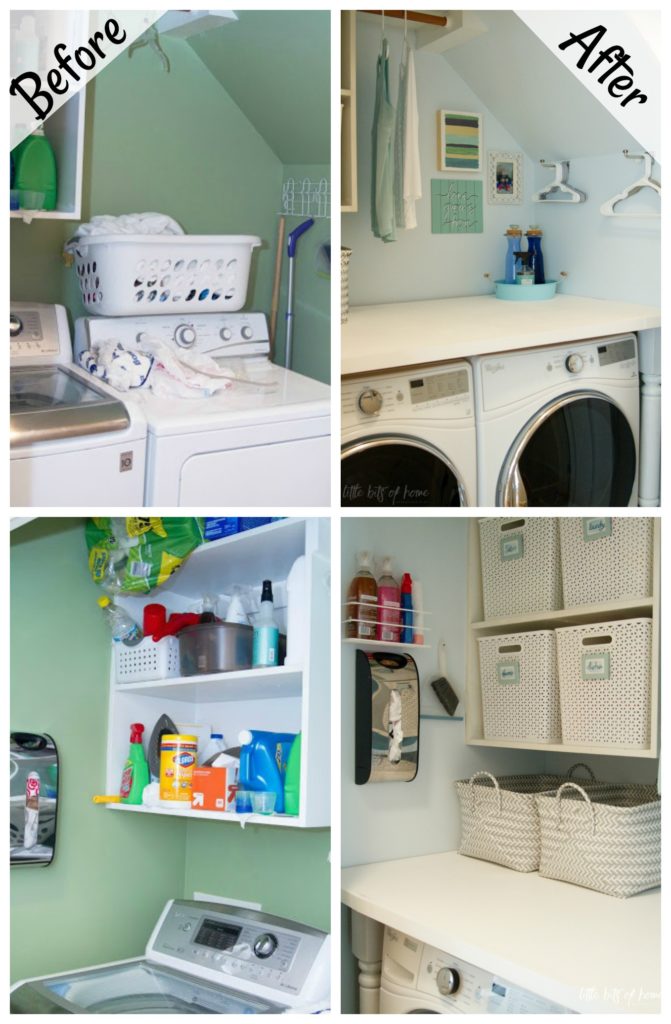
You may remember from this post that our washer died which propelled us into a full laundry closet makeover. We have been wanting to improve the functionality of our laundry closet for years, but because we had a top loading washer and a dryer with controls on the top, our options were very limited. Here’s what our laundry room looked like before, on a good day. Honestly, add a lot more laundry and mess and you get what it looked like on a regular day. Ahhhh!
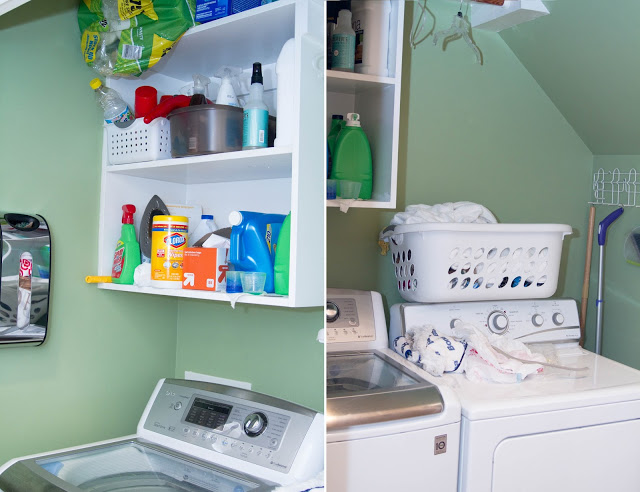
With such a small space, we needed it to work hard and be as functional as possible! When we replaced our washer, we decided to get a front loading washer/dryer set which would open up a lot more possibilities in here. After dealing with a broken washer that doubled our water bill, I wanted to kiss the new washer when it arrived! I have been known to kiss appliances, what can I say?

I have admired counters above the washer and dryer for years, but honestly wondered if I would ever really use it. We typically dump our clean clothes on the couch and then I fold them while watching Married at First Sight Fixer Upper. But, after staying with my bestie and using her counter above the washer/dryer, I was sold! It was so convenient to just pull the clothes out and have a place to fold right away! And, it eliminated the need for clothes all over the couch! Life luxuries, I tell ya!
We purchased 3/4″ plywood for the counter top and planned to install it like a giant shelf, using supports along the side and back walls. It sounded simple enough, right? Well, any time our house hears us utter the word “simple”, it gives us a side eye, cracks its knuckles, and says, “Yo, watch this!” We got the counter cut to size, but no matter how hard we tried or how many doors we removed, it just wouldn’t fit into the closet. It might have been able to fit if we didn’t have a washer and dryer in there already, but I’m still doubtful. Thus, our “simple” project got a little more complicated.
Thankfully, I’m married to an engineer! We ping-ponged ideas back and forth and came up with a new plan that allowed us to install the counter in smaller pieces while making it look like one long, solid countertop. We ended up building it more like a table than a shelf and it worked out really well!

We started by cutting four legs for the countertop. We used some scrap wood for the back legs since they wouldn’t be seen, but I convinced Jeremy that we needed pretty, chunky legs for the front. They are actually fence posts that I pre-painted! Then, we screwed a support piece of wood into the wall between the legs. Next, we nailed a piece of plywood to the legs and secured it to the wall support and repeated on the other side. This piece of plywood is simply to support the countertop and won’t be seen once we’re finished.
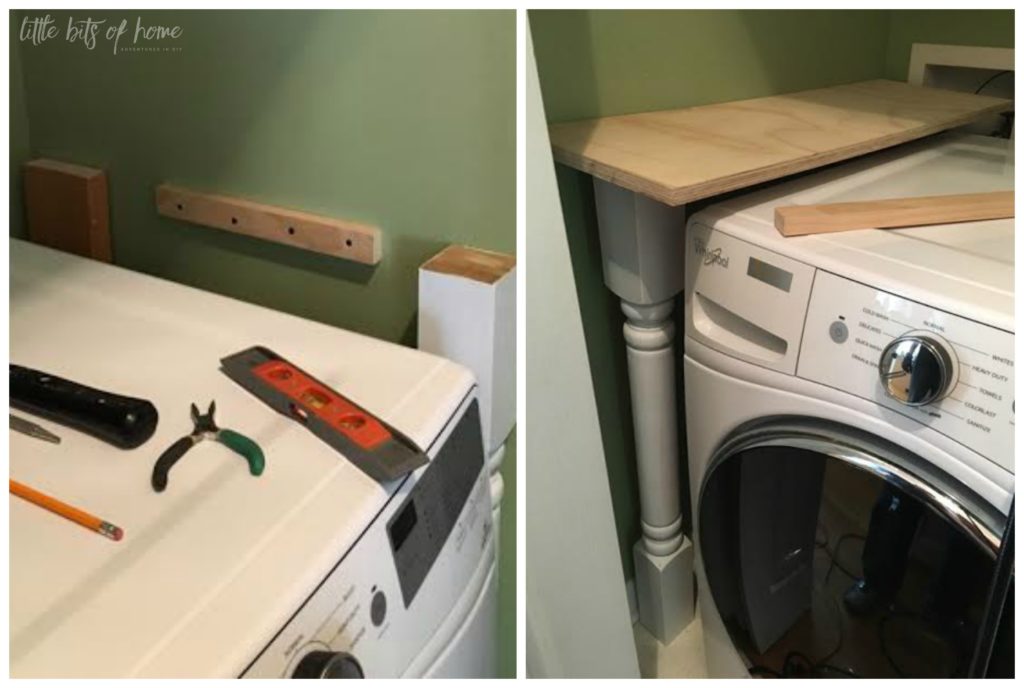
After all the supports were in place, we cut our plywood countertop into three pieces–two small pieces for the sides and one large piece that we could actually get through the doors. We made sure to make the two side pieces less wide than the plywood support boards, leaving plenty of space for our large piece to rest on the support next to the small piece. In case that makes zero sense, here’s a side view diagram for you. The black boxes are the legs and plywood support, the blue boxes are the plywood countertop pieces.

To finish it off, we cut a 1×2 trim board the same widths as the plywood countertop pieces and attached it to the front to cover up the plywood supports and give it a nice, polished look. We made sure to only attach the trim to the countertop pieces and not the support pieces. This allows the countertop pieces to simply rest on the supports without being nailed down, making removing the countertop easy in case we need to repair the washer or dryer. Can you spot the seam in the trim piece way over by the edge of the dryer?
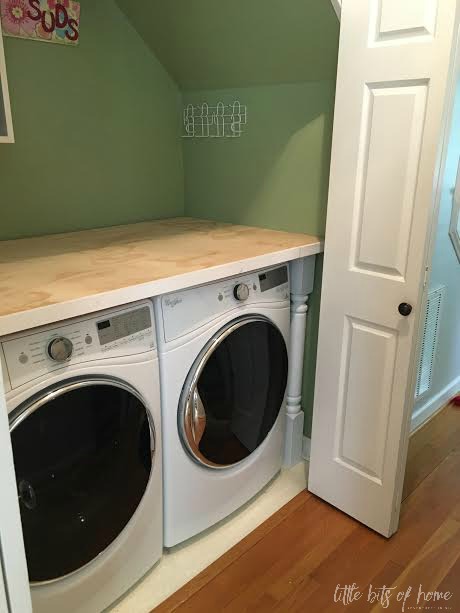
To finish it off, I gave the counter and walls a couple coats of paint. Now that was a job! Geez, who knew squeezing into a closet with 9 foot ceilings would be such a bear! I was really wishing I had painted the closet before the new washer and dryer arrived, but we got the new appliances a couple months ago and I just wasn’t recovered enough from my surgery to do it. Boo. But, all the strain was worth the gain! Doesn’t it look so much brighter in here?!

Ready to see the finished closet?!
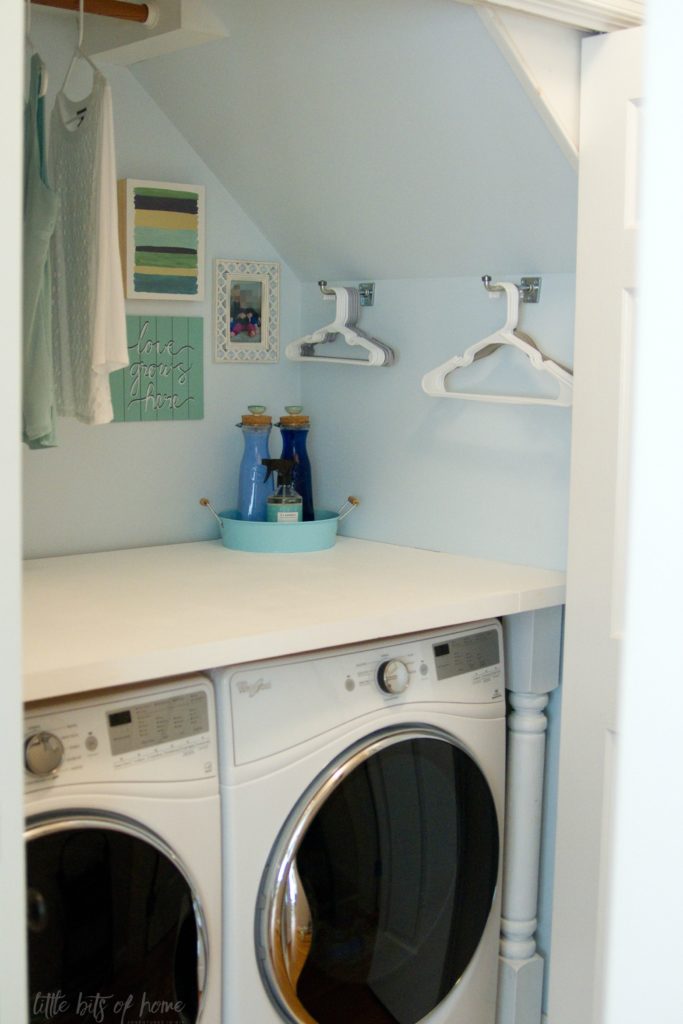
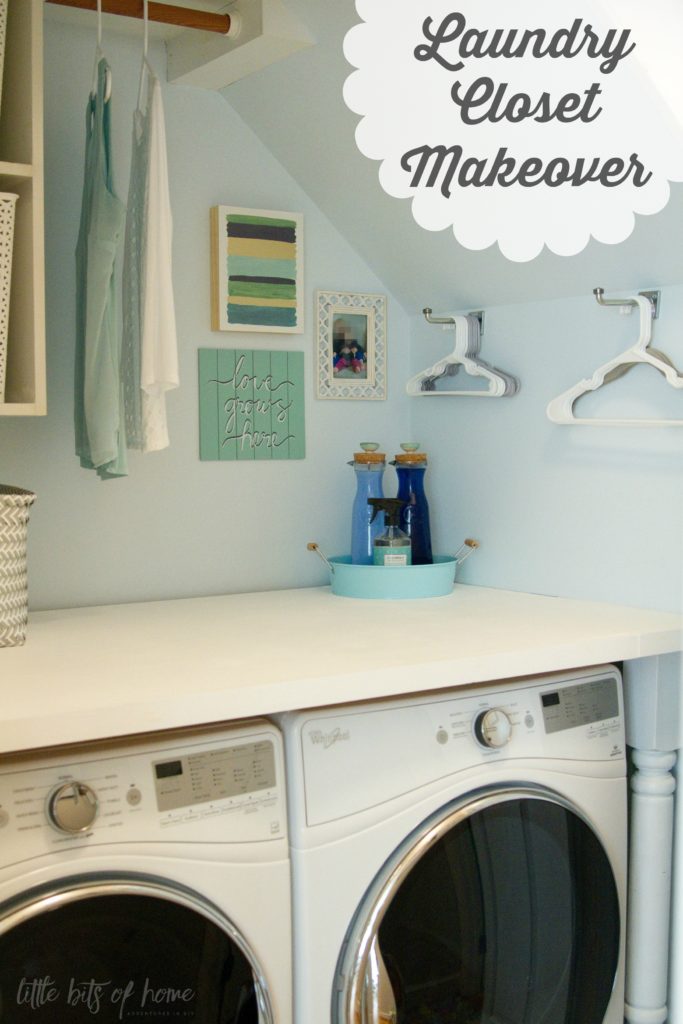
So. Much. Better! Let’s go on a tour and I’ll show you around!
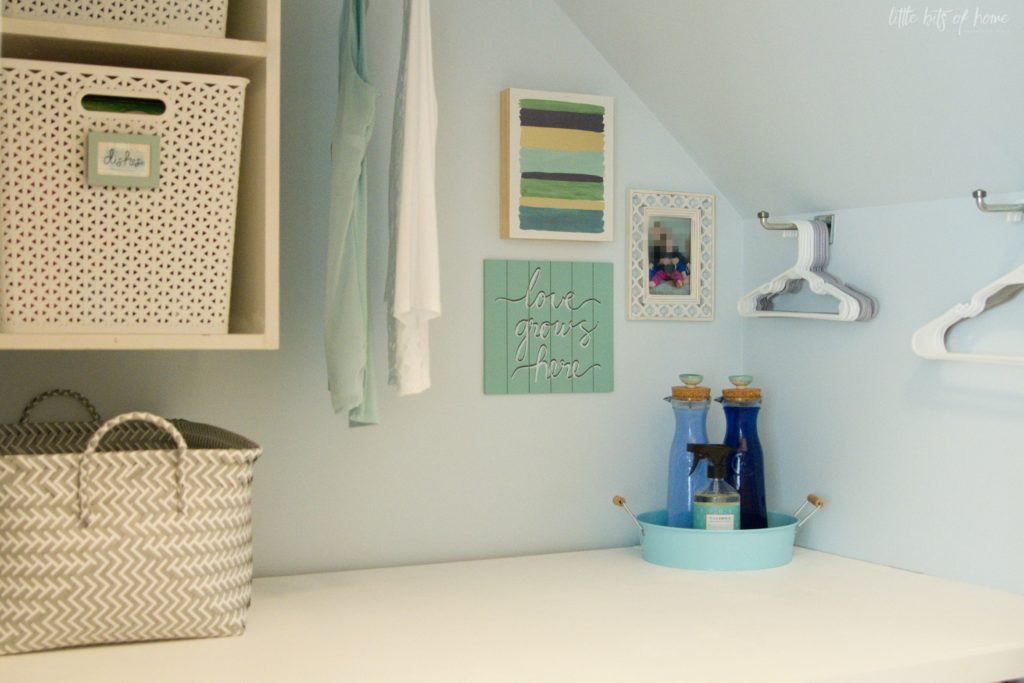
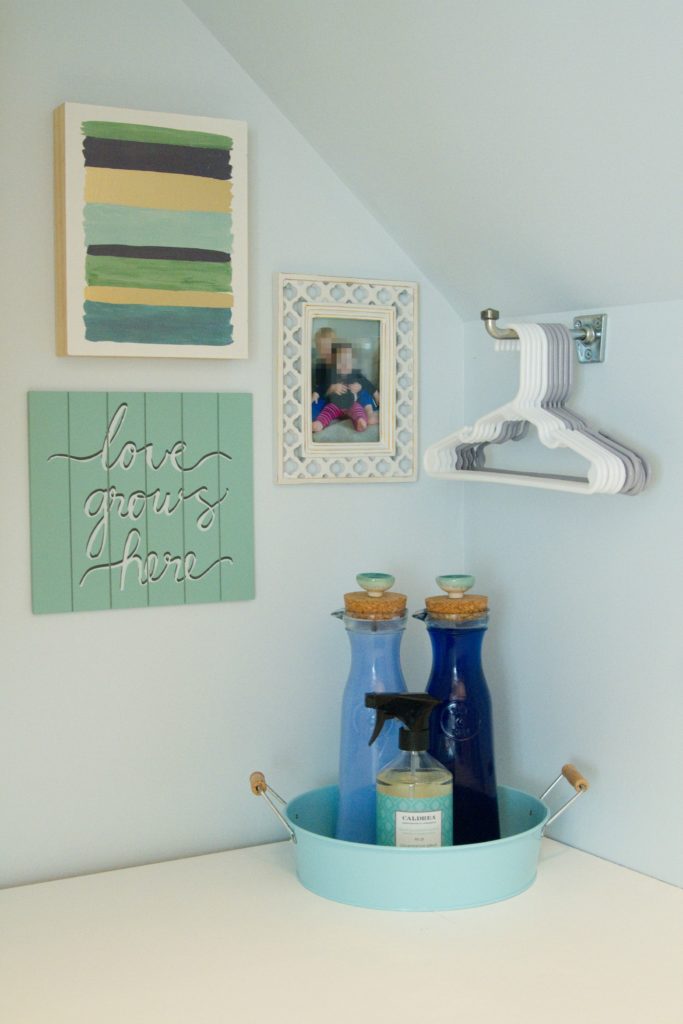
Spot the laundry dispensers I made last month? I put them in a Target dollar spot tray and think they look adorable! Way better than big ole laundry detergent jugs, right?!
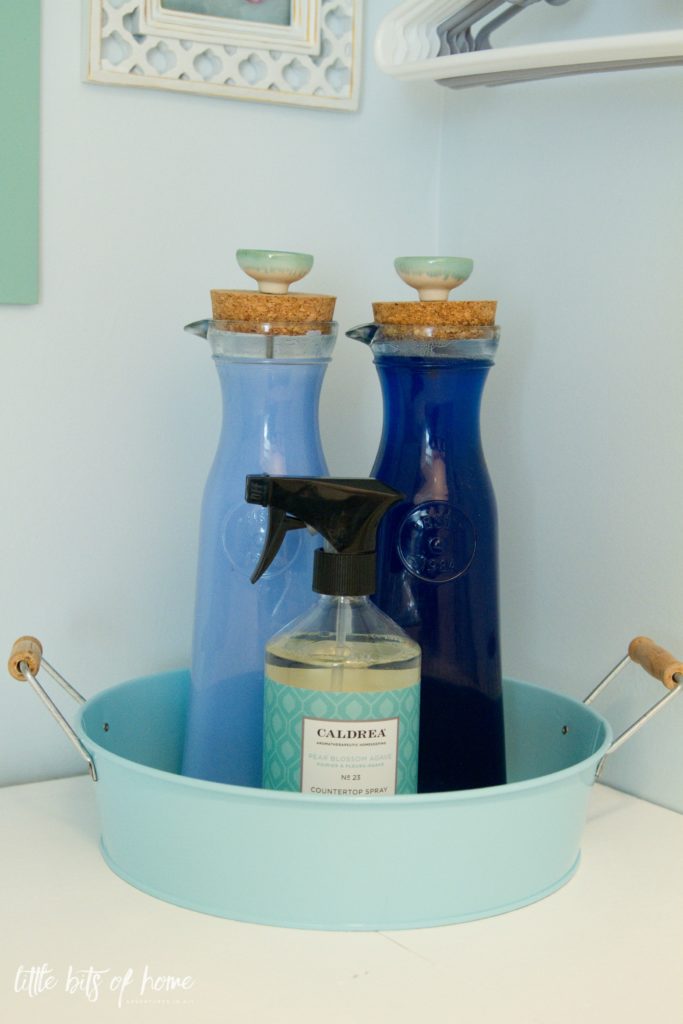
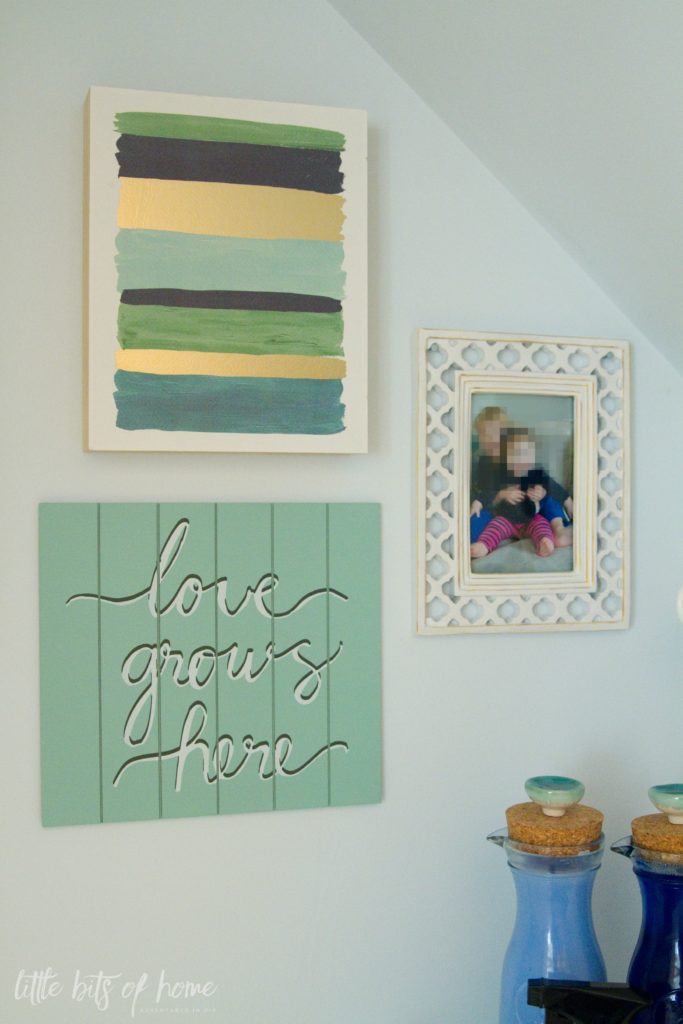
Of course, I had to add just a little decor to this otherwise practical space! I scored the watercolor art on clearance for $3 at Target a few months ago and found the other art in the dollar spot. The frame is really old, I think it was from Marshalls? I love having a picture of our laundry making cuties in here!
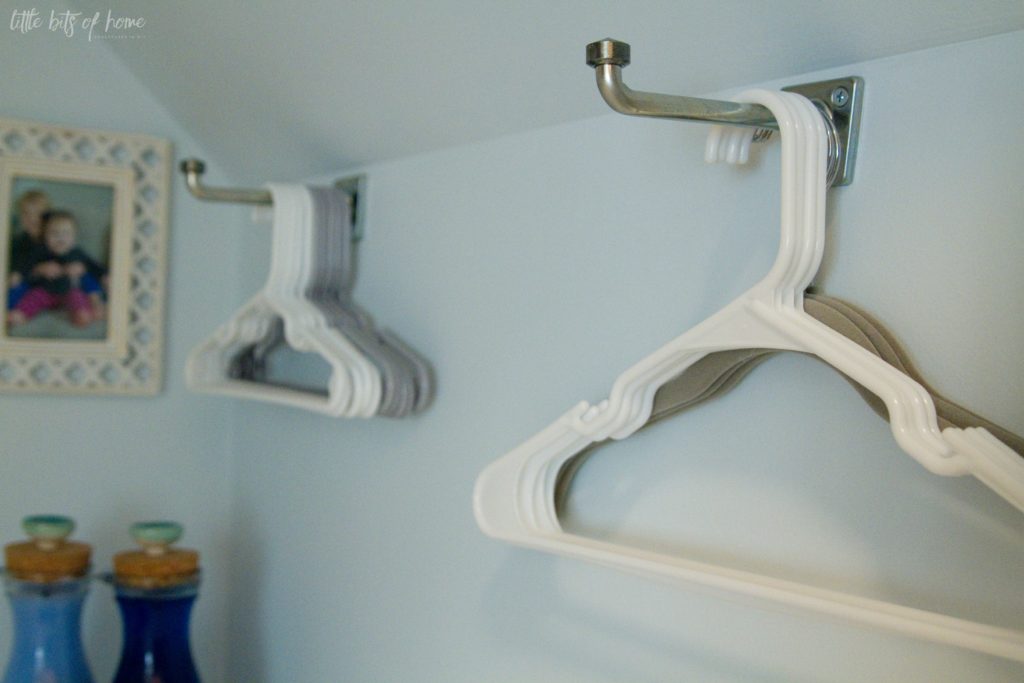
Because our clothes hanging bar is so small, we needed a separate spot to hang our extra hangers. I found these hooks at The Container Store and love them!
On the other side of the closet, I re-hung the wall organizers that we had before and just added a nail to hang our hand broom. We have this plastic bag holder and this wall rack and love them both!
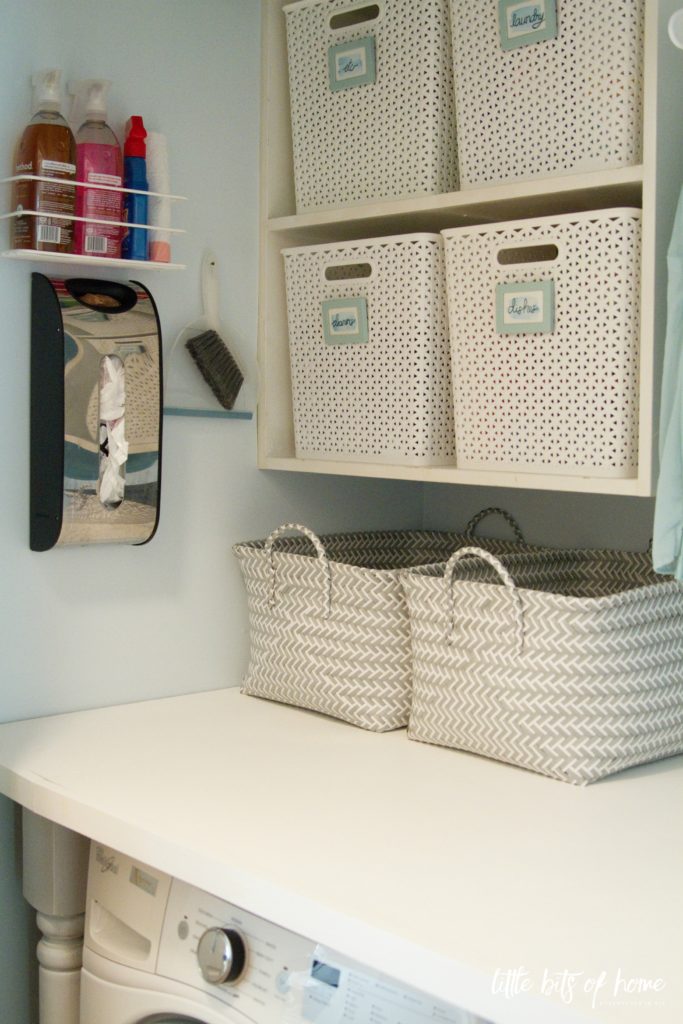
The gray and white baskets are the perfect size to hold and sort our dirty laundry–one for colors, one for whites! I love that they fit neatly under the shelves and especially appreciate that they are made out of a plastic type material that can be wiped out when needed.
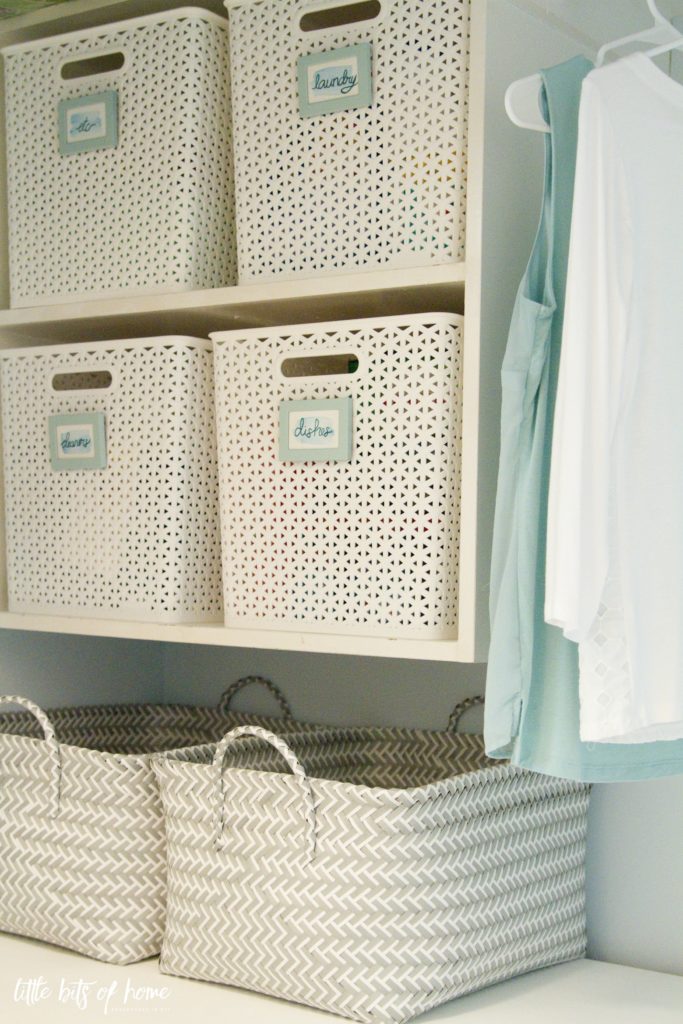
We were planning to take out the old shelving unit and install a cabinet, but in the end, we decided it wasn’t worth the time, money, and effort. Instead, I found these large bins at Target to organize the cleaners. I love that they are tall so you can’t see what’s inside. It looks so much less cluttered now!
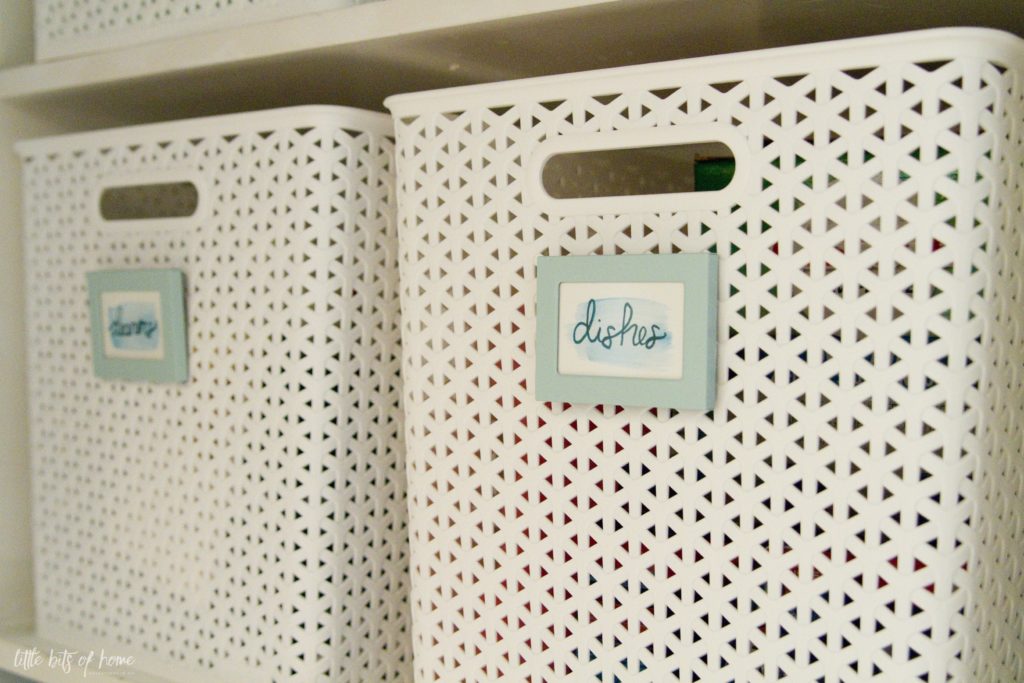
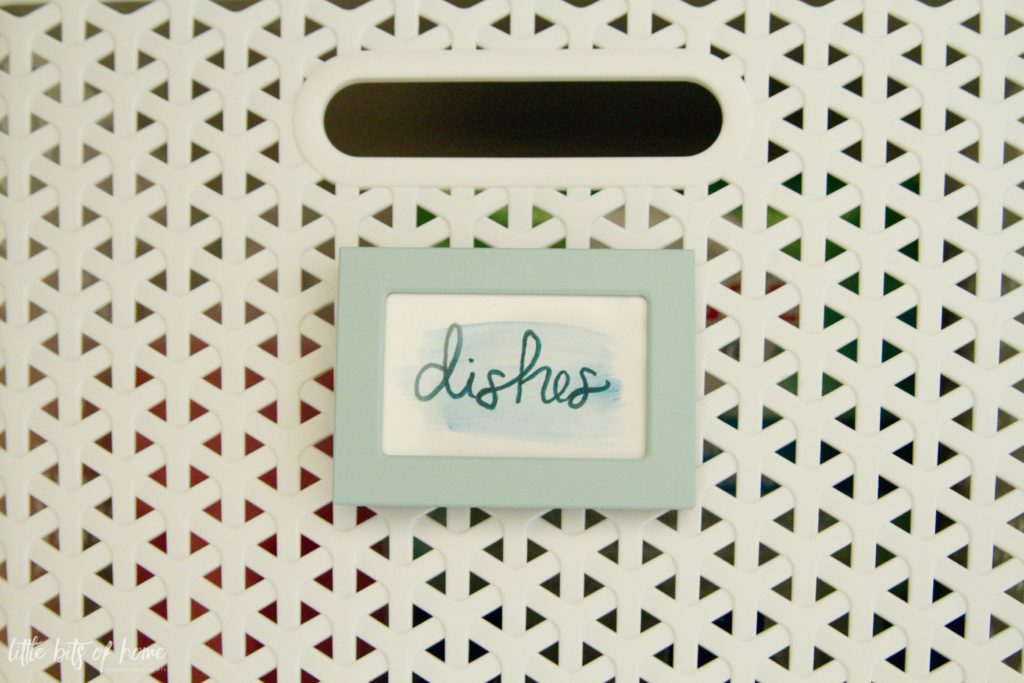
I whipped up these cute little labels and love the functionality and color they add! I’ll post a full tutorial on how to make them on Tuesday!
See the clothes hanging on the bar? Because we had to lean our dirty clothing basket against the back of the old dryer, we were never able to hang our clothes here! It is so nice to finally have a designated spot to hang our clothes to dry! You know, a clothing hanging location that is not the hallway transom window frames. Not that we’ve ever (always) done that before…
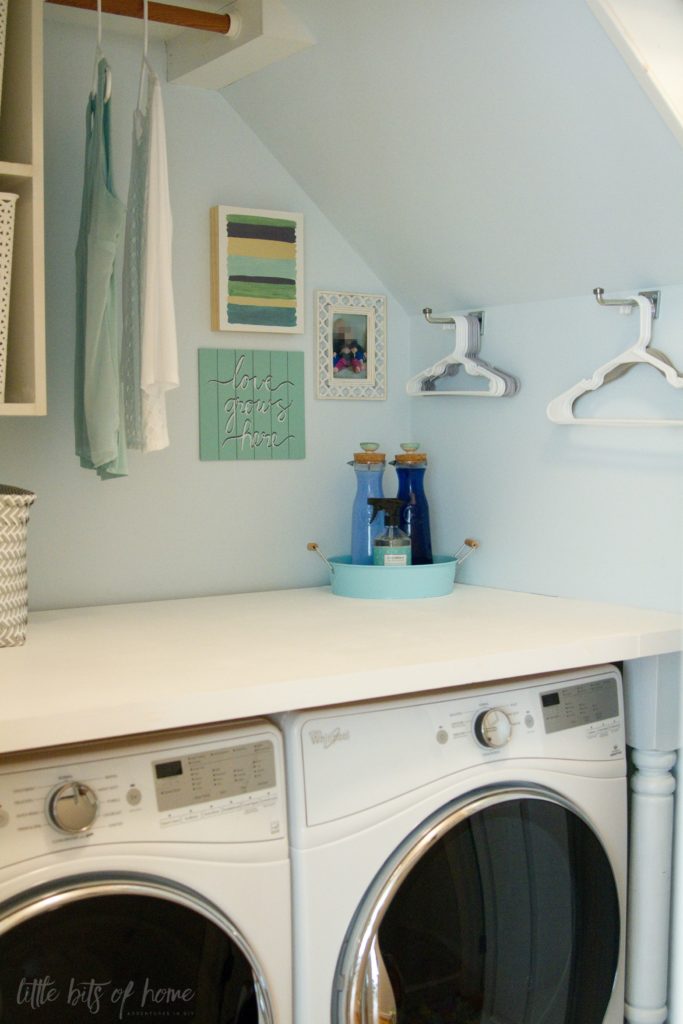
By the way, when all was said and done, Jeremy commented that he liked my table legs and thought they made it look really nice. Chunky legs for the win!
What makeover post would be complete without a little before and after action?! What do you think?
Have a fabulous weekend!


Leave a Reply