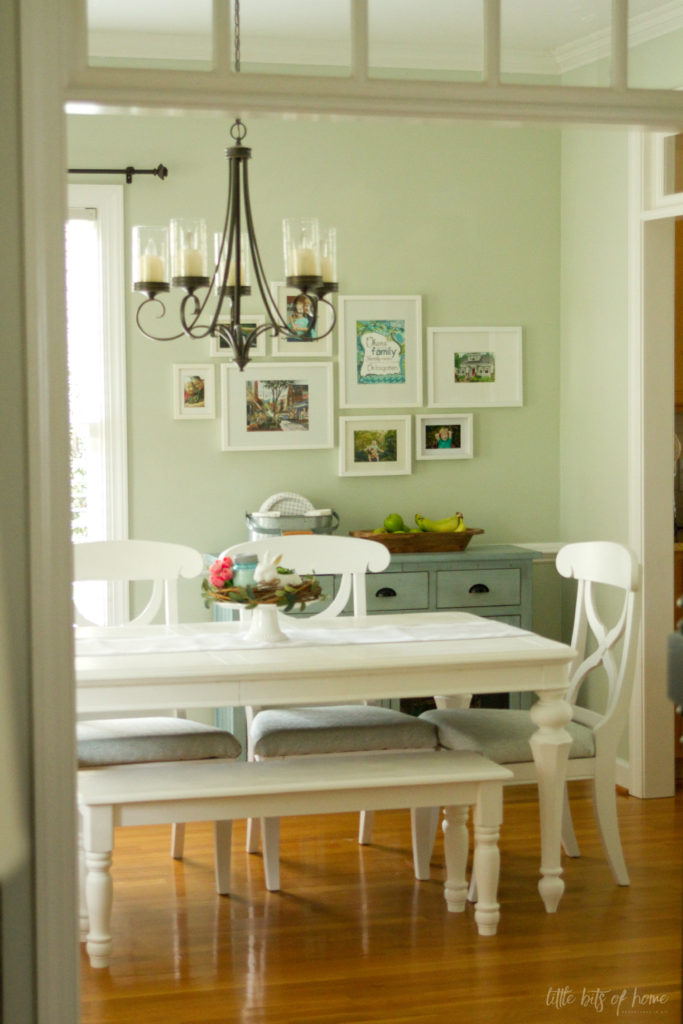
Now back to the nitty gritty. Let me tell you the tale of this table… You may want to go grab a coffee and maybe a snack. It’s a doozy.
Seven years ago, we found this table for $300 on Craigslist, drove almost an hour to pick it up, just to realize that the owners were HEAVY indoor smokers. Instead of walking away, we naively thought we could get rid of the smell. Hahahahahahahahahahahaha. That lead us to dining room table makeover number one where I painted and sealed it, stripped the chairs of all fabric and foam and completely redid the padding and upholstery. It was my first big project on this blog! Sniff, memories. Read all about it here.
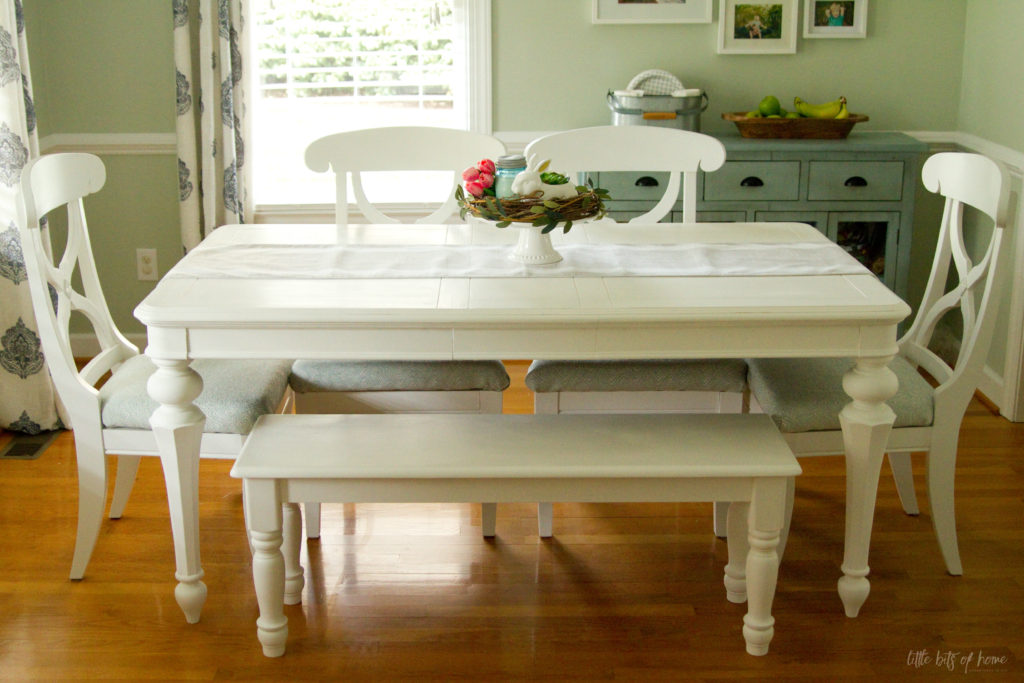
Fast forward seven years of being used three times a day and the table was looking sad. The finish was stained with dirt that withstood my cleaning efforts, the table top was peeling and bubbling from enduring one too many hot plates, and the fabric was stained. Actually, the fabric is the thing that held up the best, if you can believe it! It was time for a new paint job and some fresh fabric.
See what I mean?? Ew.
Admittedly, I didn’t really want to go through the whole makeover process again, so saved up the money for a new table last year. I literally had the new dining set in my online shopping cart when an opportunity to go to Disney presented itself. Needless to say, family experiences over material stuff any day! We put the dining table money toward Disney and had a BLAST! So, so much fun! Who knew watching your son meet Chewbacca and watching your daughter see Elsa could make this non-crier cry?! Seriously, the best trip we’ve ever had! #magical #noregrets

Of course, that meant that I would need to do the budget friendly dining room option and DIY instead of purchase a new set. Since the old polyurethane protectant coating on the table hadn’t held up as well as I was hoping, I decided to go a different route this time and try chalk paint. I’ve read a zillion amazing things about it and was after that smooth, more matte look you get from chalk paint plus wax protectant.
I had a hard time stomaching the cost of the paint, but was confident that going this route would get a better result and be easier. No sanding, they said! Only one or two coats, they said! <sarcasm> <eye roll>
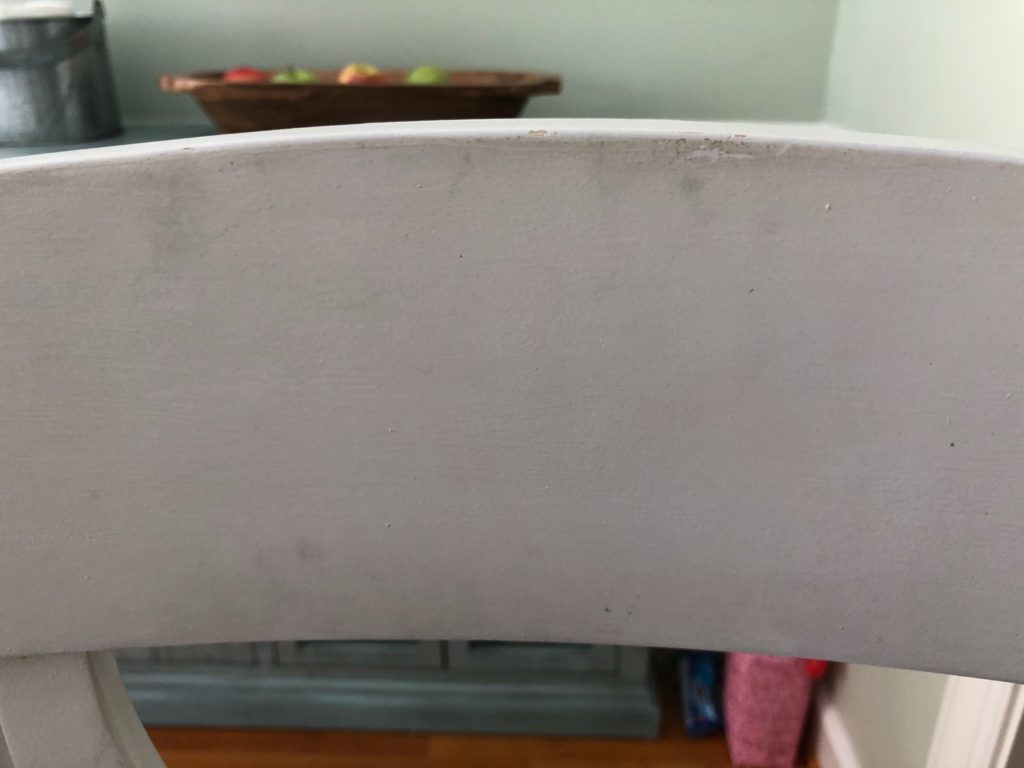
You guys, it was such a colossal fail. The paint is SO thick. I watered it down for a smoother finish per the instructions, but even then, it was SO thick. It dries so quickly that if you dare accidentally touch a spot you’ve already painted, it pills and clumps and becomes a disaster. There’s tons of brush strokes. And, worst of all, it has terrible coverage.
See the pilling?
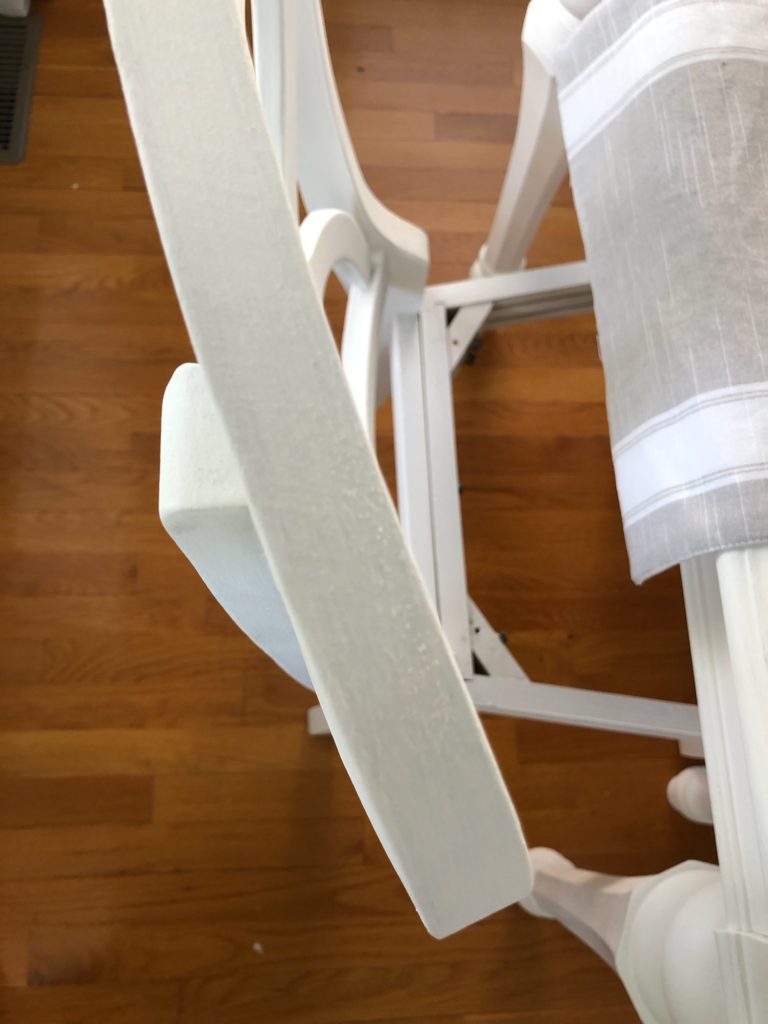
I’m not a quitter, though, and persevered. Heck, I’d dropped $75 between the paint and wax alone, I had to make it work. I started on the table top…coat two, streaky. Coat three, four, still streaky. Coat five, streaky and cracking. I did a final coat over all the thin spots and just had to quit. It’s not perfect and is literally never going to be. I sanded well between coats which was quite a workout but helped get rid of some of the heavy brush strokes. But there are still so many brush strokes. Face palm.
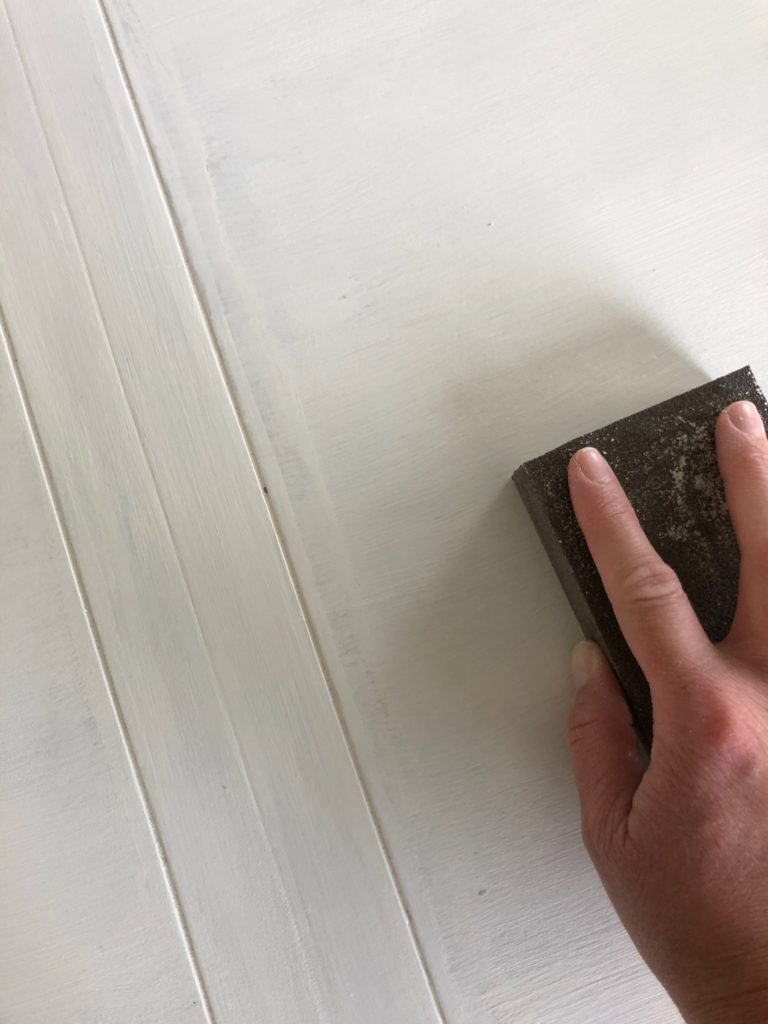
I did two coats on the table legs which were already white, then waxed the entire table, sanded again, waxed the top again, and finished with one last sand. It’s not perfect, but when I’m not staring at it up close in the light, it’s fine. Not up to my standards, but fine.
I tried to persevere through the bench and chairs, but after three coats on the bench and two coats on two of the chairs later and still not good coverage and tons of brush marks, I quit. Honestly, the sanding between coats is what killed me. It was SUCH a chore!
See the strokes (and apparently my toes, haha)?
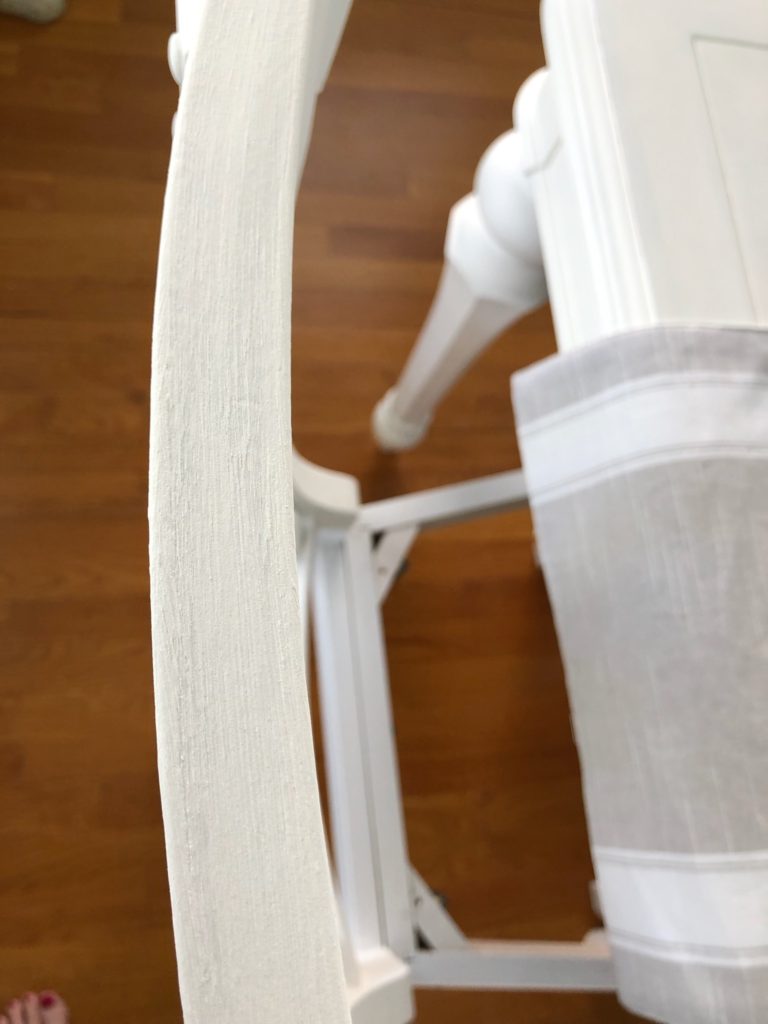
I drove down to Sherwin-Williams where I should have started in the first place, had them color match their enamel paint to the wretched chalk paint, and was done in no time at all. The two chairs that I hadn’t started yet only took ONE COAT. Let that sink in, Friends. If I had started with the paint I normally use and love, I would have finished the table legs and all the chairs in one coat. SOBBING
It took me two coats to cover the chalk paint on the bench and two chairs, but I finally finished. And, since it’s enamel paint, I don’t need polyurethane like last time. Yay! The chalk painted table doesn’t seem durable at all with the wax (it already has a mark, eye roll), so when it starts looking bad, I’ll give it a coat of the Sherwin-Williams paint. I just don’t have it in me to sand down all the wax right this second.
So, note to all of you, don’t get cute and do chalk paint. Sherwin-Williams has always been my favorite and my go-to and I now refuse to purchase anything else. #notsponsored
Now, back to the pretty pictures.
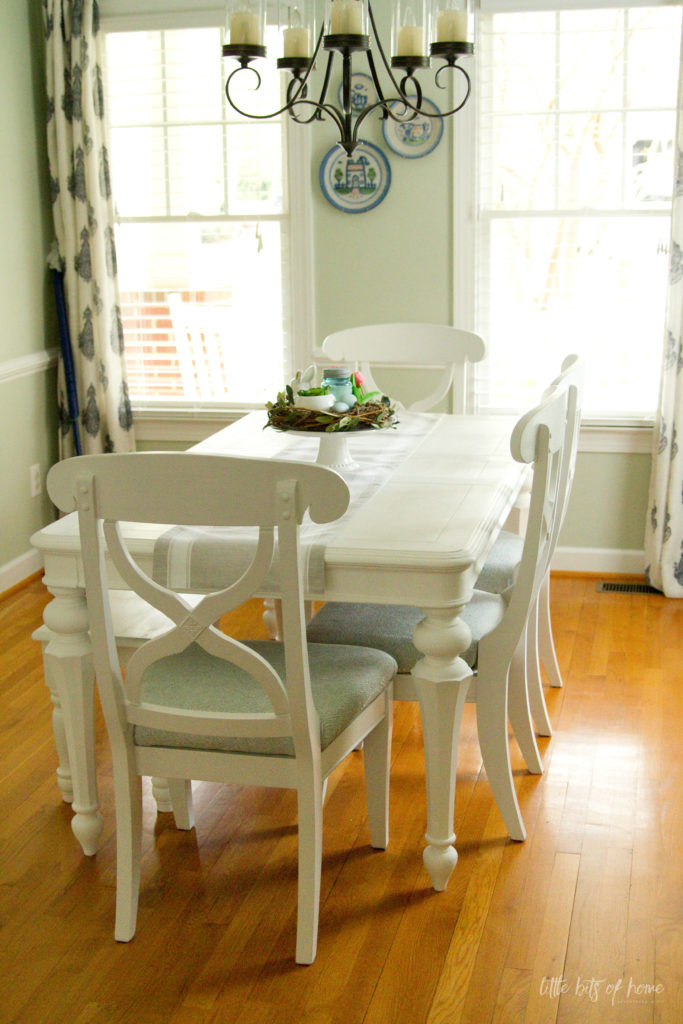
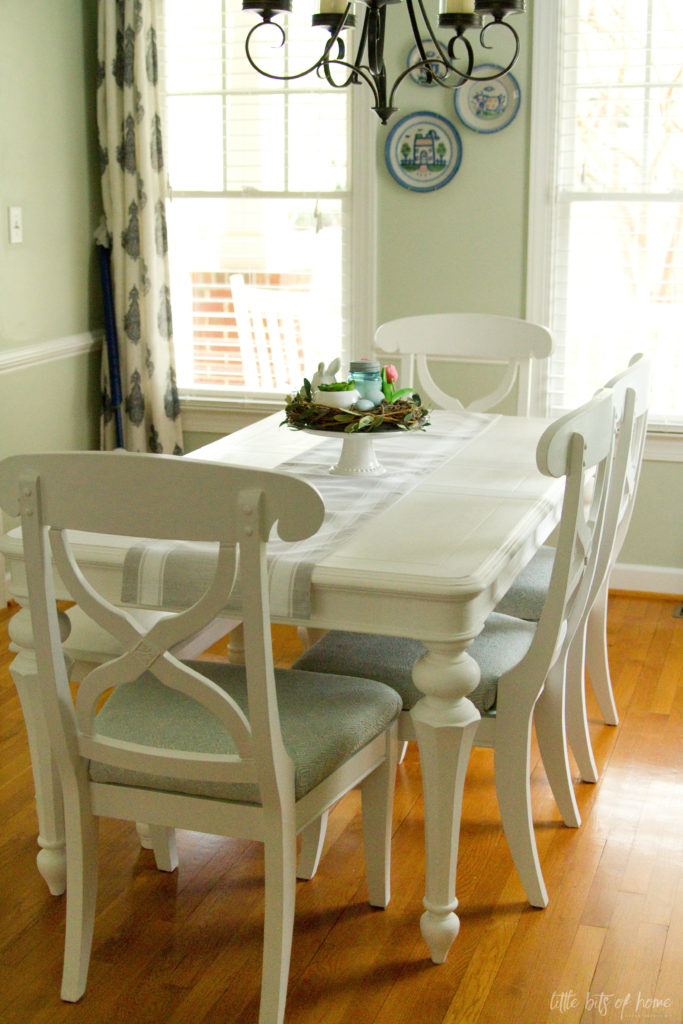
I was originally going to try to restain the top, but it just didn’t sand well and was super beat up. Loosing the wood tone on top was a little shocking at first, but it grew on me quickly! My life motto is “When in doubt, paint it white”, apparently. Ha! #sofreshandsocleanclean
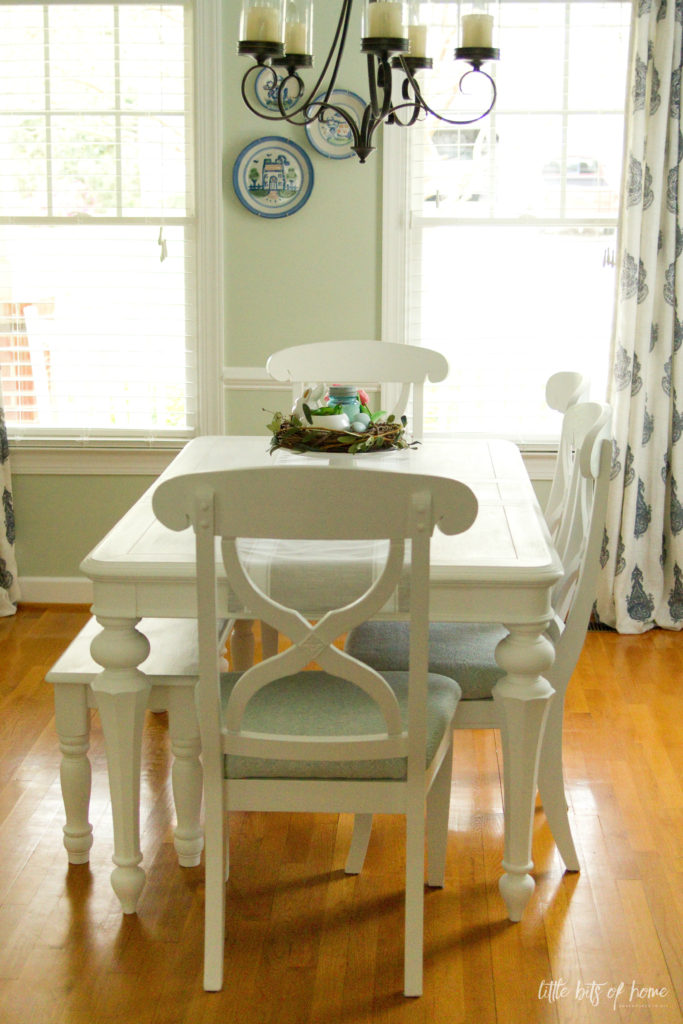
We love the addition of the bench! We only have four chairs, so when company came, we always had to grab chairs from the breakfast nook table. It’s so nice to be able to comfortably seat six now! The kids think the bench is super fun!
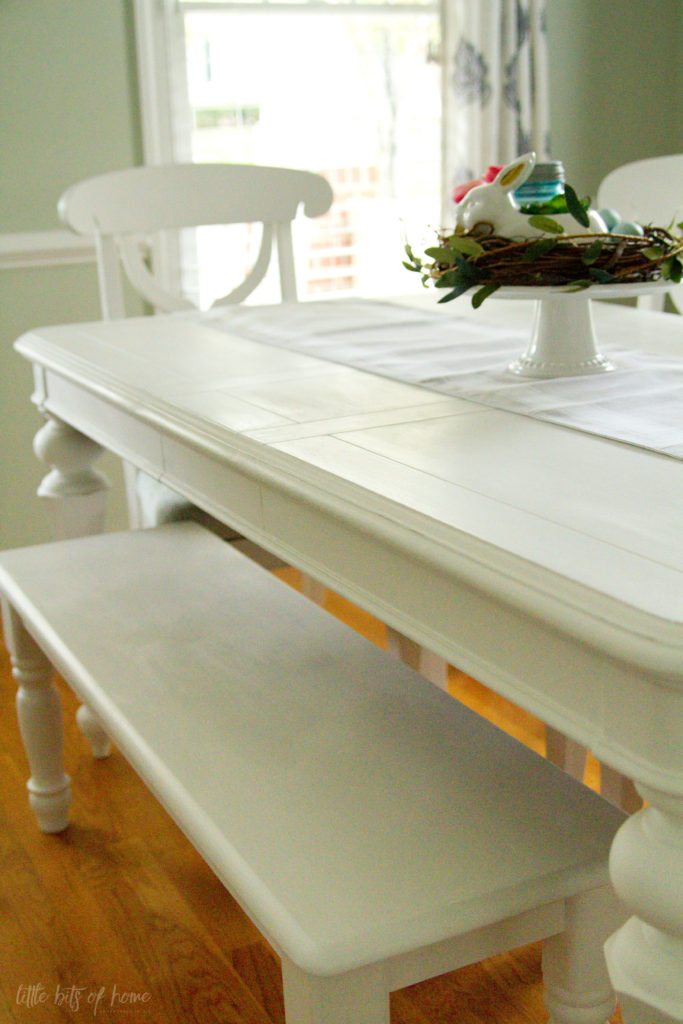
If you can believe it, the bench was on sale for only $115 from Target! It came unfinished which was perfect considering we needed it to match. It is such a high quality bench! It’s solid wood and was a breeze to assemble! So happy with that purchase!
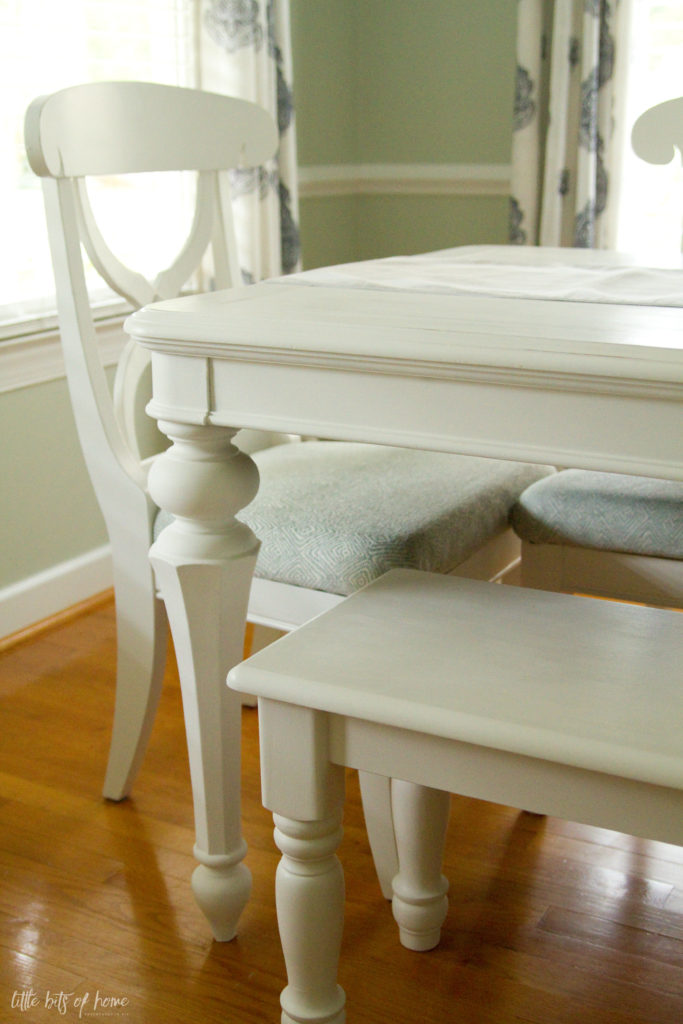
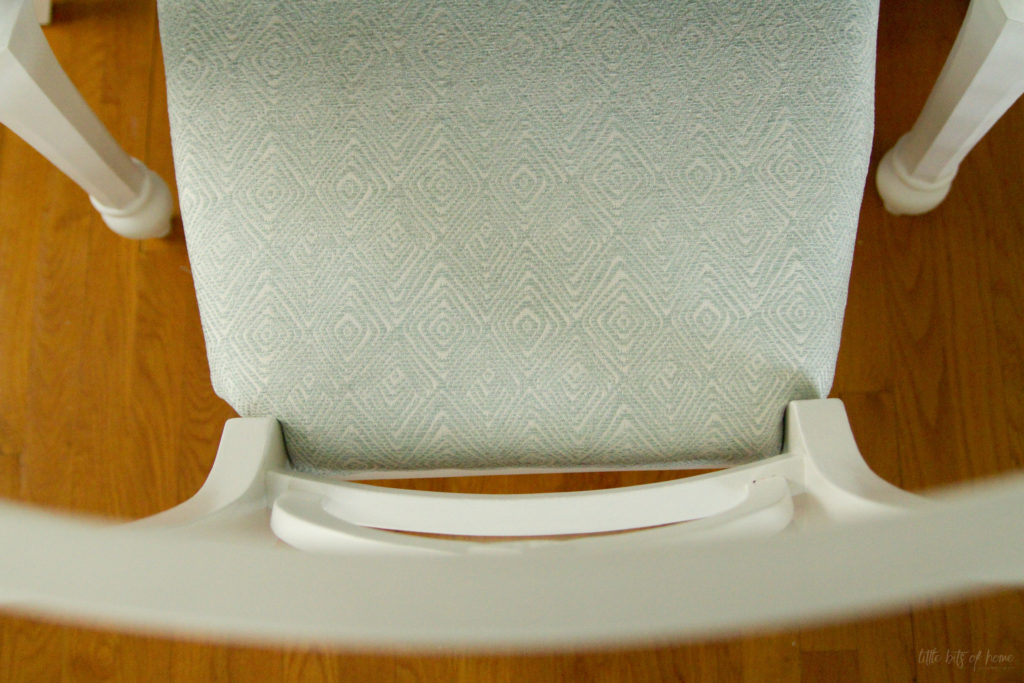
I reupholstered the chair cushions in this fabric I found on sale at Joann. It’s such a soothing color and I love the subtle pattern!
I did add a teeny bit of distressing around the edge of the table. I figured it was going to get distressed really quickly anyway, might as well make it look intentional. Ha! 😉
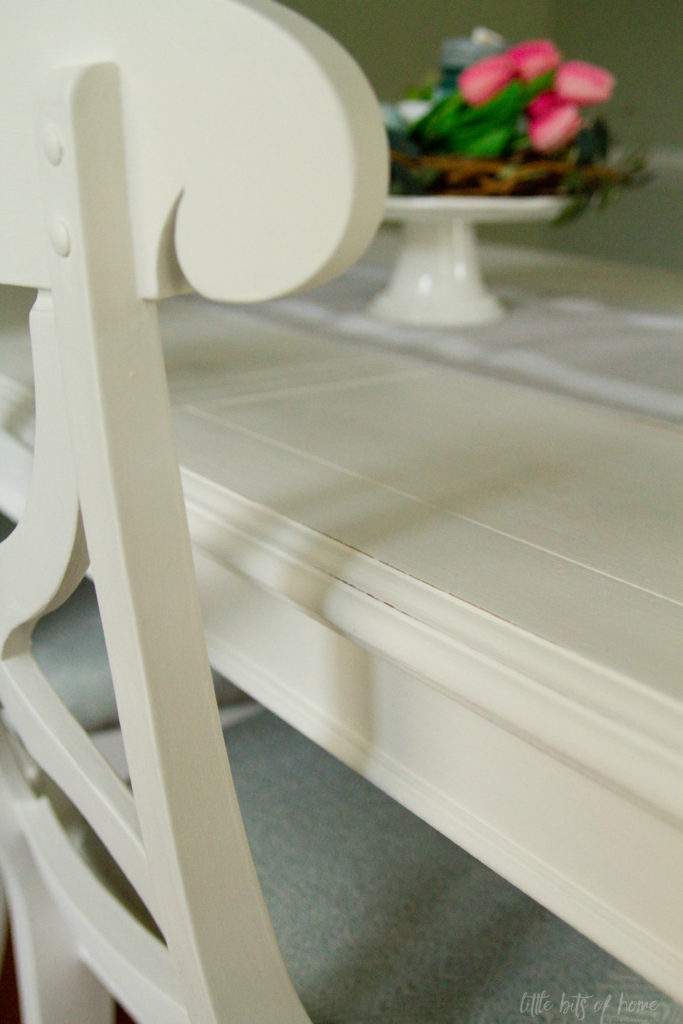
Doesn’t it look so clean and new now? I’ve always loved the style of this dining set!
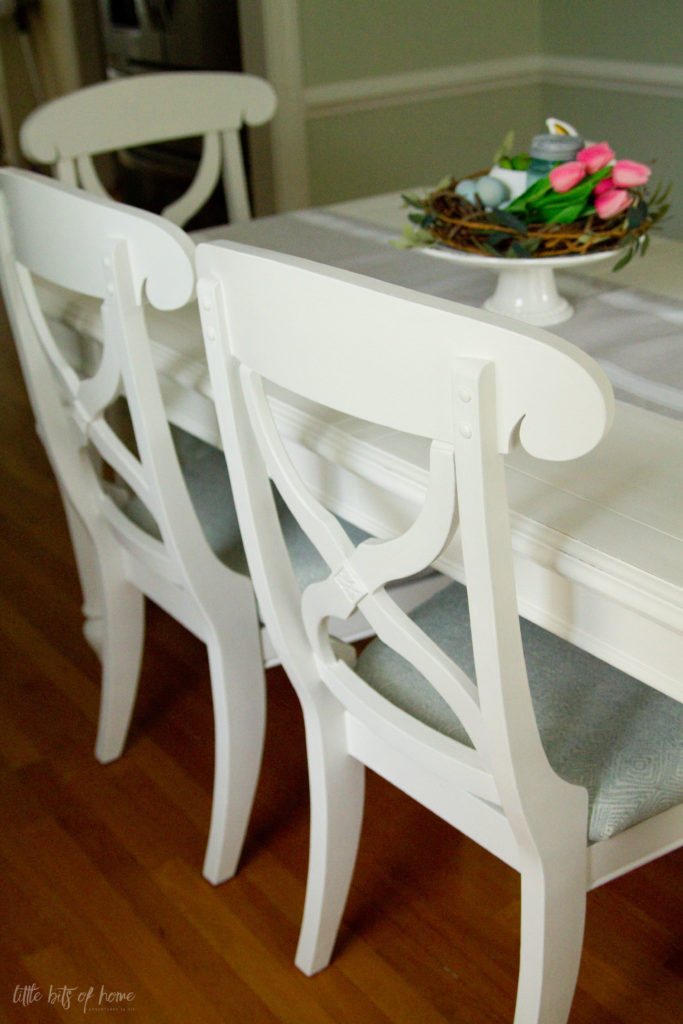
If the chair pads look slightly off, it’s because they aren’t screwed back onto the chairs yet. Shh, don’t tell. 😉 I have been sick and didn’t have it in me after reupholstering the cushions. Jeremy said he’d do it for me for which I’m super thankful.
Whew, did make it through that novel? Interested in more home improvement projects? Check out what my blogger friends have been up to for this month’s At Home DIY Blog Hop below!


Ha- what a roller coaster! Well, it turned out GORgeous. I love the style and I have to say I have had a similar experience and chalk paint is on my naughty list! thanks for sharing. your story had me chuckling and nodding along. 🙂
I, too, have had bad experiences with chalk paint. It’s ironic because I’m basically a pro with paint at this point and isn’t chalk paint supposed to be beginner-friendly???! I do love the wax though. My current technique is to buy cheap flat spray paint and use the wax over it for a factory Finish look. In the end, your table looks great! I hope you feel better soon!
It turned out so great! Definitely worth the extra work 😉
Oh my goodness! You are such a trooper! It does look amazing, though. Like, professionally done. Thanks for all of your tips and tricks. definitely going to need them in the near future!
sUCH AN AMAZING FINISH! I really want to paint my dining table white but for some reason i am scared of it getting dirty too quick. You dining table looks gorgeous!
I love everything about the dining table! Looks sooooo good! And I just love the fabric on the chairs!
Wow, what a tale! I love chalk paint, but I’ve only used it on smaller pieces, not a whole dining set. I love the bench btw!
Oh my goodness you had a horrible time of it. I’ve been there and it’s no fun at all. I’m not really a fan of chalk paint but the few times I’ve used it found that keeping a spray bottle handy and giving a little spritz will give you a little working time. (that tip also works on latex paint but I like Floetrol in latex paint).
even with the hard work and all the tiring eyerolls you made it work and it really looks beautiful!
I’m just getting around to chalk paint and I’m absolutely in love! great job!