*Affiliate links noted in italics and provided for your convenience. For more info, see my full disclosure here.
How are you all doing, Friends? Hope everyone is well and hanging in there ok! With everyone’s kids at home all day and with all the online schooling, I thought our latest project might be helpful for you guys! Best part? We built this for free!
Both of our kids love art. Our son is constantly drawing and our daughter loves to color and craft. As you can imagine, this can leave quite a mess strewn about the house! We used to have a desk in the playroom before we remodeled it, but it was right on the wall you saw from down the hall and into the kitchen and it drove.me.bananas because it was always so cluttered. We decided to just do little lap desks for the kids after we redid the playroom and that was working pretty well until all this quarantine business. Now, the crafting palooza has exploded into every corner of our house! Haha!
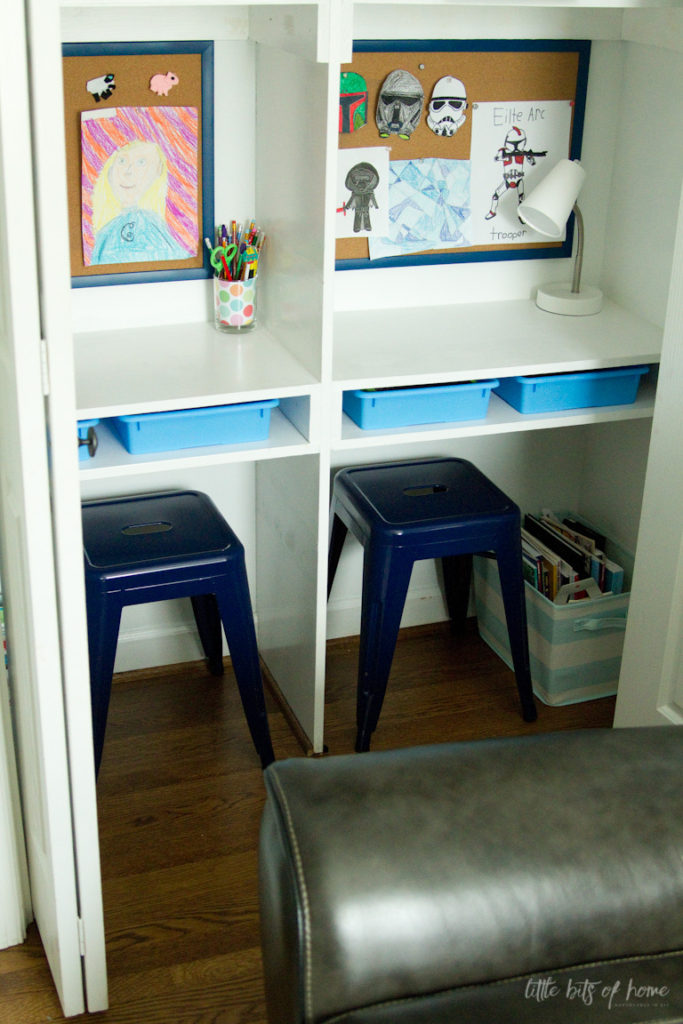
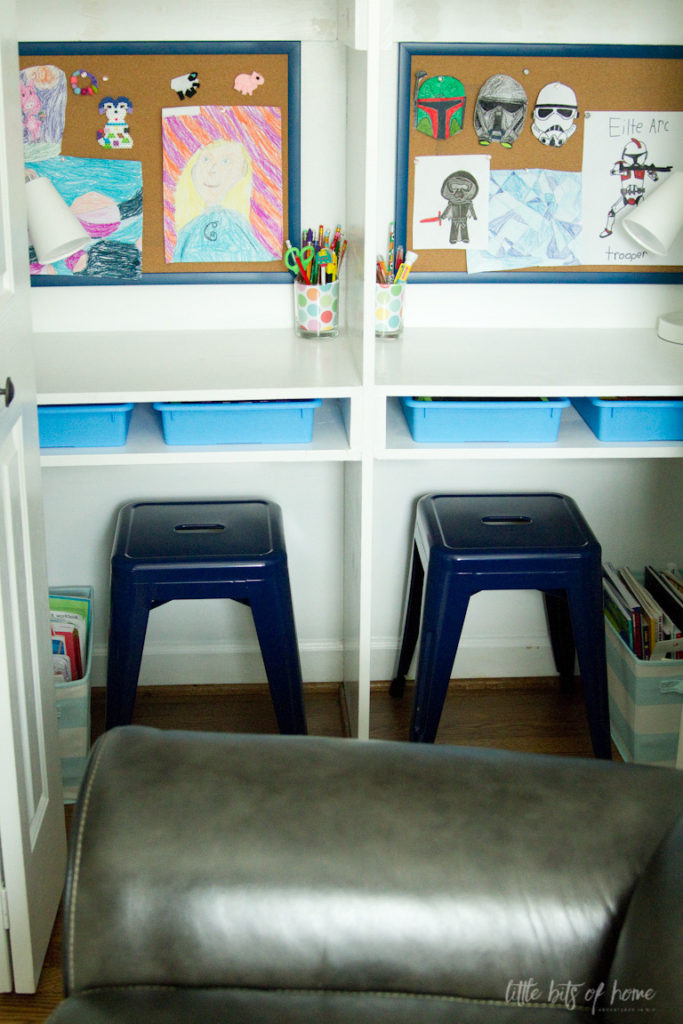
I saw this post from Young House Love and was immediately inspired to carve out a designated space in our house where the kids could do school work, draw, and craft their hearts out. We don’t have any spare bedrooms in our house, though, so we ended up creating side by side desks in our playroom closet! We all LOVE how they turned out!
Ok, so let me show you how we did it!
When the inspiration struck to use part of the closet for desks, I had a couple reservations. One, the playroom closet was packed full and, two, I wasn’t sure how much the kids would actually use the desks after the newness wore off. So, we started slow!
I cleared out just the bottom of the closet and moved some decor I was storing in there up to the attic. With the floor and the bottom shelves cleared, I set up little stations for the kids. The bottom shelf was at an awkward height for a desk, so we stacked pillows for the kids to sit on to get them to a better height for writing. We hung up clothes pins to display their work and added all their art supplies in existing containers and glass vases I dug out of the attic. The kids were thrilled and immediately moved right in, stuffed animals and all. Ha! We were shocked with how much they loved and actually used the desks over the course of a couple weeks! We loved that we could just shut the closet doors and hide the choas, too!
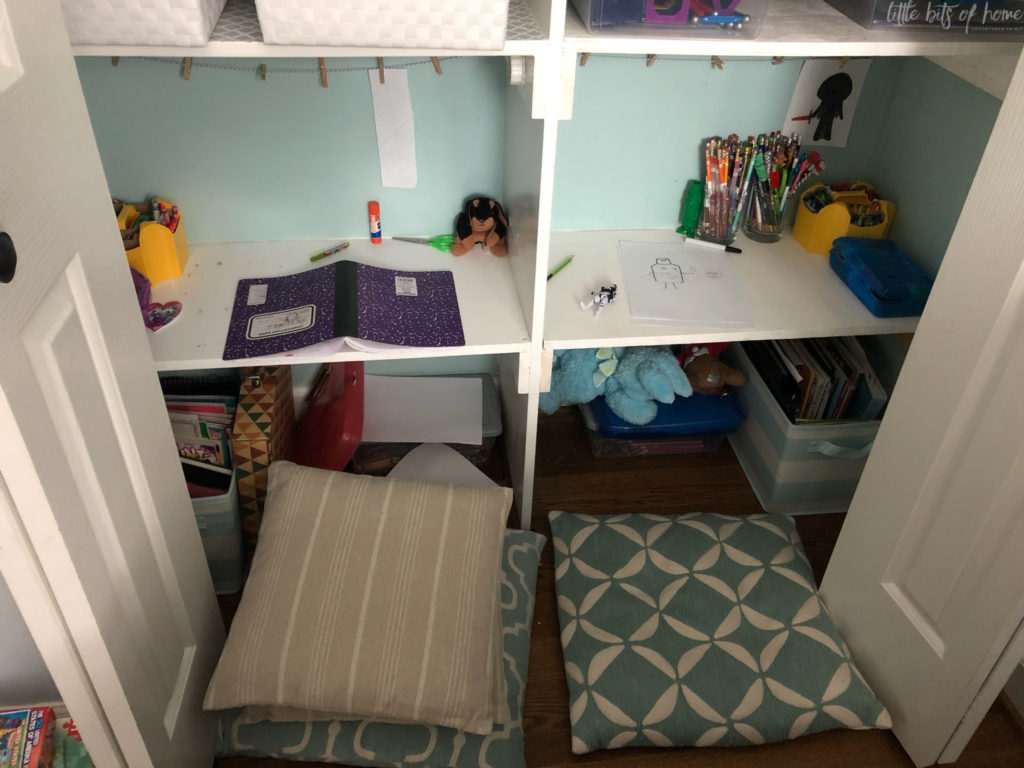
This trial period really helped us figure out how the kids used the space and what we needed to make it work long term. I went through and did another pass at eliminating items from the third shelves and we finally had enough space to make proper desks!
Covid has had financial impacts for our family as I know it has for some of you as well, so were working on little to no budget. We realized, instead of building desks from scratch, we could just move around the existing shelves to make them into a desk. Reduce, reuse, recycle, right?
We carefully removed the shelves and repaired the walls. Three of the shelves were ones we had added years ago for more storage, one was built with the house. Can you guess which was which?! The builder installed one really did a number on the wall, so we patched up the wall and sanded it down smooth.
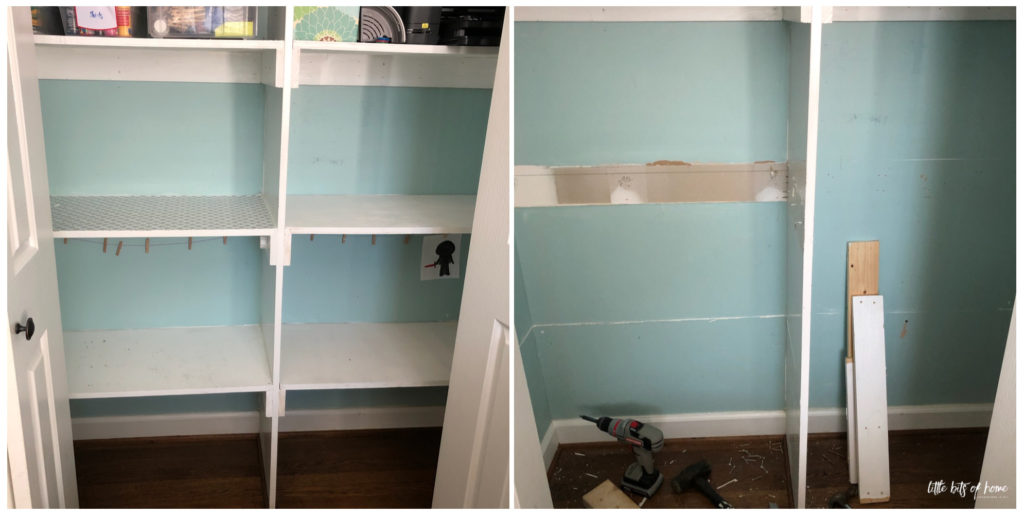
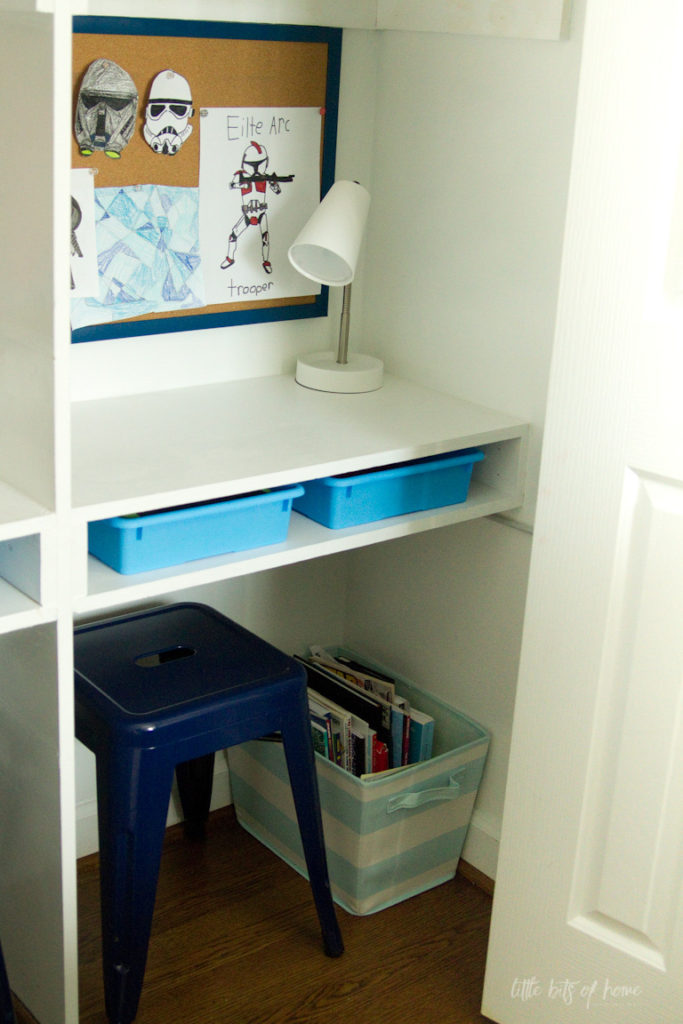
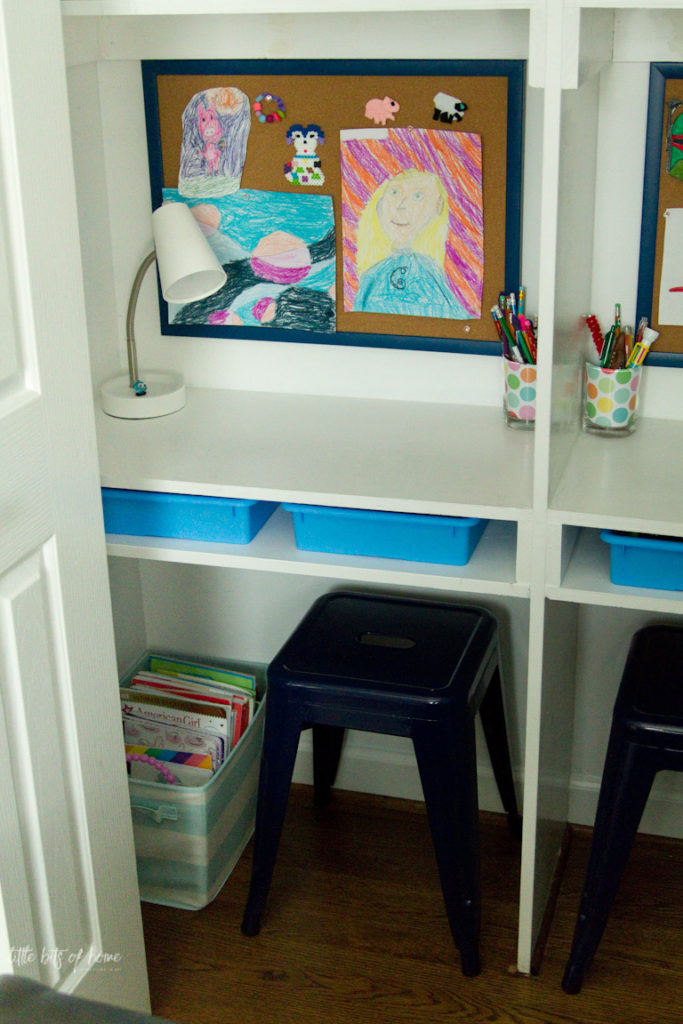
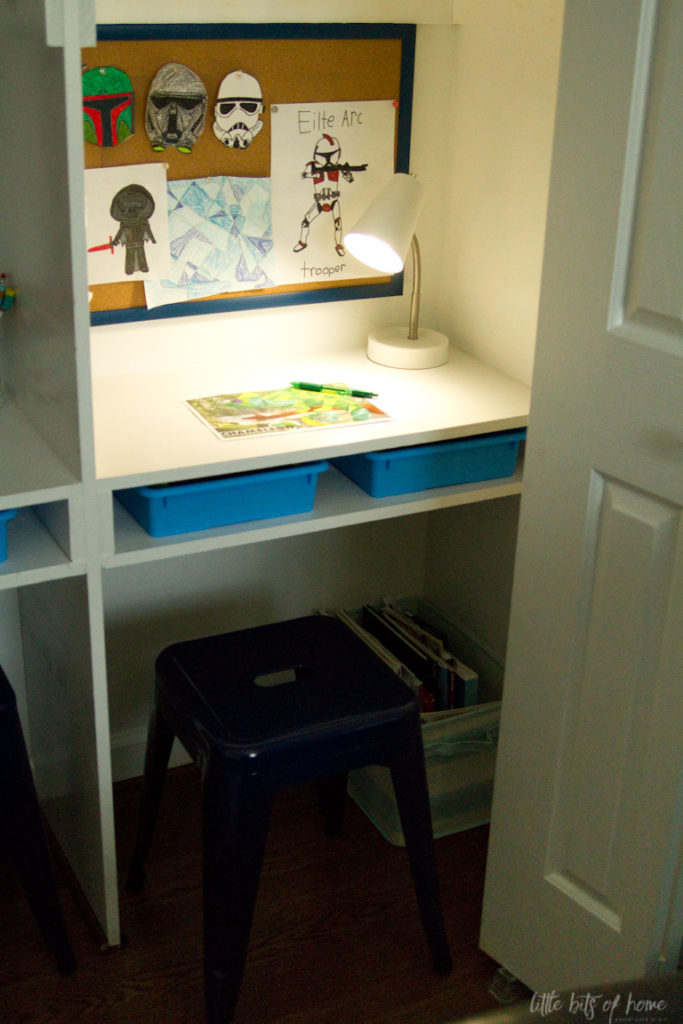
Next, we rehung two shelves at 30″ height for the desk tops. I had a last minute idea to mount the remaining two shelves to the underside of the desk top mounts to create a little cubby for the kids to store their art supplies. The cubby has been SO helpful in keeping their desks cleared off!
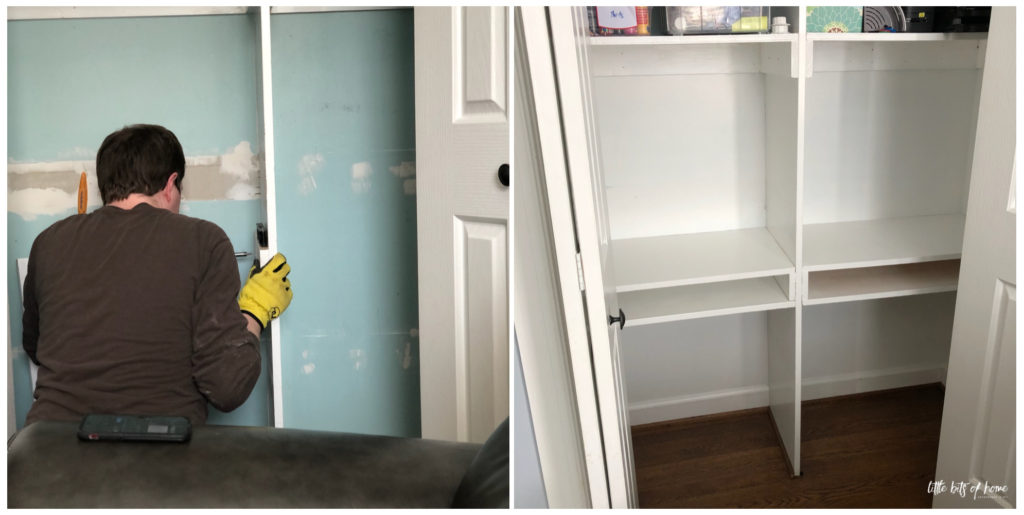
To finish up, I caulked all the seams and painted the walls and shelves with some white paint I had on hand. Had it not been in the middle of a pandemic, I probably would have painted the walls a color, but I was just using what I had on hand.
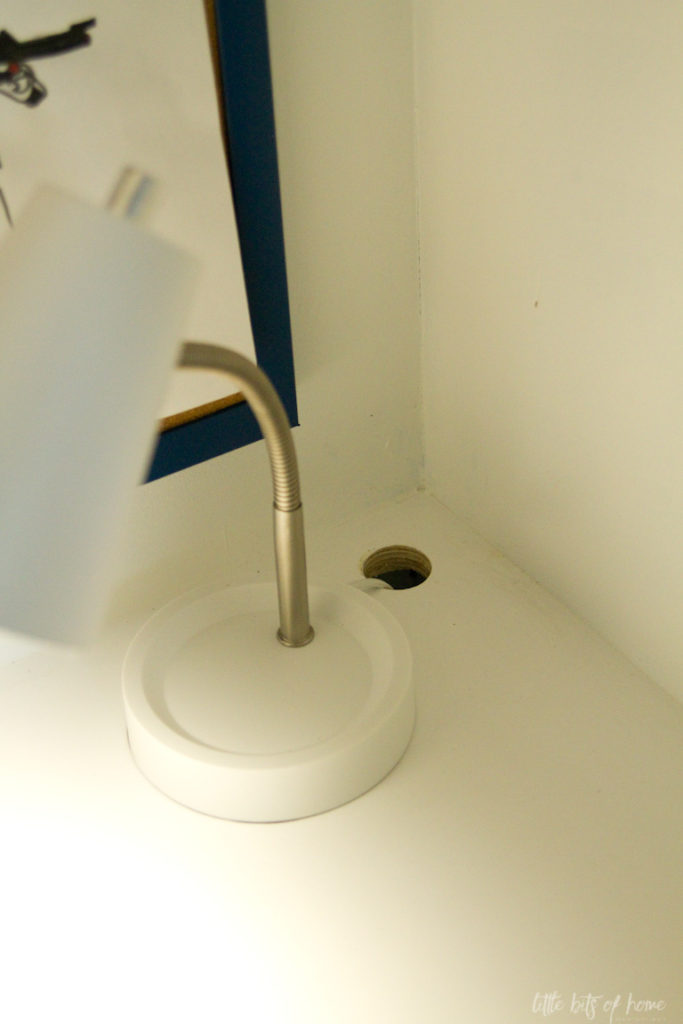
While we were doing our desk trial, it was obvious that the kids would need lamps because the closet was shadowy and the kids were having a hard time seeing. When we constructed the desks, we made sure to include holes for lamp cords. Jeremy drilled holes in the outside corners of the desktops using a 1 3/8″ drill bit for cords to feed through.
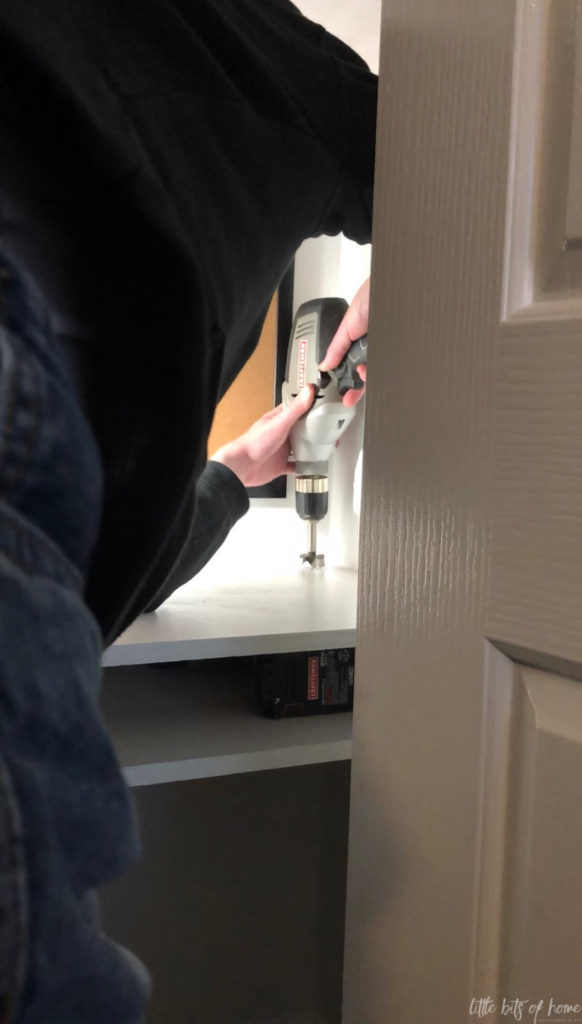
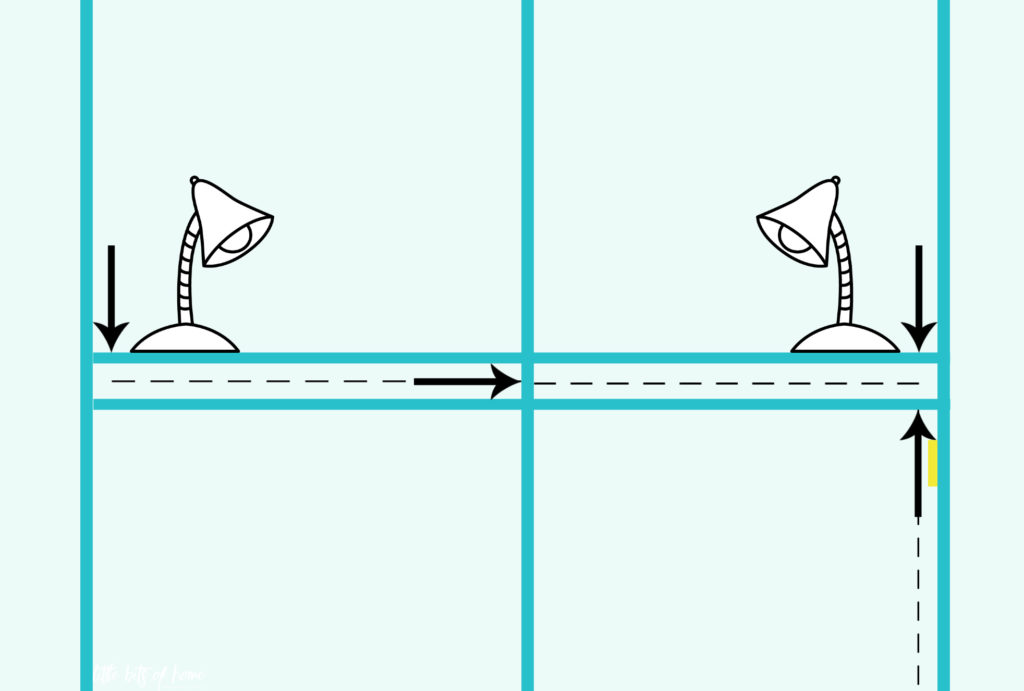
It wasn’t in the budget to hire an electrician to add outlets to the closet, so I figured out a work around. In addition to the top cord holes, Jeremy drilled holes toward the back of the middle support inside the cubby as well as the outside corner of the right desk cubby bottom. This allows the cords from both desks to be fed through the back of the cubbies and then out the bottom of the right side desk, plugged into an extension cord that we mounted to the wall, then out of the closet toward a nearby outlet.
That was ridiculously confusing, so here’s a map. Haha! The arrows are where the cord holes are, the dotted line represents the cords, and the yellow box is where the extension cord is located. Make sense now?
Here’s a look at one of the cord access holes. Usually, the lamp sits on top of the hole, almost completely covering it up.
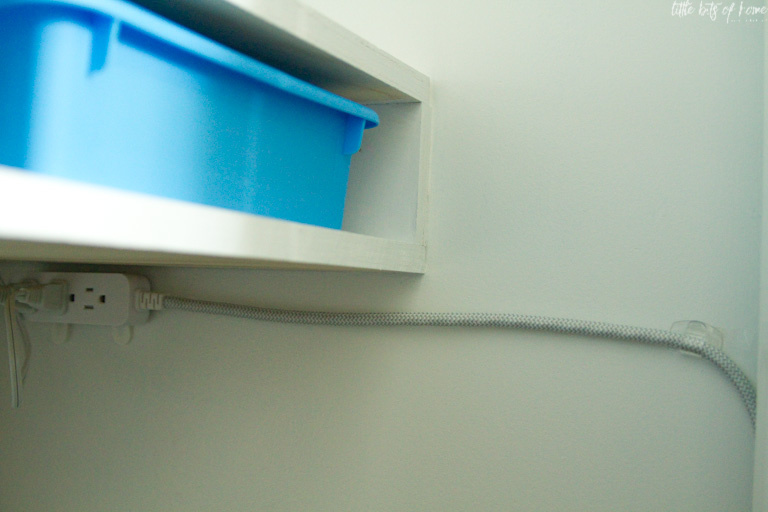
And here’s a peak at the cord situation. We mounted the extension cord with these Command Strips and then used these cord clips to navigate the cord out of the corner of the closet door. Unless you are sitting under the desk, you can’t see the extension cord base or lamp plugs at all!
At this point, we had spent completely finished building both kid’s desks and had spent zero dollars. High fives to that, right?!
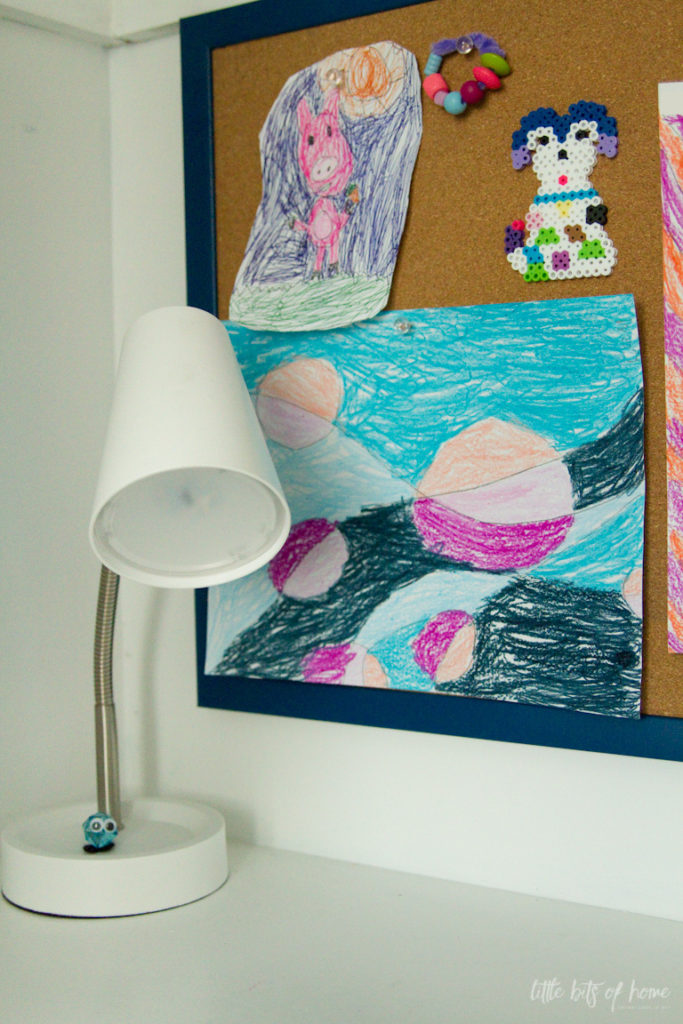
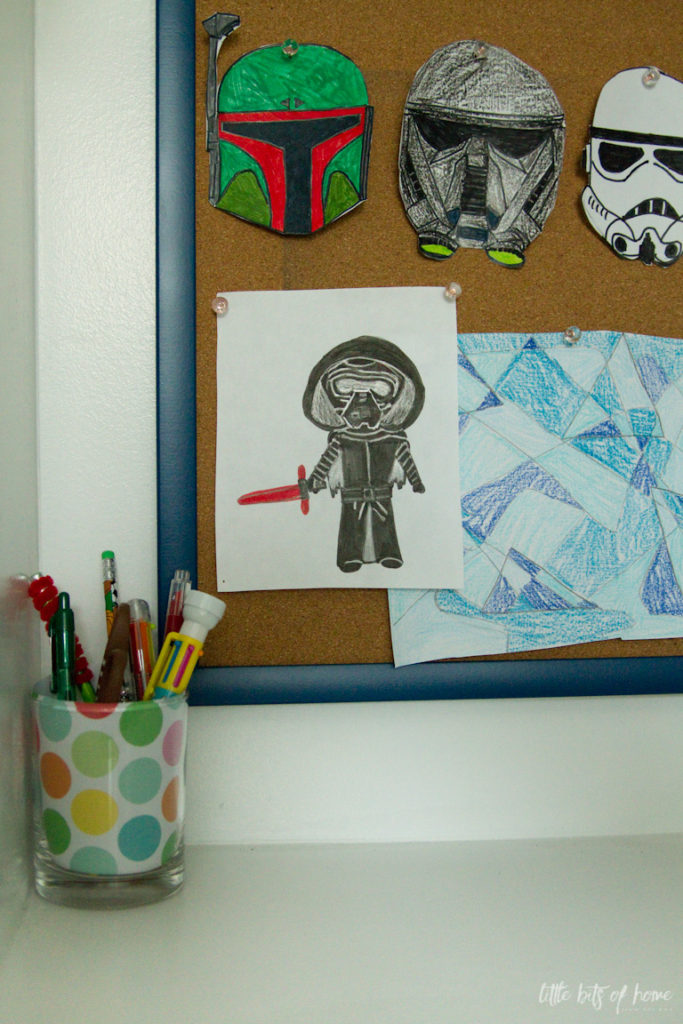
We shopped the house for organizers and accessories, but did also end up purchasing a few accessories to make the space function even better. We were working on a very minimal budget and I’m thrilled with the budget friendly things we found! I found these bulletin boards for just $6 each on Amazon, spray painted them blue to match the stools, and mounted them with picture hanging Command Strips. The kids love having a place in their workspace to hang their masterpieces!
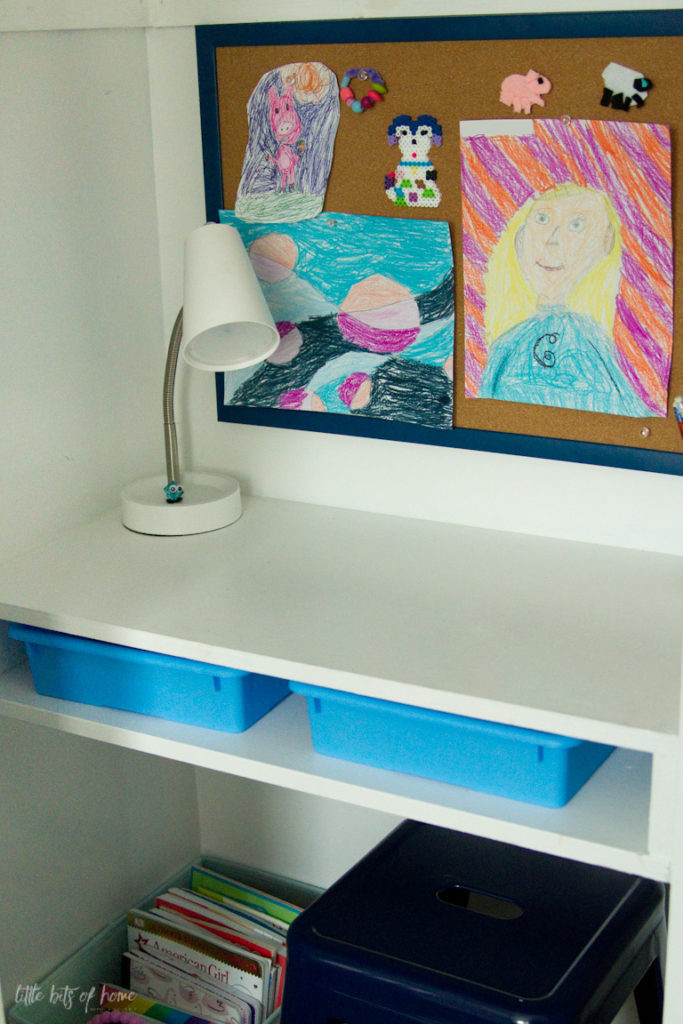
We knew they needed lamps, but lamps can get really expensive very quickly! I was shocked to find these cute LED task lights for just $5.99 online at Target! They are super bright and the kids love that they can move and swivel them around however they need!
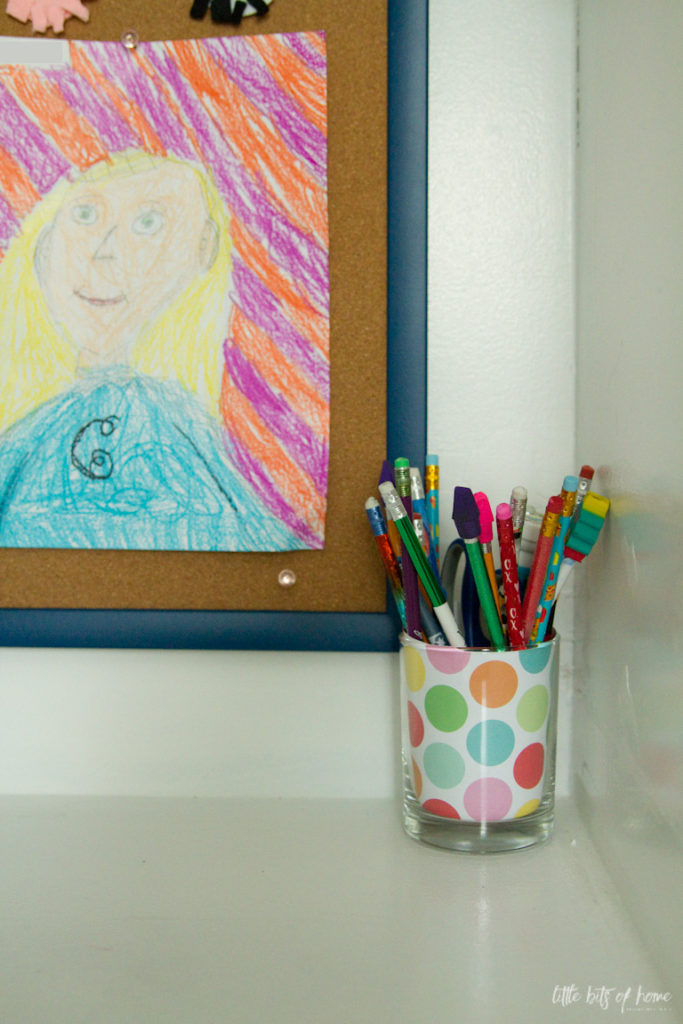
I had cute little metal cups in our attic for years that were leftover from our old playroom that would have been perfect for pencil cups. Of course, I had finally purged and donated them just a couple months ago. Sigh! Does that happen to you guys, too?
Instead, I dug out two vases from the attic, which I think were actually drinking cups from Dollar Tree, to use for pencil cups. Turns out, the kids love the sound the pencils make when they put them into the cups, so they begged me not to switch them out for something else. Hilarious! I just cut some scrapbook paper and plopped it into the inside of the cup to add a little pizzazz. They were amazed. I have many tricks. 😉
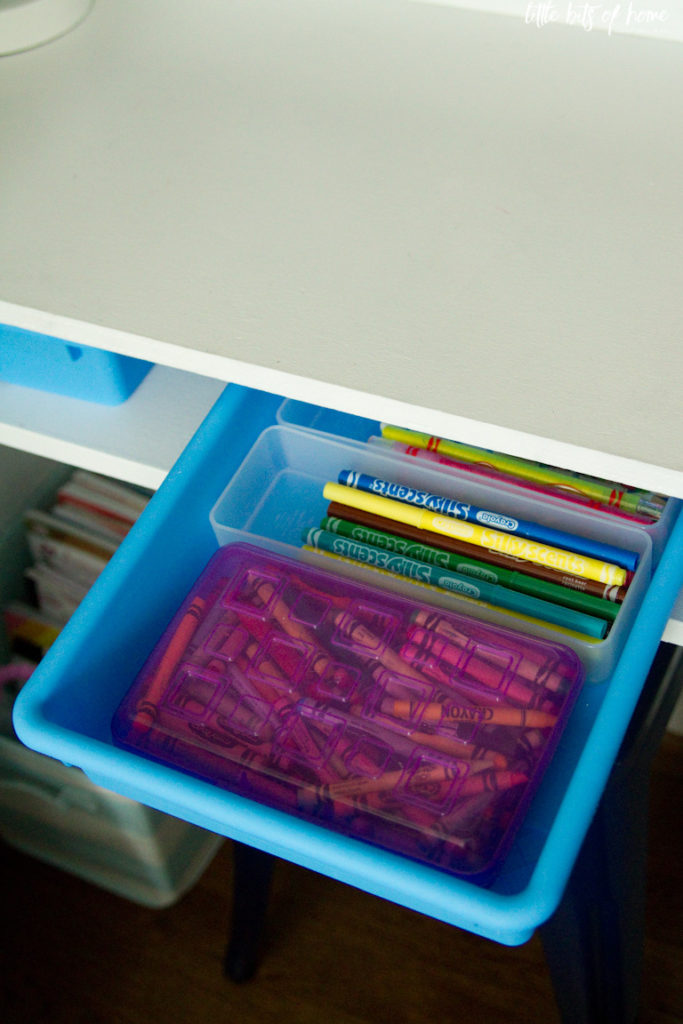
 I am a teacher (although on temporary “retirement” to stay home with the kids while they are little), so know all too well what happens when you give a kid school supplies and a little cubby to shove it all in. Haha! I found these bins online at Target that are labeled for the Dollar Spot and then preached about how everything had to be stored in the bins and not directly in the cubby. I’m loads of fun, I tell ya! 😉
So far, the bins have been functioning beautifully! One is for papers and one is for art supplies. They have surprisingly kept them neat and tidy and not a single thing has been shoved into the cubby. Yet.
The final thing we purchased to up the function were these industrial style 18″ stools. We started out using some card table folding chairs for them to sit on, but they were a little too wide so the kids were having trouble getting in and out of their desks easily. They kept dragging the chairs in and out constantly to access the desks and were making us nervous that the new wood floors were going to get all scratched up. I had found these stools online at Target, but they were way more than we could afford. I kept stalking them online hoping for a sale and ended up finding an identical set of stools in a different color on sale for almost half the price online at Walmart! So thankful! They are well made and fit the space perfectly!

We already had their coloring books in these bins and were thrilled they fit perfectly on the floor under their desks.
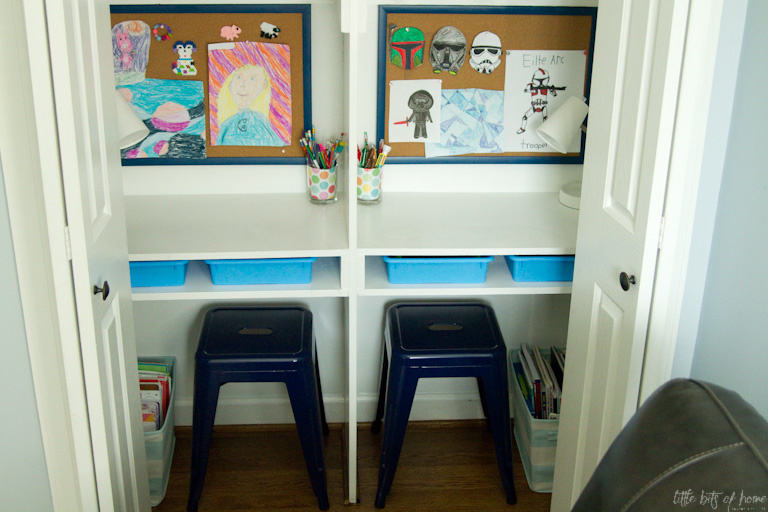
Hope this helps you if you’re trying to figure out an inexpensive and space saving way to add a desk to your home! This concept would be perfect in a kids bedroom closet as well! You could just do a single desk on one side of the closet and leave the storage all around for clothes! Even with ours being a double desk, we still have two shelves above the desks that we are able to utilize for storage!
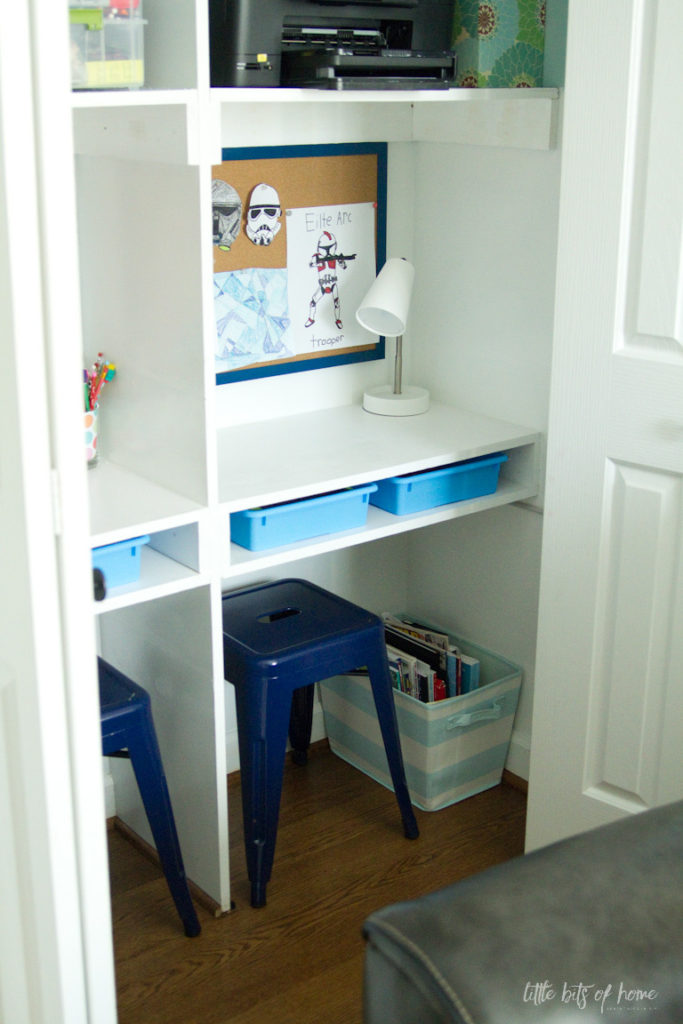
Have a great rest of the week!

Thanks for the attention you’ve given to details!
By ‘being up to your Elbows in sawdust’ you mean ‘grown-up glitter’? 😂😂
Enjoy the rest of your week.
Linda
Haha, exactly! 🙂