I’m so excited to share all about the office walls and built in today! If you missed the other office renovation posts, you can catch up on the plans here and the floors and lighting update here.
Jeremy had two design requests for this room- yellow accents and shiplap walls. I loved the idea of bright and clean shiplap walls, but after doing them in a couple places in our house, I was all too aware of just how much work that was going to be. But, Jeremy is the carpenter around here, so he was more than happy to put in the hours to get the look he wanted. And, holy cow, did it take a lot of hours! But, he was was right, it was totally worth it! It brightens up the room so much!
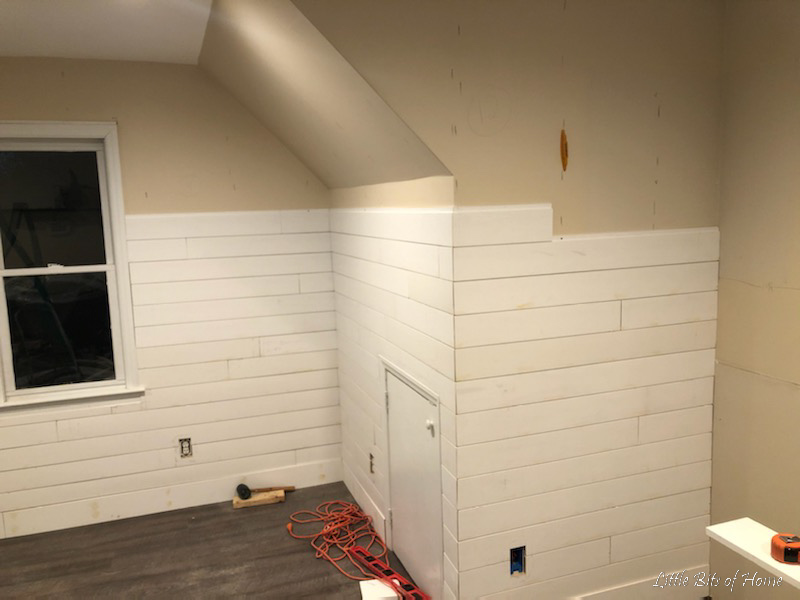
Jeremy worked on the shiplap on weekends and a few nights when he had the chance and it took about two months to get through them all. There were so many nooks and crannies, angled walls, crooked walls, and doors and windows to work around!
Little Man was super excited to help Jeremy with this project! He was in charge of filling in the nail holes with wood filler and took his job very seriously. He did a great job and was a big help!
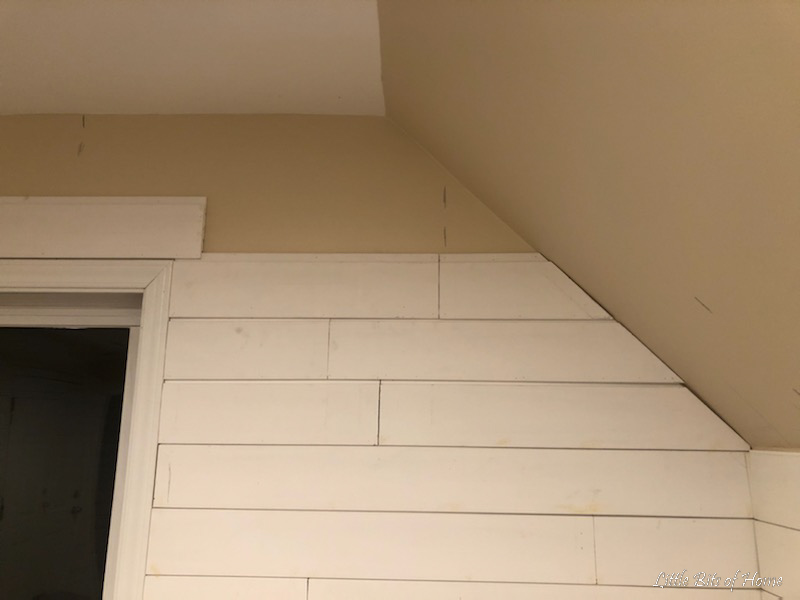
One decision we made was to leave the existing door and window frames in place instead of replacing them like a lot of people do when they shiplap. The office walls are crooked and already a bear to work with, so replacing all of that was going to be a massive headache and time sink that didn’t feel worth it for a room above the garage. One of the door frames is literally an inch off from the bottom to top! We recently shiplapped a bathroom and left our existing door and window frames in place for this same reason and it worked well, because our molding in the house is pretty thick. However, the molding in the office is much skinner and doesn’t stand out against the shiplap. Whomp whomp. We may end up ripping it off and replacing it eventually. We will see how much it bugs me once everything is done…
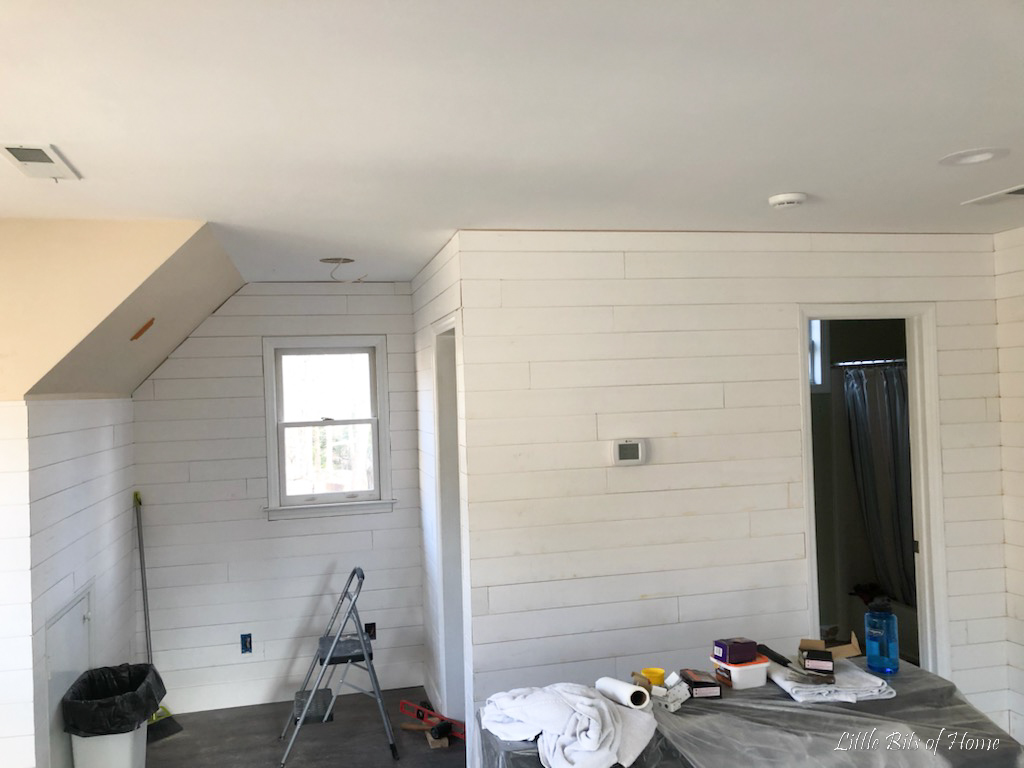
Another pain point was this dang vent. WHY the installers put it up here when they built the house is beyond my comprehension. We tried to get it moved down when we replaced the AC unit a few years back, but it didn’t work out. Sigh. I’m on the hunt for a prettier grate to at least make it less of an eye sore. If you have any ideas, let me know!
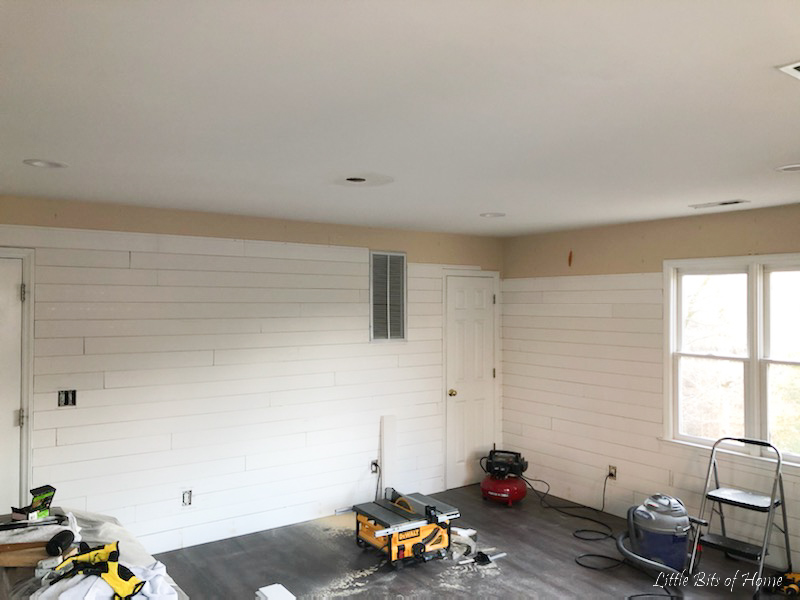
We decided to do a more rustic shiplap style because this wall was too long to have continuous boards with no seams. It ended up being a huge time and money saver, too! We did seamless in our last shiplap project and it’s much more time intensive and costly as you end up with random scraps that you can’t use. No scrap of shiplap was wasted with this style!
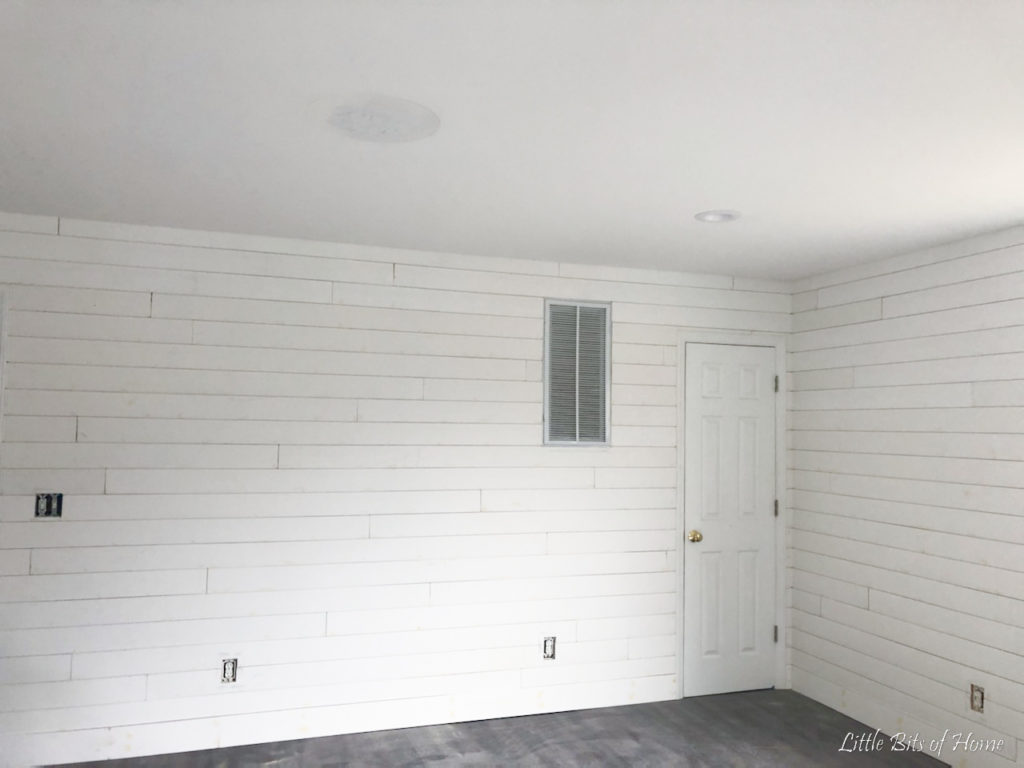
For the two angled walls, trying to get the boards horizontally and angled to match the connecting wall was a massive headache. We ended up flipping them vertically which was so much easier and adds a lot of interest. Win!
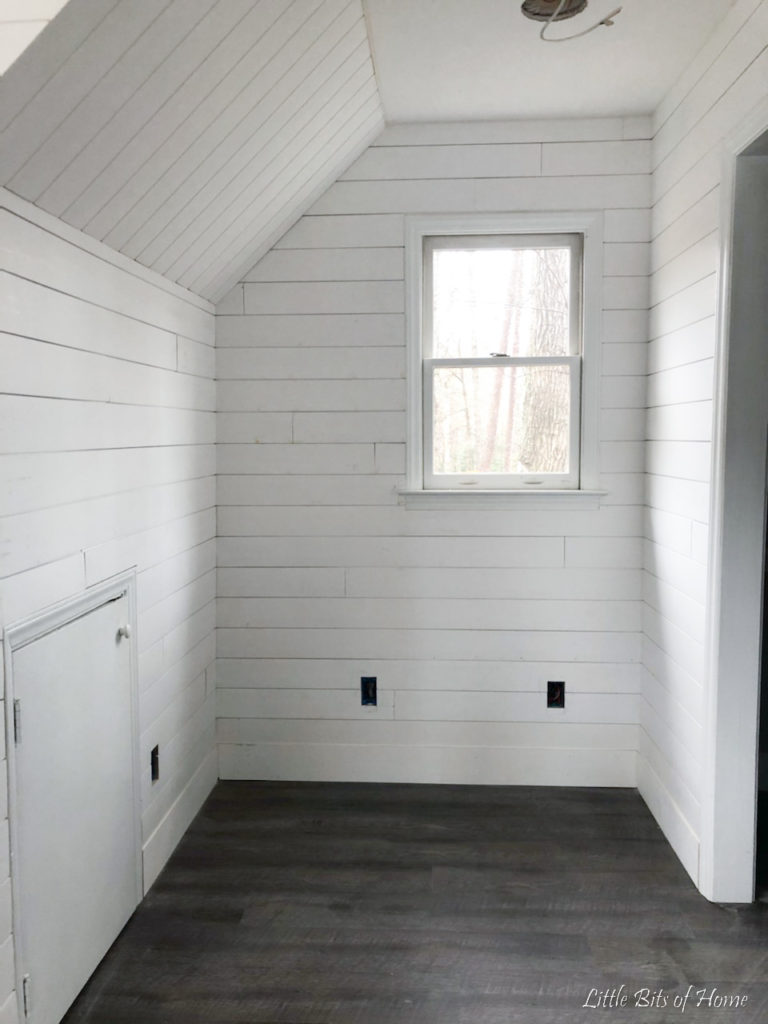
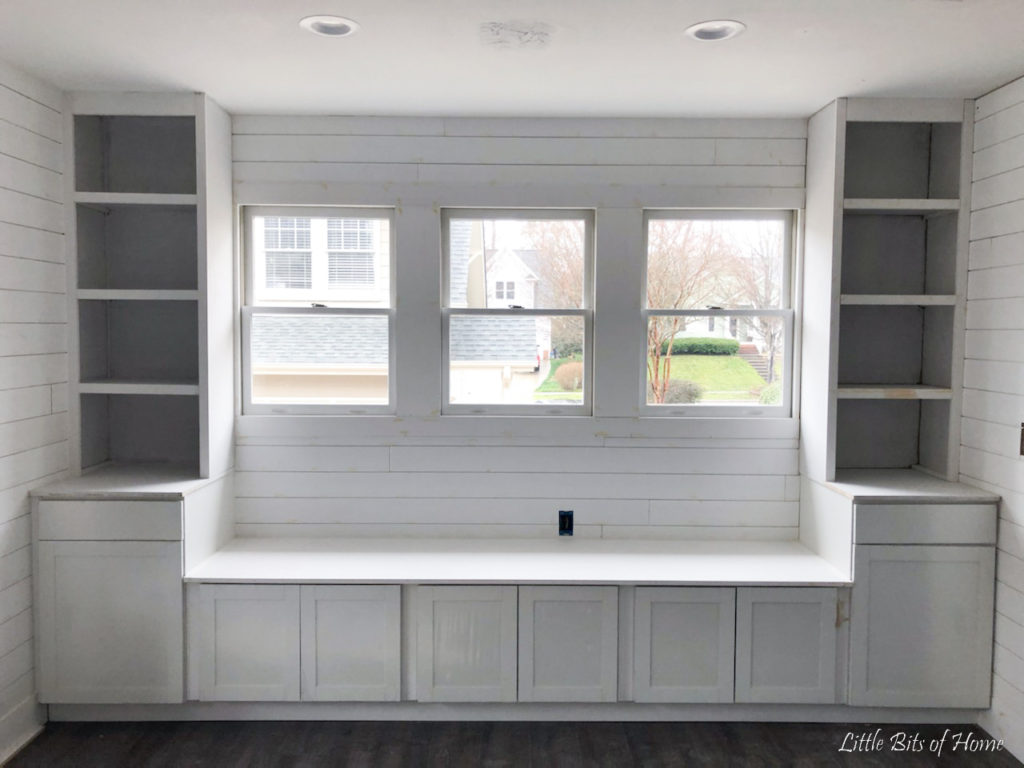
After the room was shiplapped, Jeremy built the built-in along the window wall. We used these cabinets from Lowes as our base on the sides and these upper cabinets as the window seat bench. Jeremy built shelving to the ceiling on either side of the windows. This is the third built in we’ve done in this house now, so Jeremy knocked it out quick!
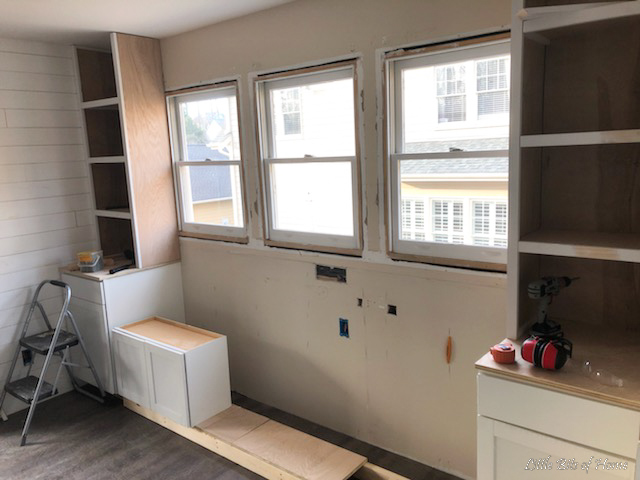
To get the window seat cabinets to the same height as the side cabinets, he built a base and attached the cabinets to that.
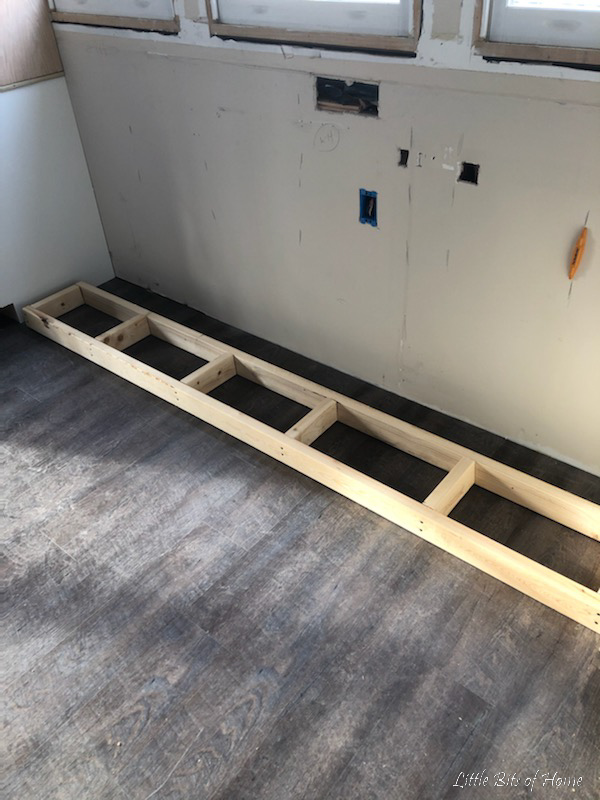
He built a similar base for the extra space behind the bench and turned it sideways to fill in the gap and provide support to the bench top. I didn’t get a great picture of that, but you can kind of see it peeking out below.
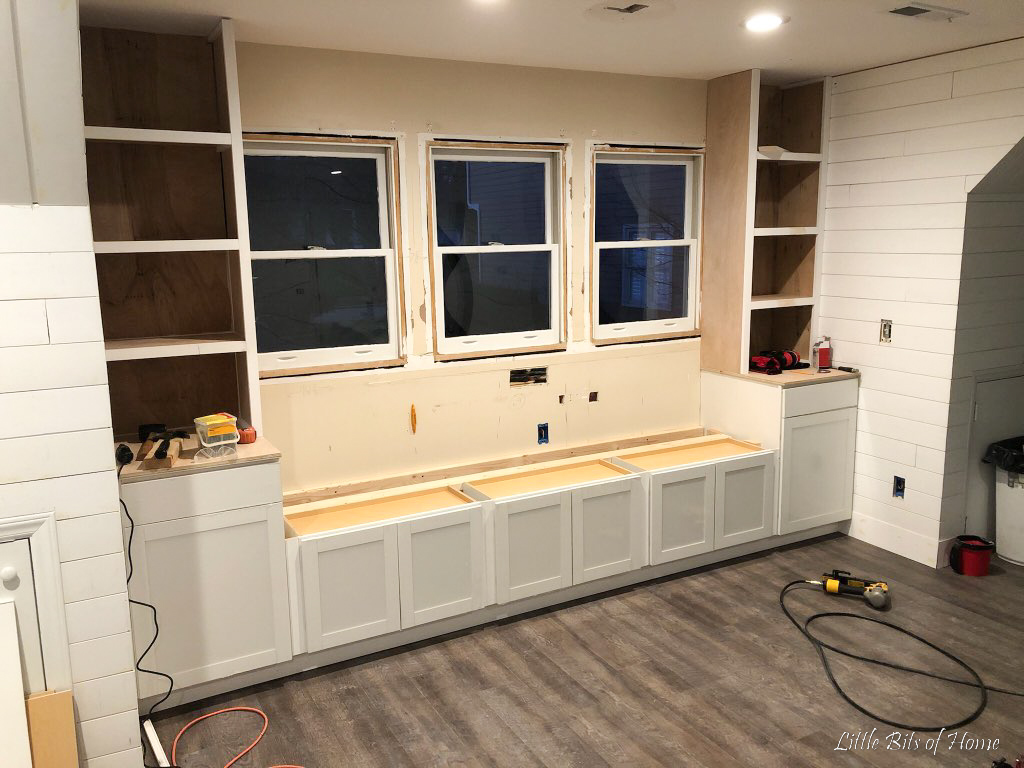
You might have noticed, we did rip out the window trim here. Because we were putting a bench under the window, we wanted the trim to be pretty flat and have no window sill. Leaning back against a windowsill is not comfortable!
Testing out the bench. He’s so cute. 🙂
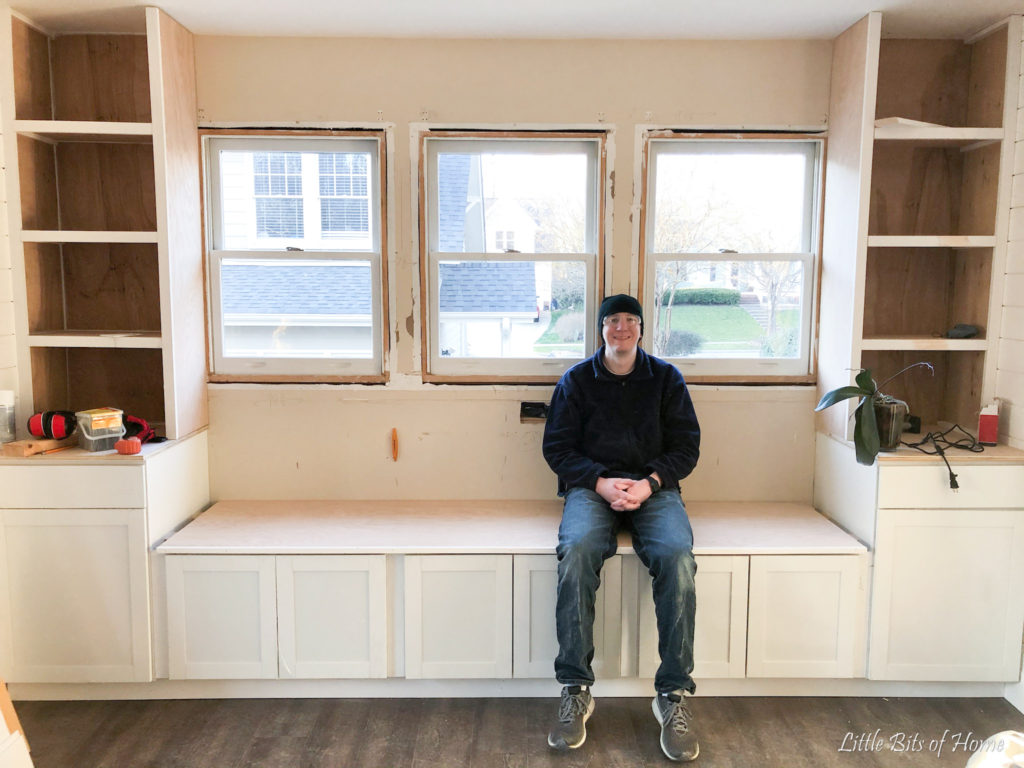
Here’s the windows all freshly trimmed out!
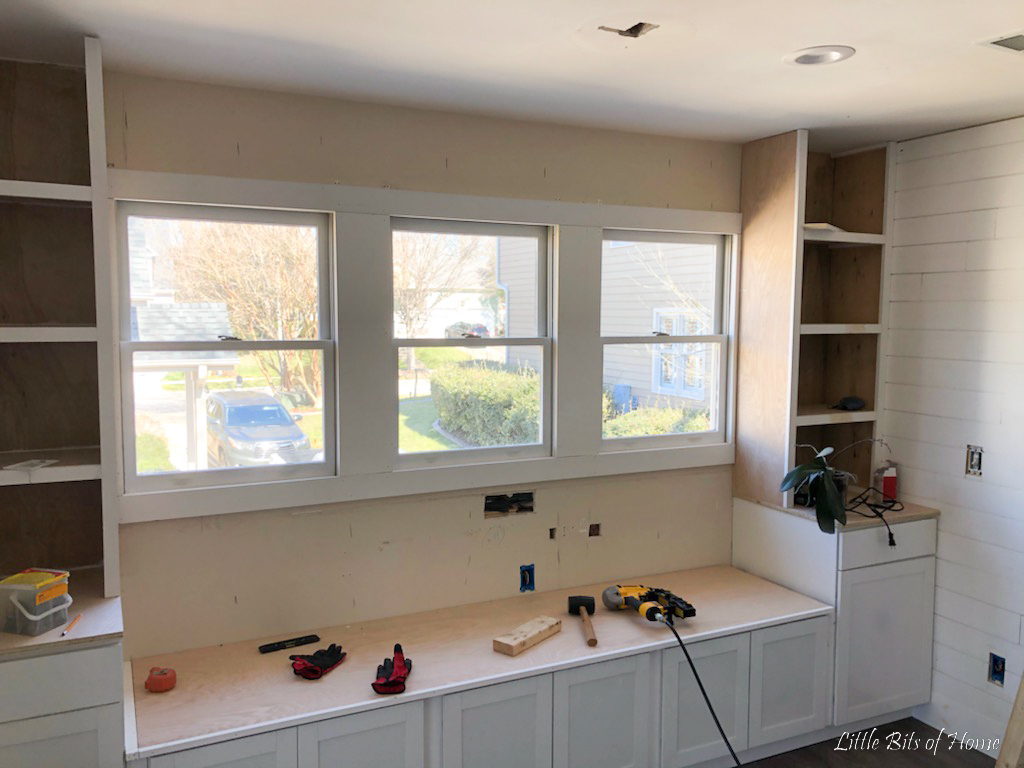
Once the windows were done, he finished installing shiplap on the rest of the wall and trimmed out the top of the bookshelves. Complete!
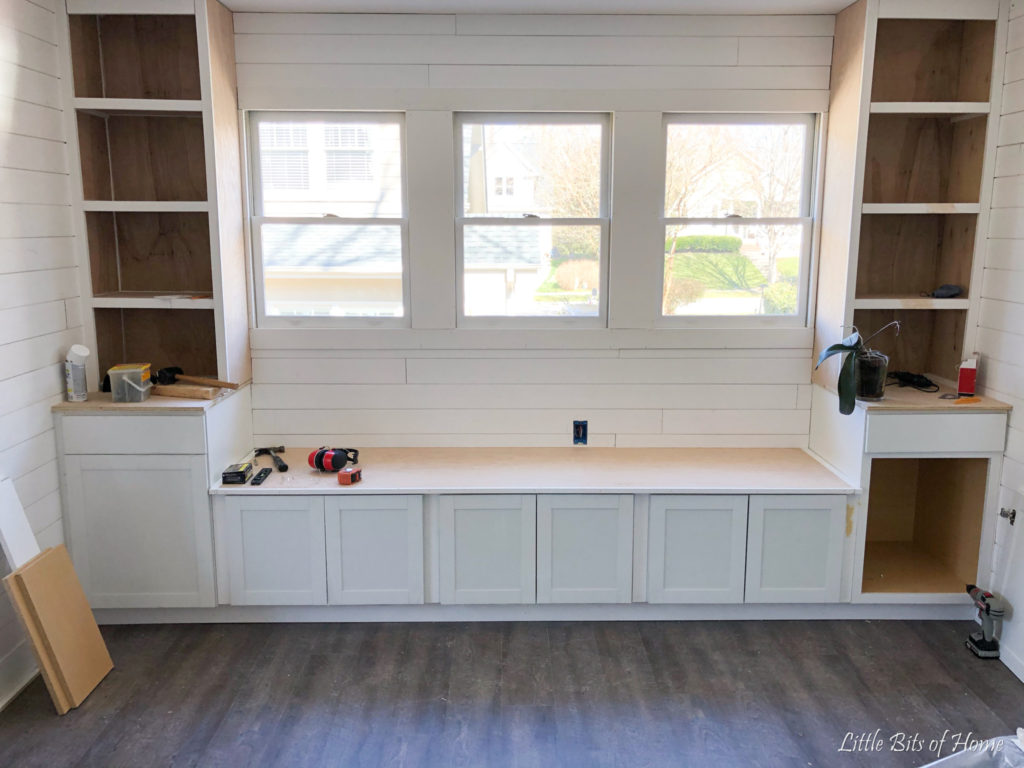
I primed the raw wood yesterday and if you squint, you can see how it’s going to look! Imagine some woven shades, a comfy bench cushion, and lots of pretty pillows. It’s taking shape!

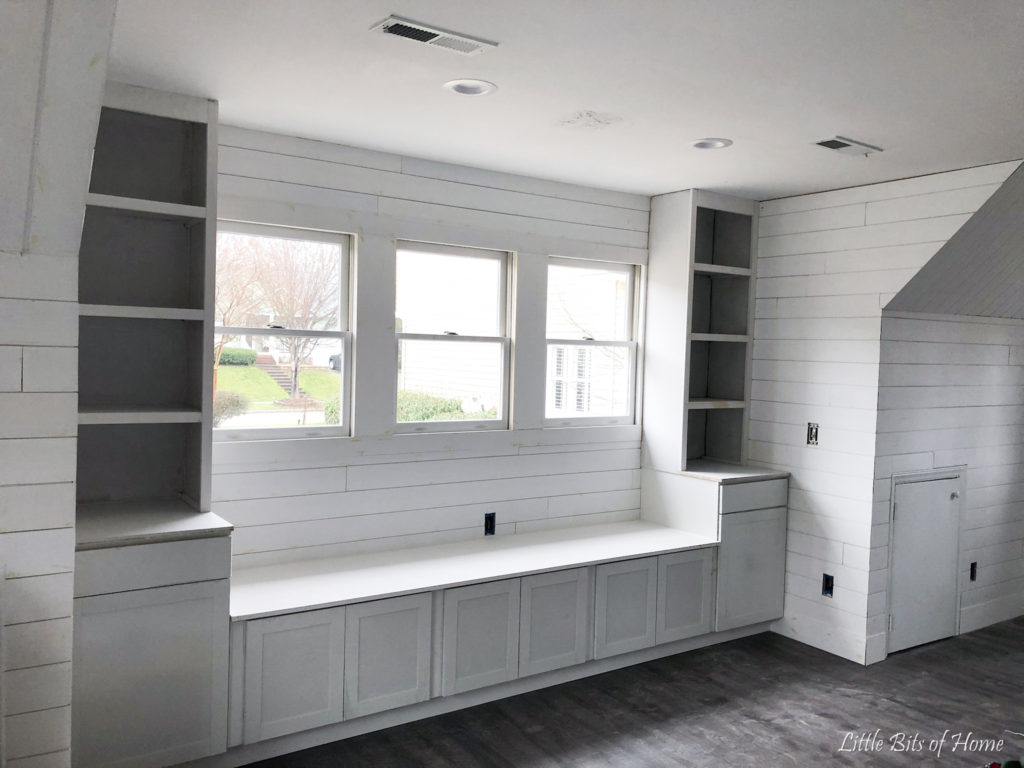
I’ve been on a massive caulking marathon and am so close to being done! I just need to do the right half of the built in and the walls on the right in the picture above and I’ll be done. I may never want to see a caulk gun again after this! Caulking shiplap is very time intensive!
Once I’m done caulking, we can finish filling the last of the holes and sanding everything down, then it’s time for paint! I am dying to see it all fresh. I’ll update you all again soon!

Leave a Reply