


Lindi @ Love Create Celebrate

Samantha @ Little Bits of Home
Last month at the Create with Me party, the winning vote was to use leather/faux leather in our projects! I’ve never worked with leather before, so was excited to stretch my creative muscles a bit!
As you may know, we are slowly giving my husband’s office a makeover. When we get his desk built, it will include an open bookshelf facing into the room. He uses a lot of binders for work, so I decided to see what I could do to make the binders cute. Here’s what I came up with!
![]()
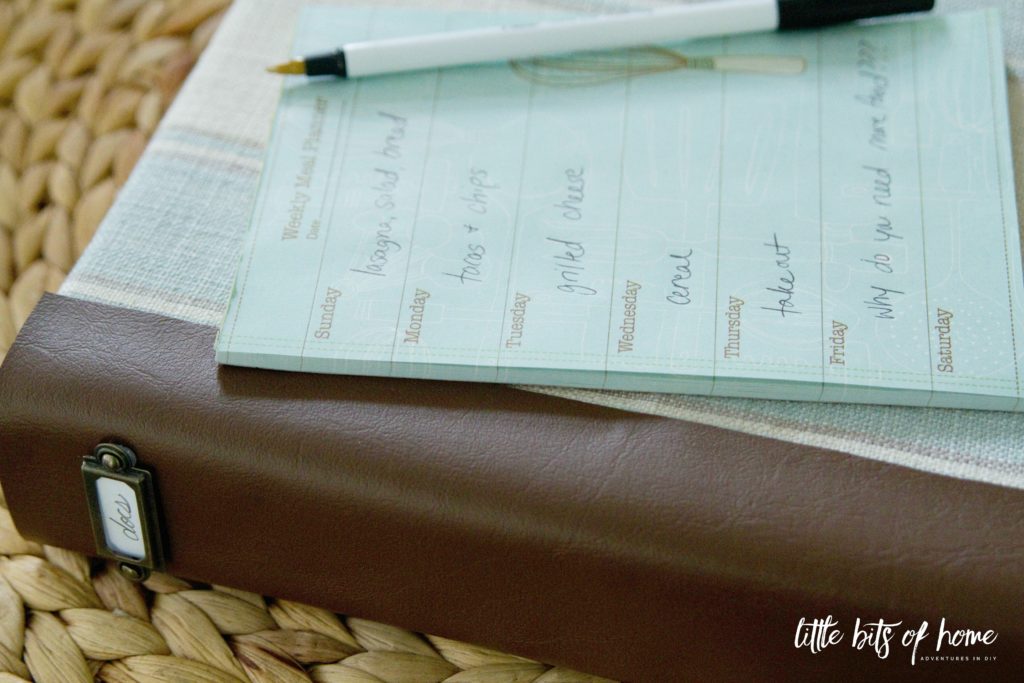
Much better than a plastic-y old binder, right? I think the leather spine gives it a masculine touch and will go great with the office decor!
This DIY couldn’t be much easier! I started with a cheap binder, faux leather vinyl, metal label plates, hot glue gun, and linen fabric. 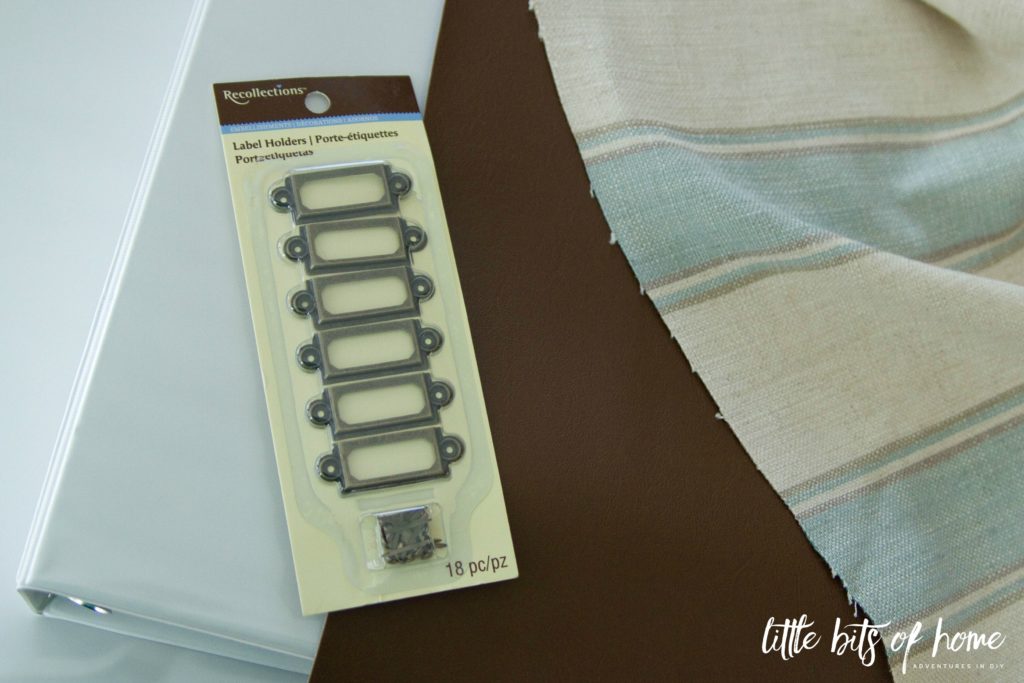
I simply covered the binder in fabric, securing with hot glue. I really wanted to use spray adhesive for a smoother finish, but it wouldn’t work with the binder I used because of the plastic pockets on the outside. Whomp whomp.
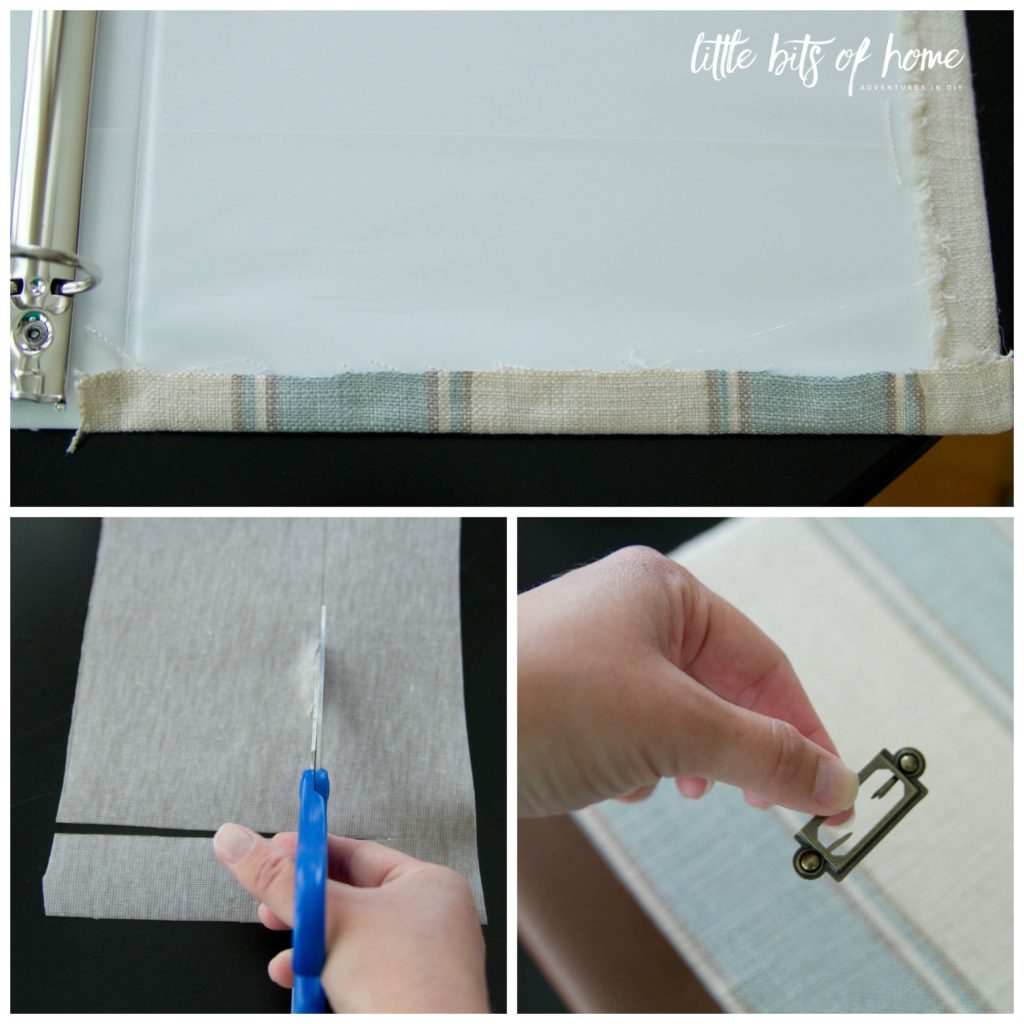
Be sure to adhere a piece of fabric to the insides of the covers to give it a nice, finished look. Then, cut a piece of leather about three times the width of your binder spine, center, then glue it on to the spine.
For the perfect finishing touch, add a little metal label plate! I kept the brads on the label plate and just bent them flat before gluing on to make it appear nailed on.

Now the binders won’t be eyesores when you walk into the office! Wahoo!
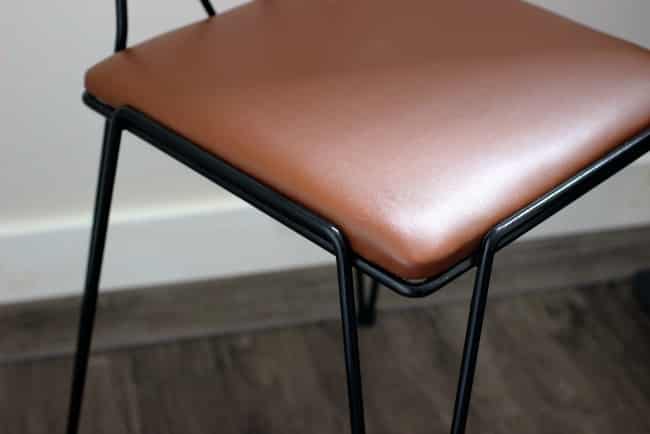
Be sure to check out Lindi’s awesome chair makeover using leather! It’s such a cool, funky chair!
Now it’s your turn! Vote on which material you would like to use to Create with Me in our next projects!
If you can’t see the survey on your mobile or tablet, click HERE to vote!
Now that you’ve voted, it’s time for you to share YOUR projects!
What should you link up?
Any LEATHER or FAUX LEATHER project you’ve ever done!
We will feature projects all month long on our social media channels and PIN EVERYTHING to our Create with Me Pinterest Board! You can also share your leather projects on Twitter and Instagram using #Createwithmeprojects!
Onto the party!! But first, a few rules to remember:
I would LOVE if you followed the hostesses in some way. 
No giveaways, shops, or link parties please.
Share the love! Stick around a see what other bloggers are up to.
Be inspired.
Linking up to the party gives us permission to use your images on our blog, Facebook, Twitter, Instagram, Pinterest page and any other social media connected to our blog. We will always link back credit to any image we share.

Loving this cute makeover – and especially loved how you used the leather