Affiliate links noted in italics are provided for your convenience. For more info, see my full disclosure here.
Hey, Friends! I thought I’d check in and show you some of the progress we’ve made in Little Girlie’s room over the past several months. Because I was sick for so long with gallbladder issues, I wasn’t able to do a lot of DIY work. Instead, I made use of my sick time by slowly accumulating the different components for the room. This helped me keep making progress and it spread out the expenses over several months. Silver lining, right?
We are nowhere near done, so what you are about to see is the chaotic “in progress” period. It always seems to get worse before better! It doesn’t help that I was rushing to get photos for you while Little Girlie was running around taking out all.the.toys, so these pictures are low quality and dark. Sorry! But, here it is in all of it’s unfinished, messy glory!
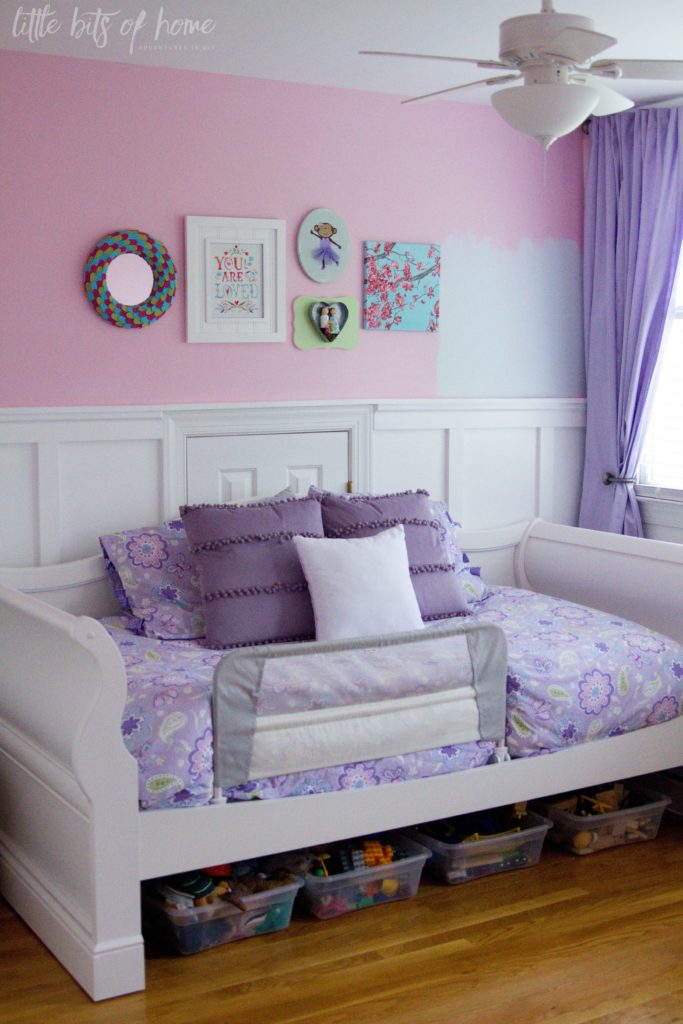
The first major change is that the crib has been replaced for this daybed. Because Little Girlie’s room has 5 doors (for real!), finding a good spot for a bed was next to impossible. We decided under the wall of windows would be the best spot, so purchased a daybed that we could center under the window.
I love the daybed, but as you can see, it’s not under the windows. We tried it there for a few months, but there were a few problems with that layout. First, it was directly under the air vent, so the heat blew down on her all winter long and made her congested. We even tried using an air diverter, but it didn’t help. Second, the windows were just too tempting for Little Girlie. She was constantly sitting or standing up in bed and pulling the blinds and curtains open and looking out the window. Sweet that she likes to look out the window, but not only was this prohibiting her from sleeping, she was breaking the blinds and bending the curtain rod. Last, the daybed was taking up a lot of floor space in this spot.
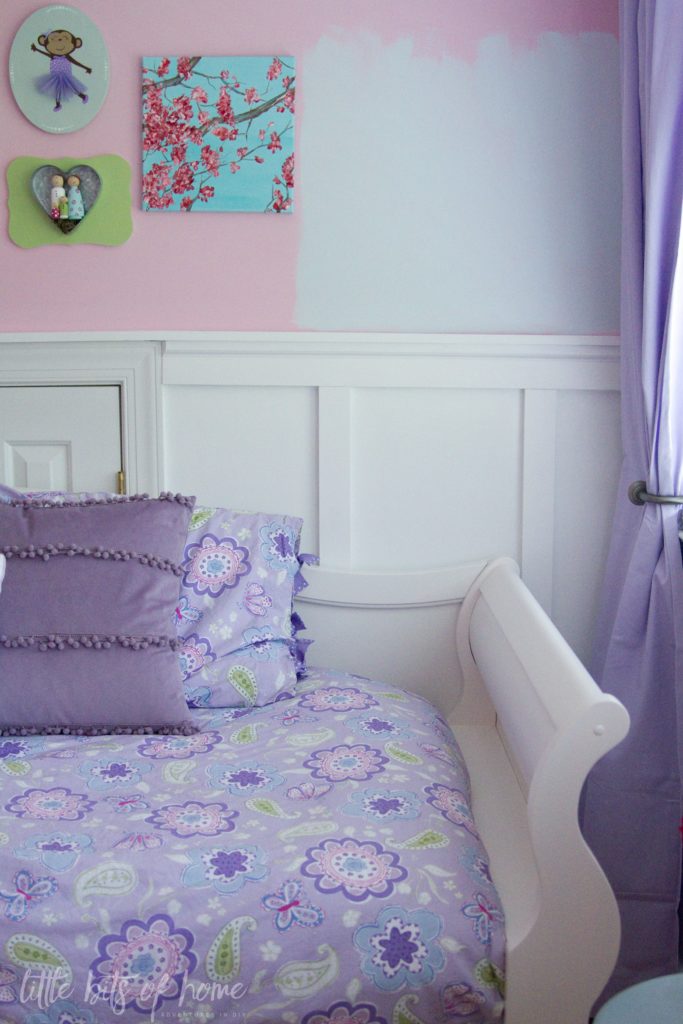
We decided to move the bed to the wall with the short attic door, because it was the only other wall that her bed would fit on and not block the walkway to the door. I don’t love that it covers the door, but otherwise, it works so much better in this spot. If we had known the daybed wouldn’t work under the window, we would have just bought a normal twin bed so we could push it more into the corner. Sigh. At least the bed is pretty!
We are still brainstorming ways to disguise the door. We tried a canopy, but hated it. Any ideas? We also need to make a bedskirt to hide the toys under the bed!
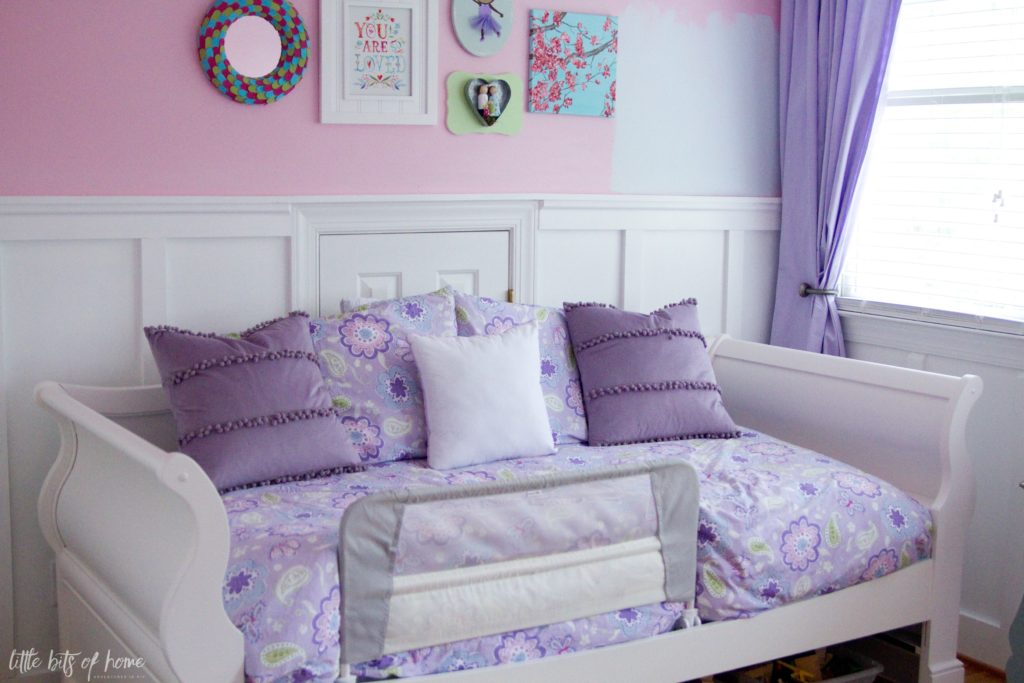
After we bought the bed, we purchased a beautiful purple and greenish blue bedding set from Home Goods. I loved it, but after staring at it for several months and banging my head against the wall trying to find things that went with it, I realized that it was just the wrong thing for the space. It was too light and got lost among the white walls and bed.
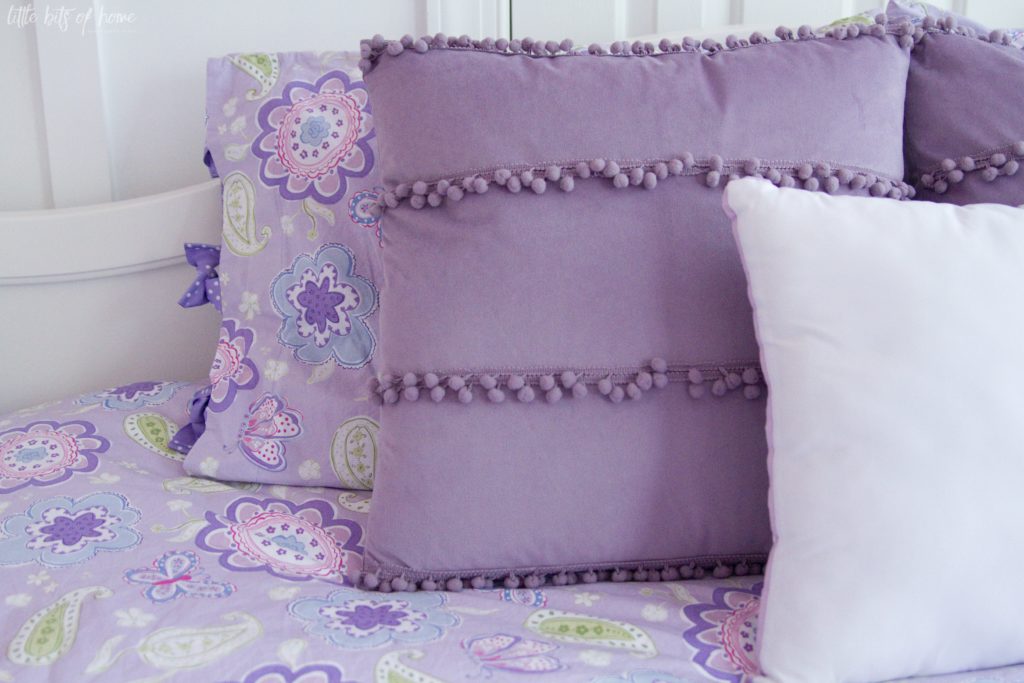
I ended up finding this duvet cover on sale for cheap at Pottery Barn. I love that the colors were more saturated and that it incorporated the purple and blue she wanted along with some of the colors of her nursery, allowing me to reuse some of her old artwork. Thankfully, I was able to use the Home Goods comforter inside the new duvet, so it wasn’t wasted!
I tried a couple different curtains, but because I needed four extra long curtain panels to cover the wall of windows, I was having trouble finding some in the color and length we needed at a price we could afford. I finally found these solid purple curtains on clearance at Pottery Barn for $12.99! Crazy good deal and I love that they are back tabbed!
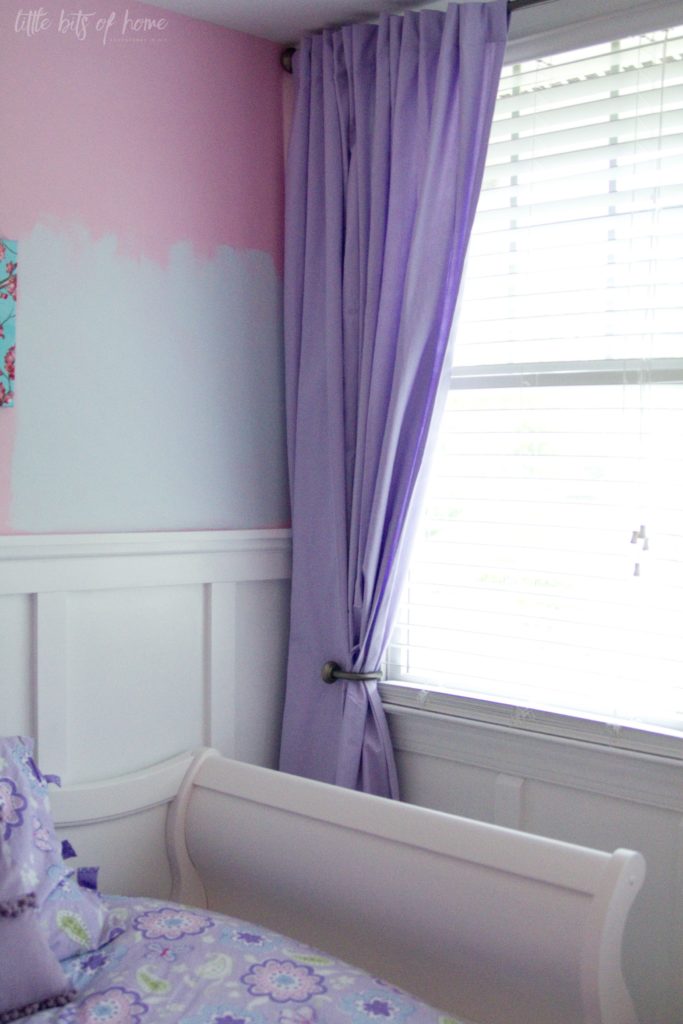
You can also see where we sampled some paint on the wall! After we switched the bedding to the Pottery Barn bedding, I went on their website and found their Sherwin-Williams paint colors. I tried “Iceberg” from their kids colors and it goes perfectly! Seriously, I LOVE that Pottery Barn and Sherwin-Williams collaborate on paint! It makes it so super easy to find a paint color that goes with their textiles! I also used this trick when picking out the paint colors for Little Man’s Star Wars room!
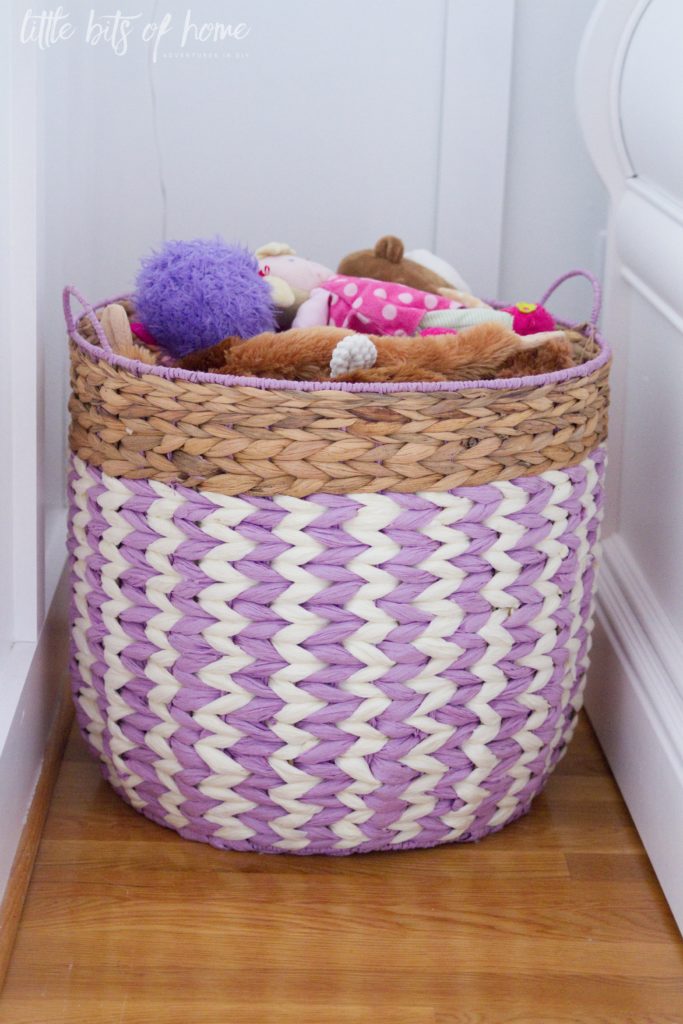
A couple months ago, I found this adorable basket at Home Goods to house all of Little Girlie’s stuffed animals. It’s big and deep and goes great with the bedding!
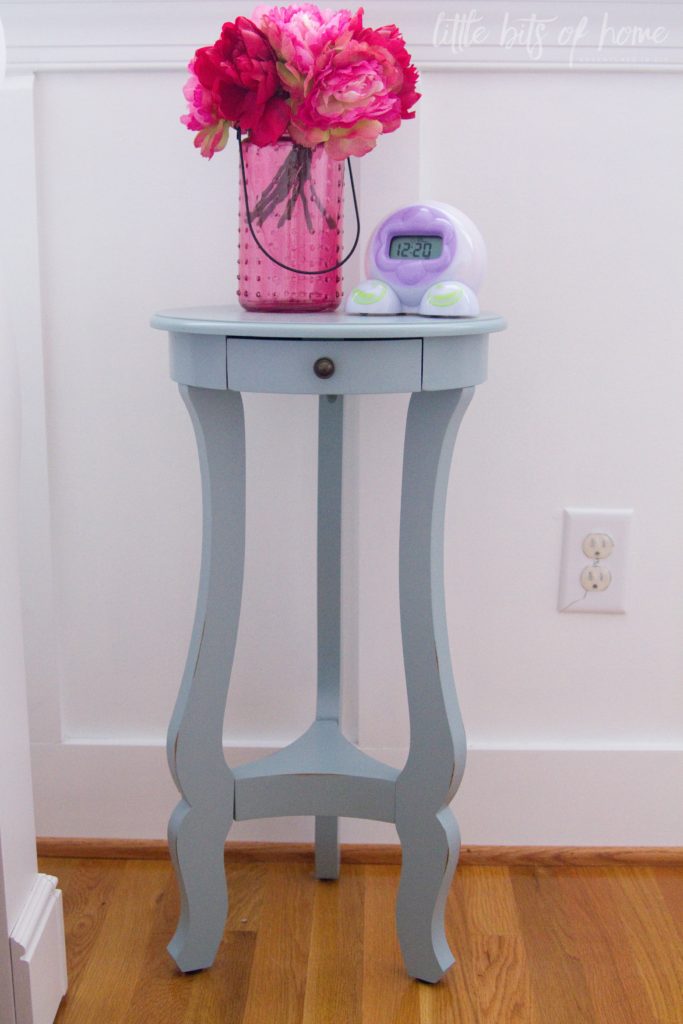
I also found this side table at Kirkland’s. I love love love it, but I bought it to go with the original bedding. It’s a little more green/blue than the blue in her new bedding, so I’m not sure if it will stay in here. 🙁 By the way, we bought this OK to Wake Clock for Little Girlie’s room and it’s working great! Both kids have one and love them! It turns green when it’s time for them to get up, so it greatly cuts down on the constant asking if they can get up yet.
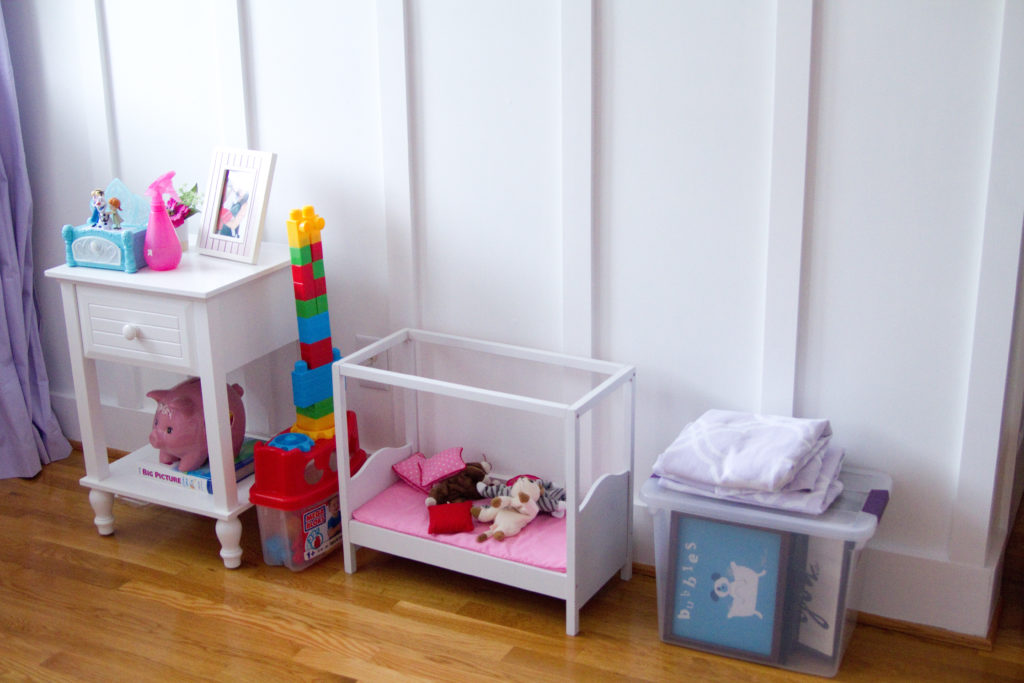
And in true “in progress” fashion, here’s what the other side of the room looks like. Ahhhh! I want to refurbish my childhood dollhouse to put along this wall as well as possibly put a little chair in the corner. I also have my Grandma’s hope chest from 1921 that I would love to repaint and put in here as well. We’ll see what I end up doing!
Here’s how the to do list is looking:
-Paint
-New Bedding
-New Curtains
-New Rug
-Decorate Walls
-Restore Dollhouse
-Make Bedskirt
I’ll keep you updated! I’m hoping to paint today!

Leave a Reply