Affiliate links noted in italics are provided for your convenience. For more info, see my full disclosure here.
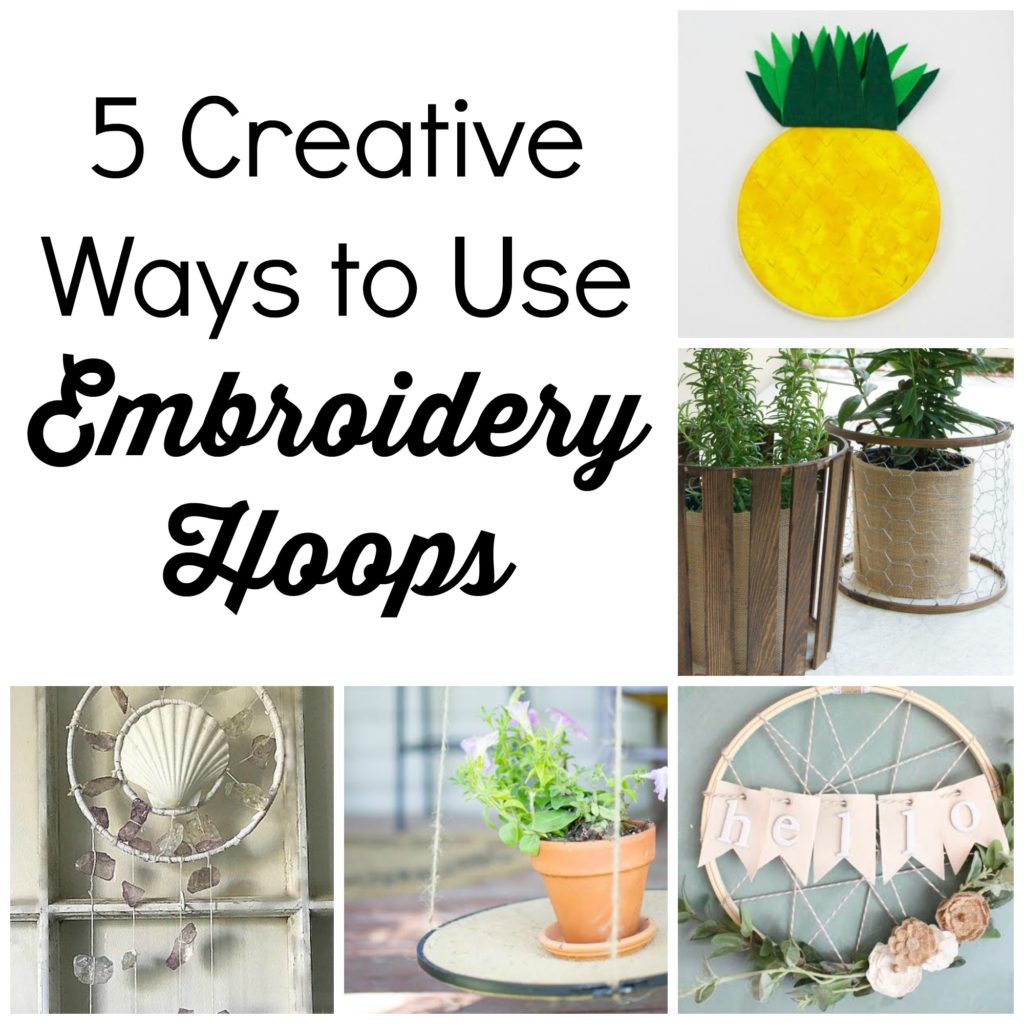
Welcome back to our monthly DIY challenge where you pick what we craft with! This month, it’s all about embroidery hoops! I decided to create some rustic planters for our back deck! Come see how I made them!
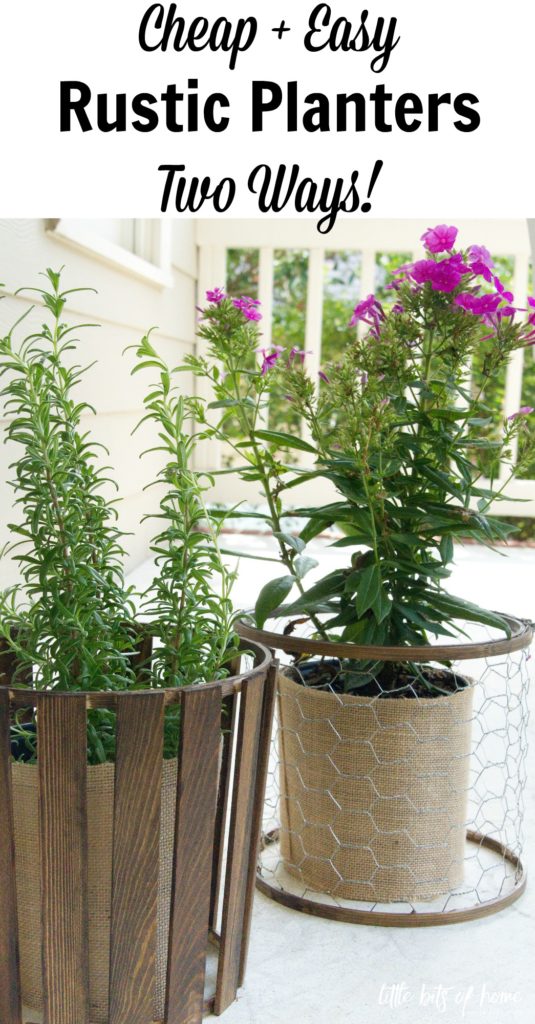
I saw that someone had made a basket out of rulers and a hoop and that got me thinking that I should try to make a planter using a hoop and some painters sticks! Then, I got carried away and thought a chicken wire planter would be great for rustic decor. I made a lot of mistakes, but it was fun to create, experiment, and learn along the way!
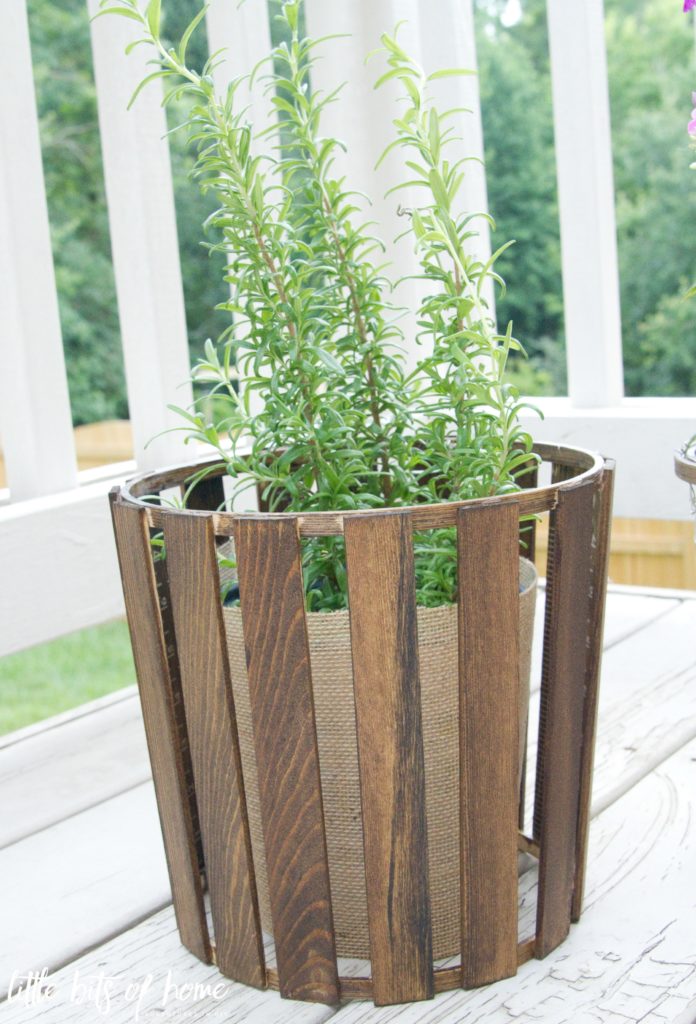
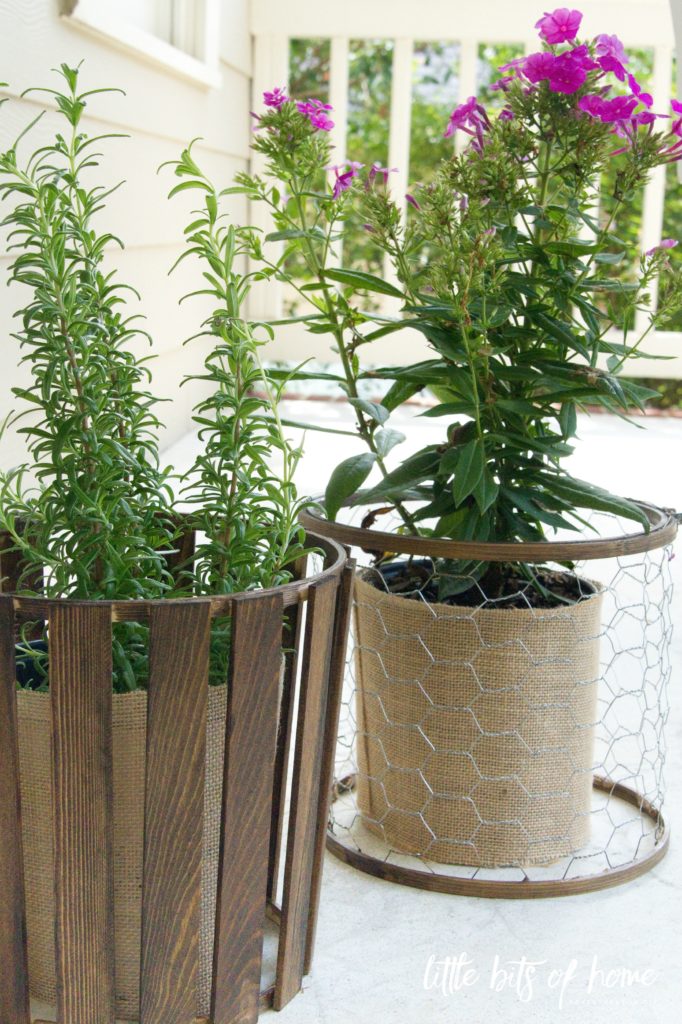
To make the paint stick planter, we started by cutting down about 16 paint sticks to the height we wanted the planter. You can find paint sticks in packs of 10 for just $1 at Home Depot! We also purchased two embroidery hoops, one size apart from each other and I discarded the hoop with the screw. Then, I glued my sticks around the outside of my hoops, using the smaller hoop for the bottom and the larger hoop for top. I finished it off with two coats of stain and some clear coat to protect it in the elements.
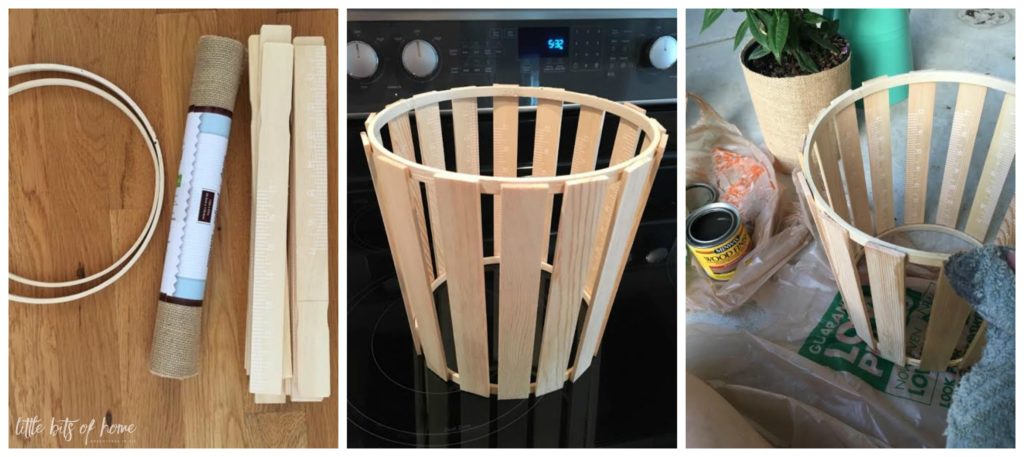
Remember how I said I made a lot of mistakes? Mistake #1, I didn’t stain my hoop or sticks first. I was being indecisive on stain color, so I waited until after I had assembled my planter to stain. It was so much harder to stain after it was assembled and I had to go through with a small brush to get into the small spaces. This can all be avoided by simply staining first! Mistake #2, I used hot glue out of sheer habit. But, obviously hot glue is not the best option for something that is going to sit outside in the heat and direct sunlight! Choose something like E6000 instead!
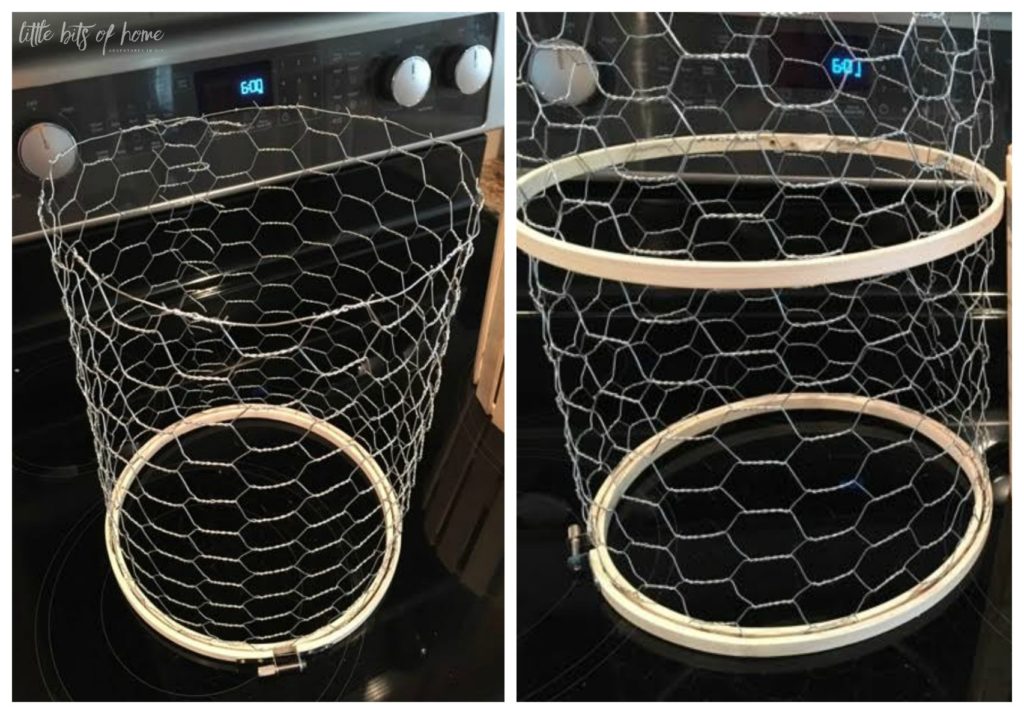
For the chicken wire planter, I simply attached the chicken wire to the embroidery hoop just like you would do with fabric. I was half of an embroidery hoop short, so I glued the hoop onto the top, then trimmed the excess. See, more mistakes! If I had a full embroidery hoop set, I would have just clasped a hoop on both the top and bottom and not had to use any glue at all. And, again, stain first and don’t forget to finish off with a coat of clear protectant!
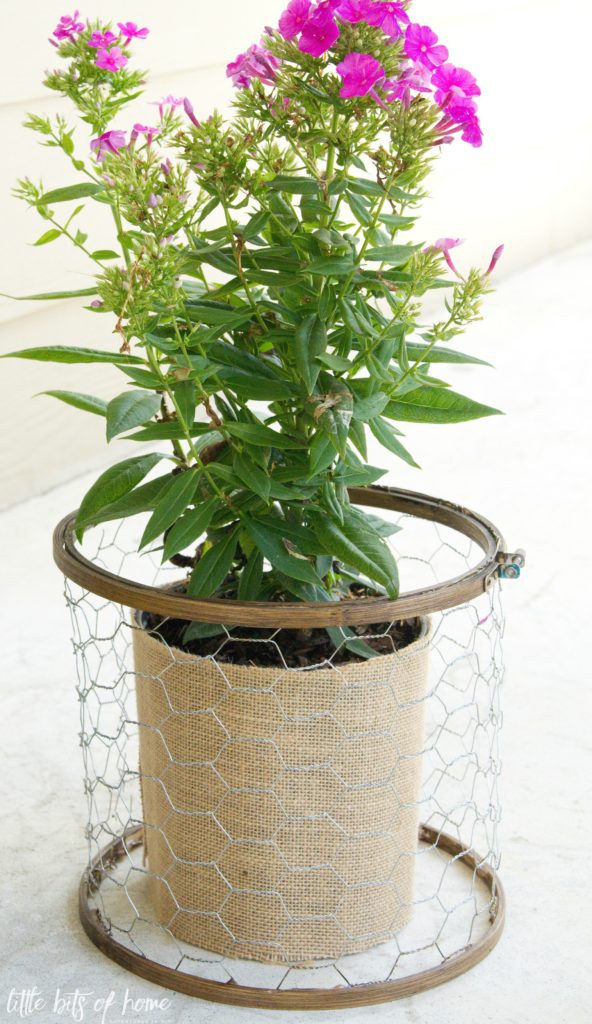
I wrapped the ugly plastic pots my plants came with in laminated burlap (found some in the Dollar Spot!) to add a finishing touch. Done! I know I called these planters, but I guess I should call them planter sleeves since they have no bottom? Regardless, they are a super cheap and easy way to spruce up your potted plants!
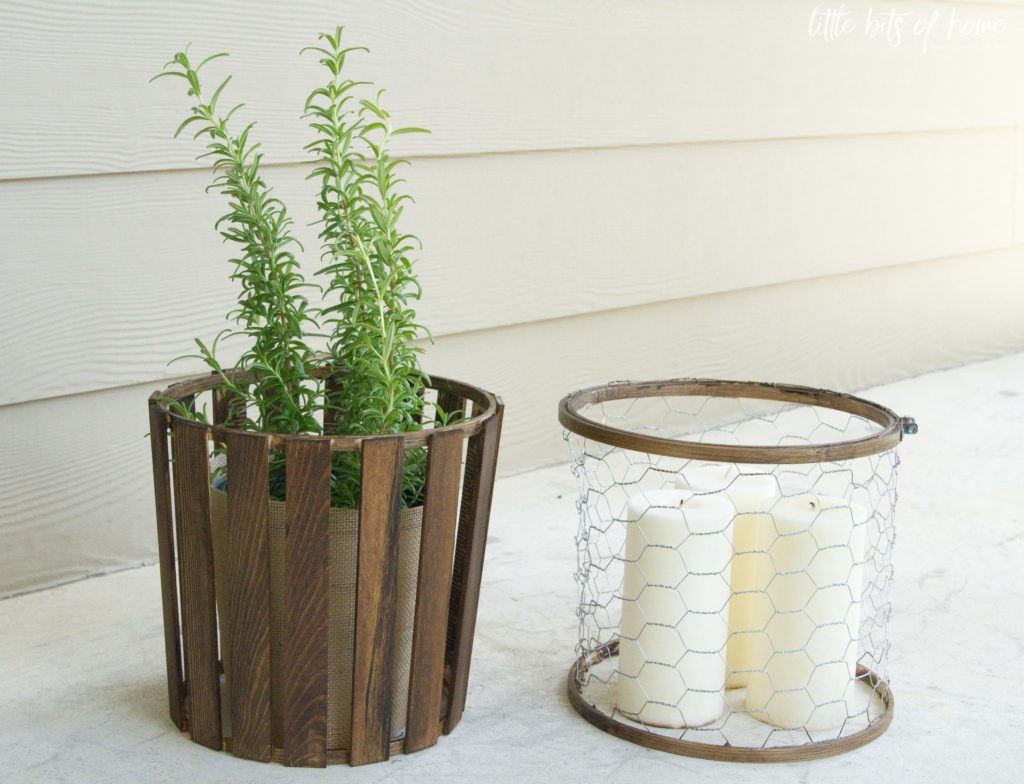
I also decided the chicken wire planter would be even cuter as a candle holder! Just, obviously, be careful because embroidery hoops are flammable. I threw some regular candles in mine just to show you, but battery operated candles or twinkle lights would be great options!
Now, tell us what you think we should use for our next challenge! Be sure to tag us in your embroidery hoop projects using the hashtag #createwithmeprojects for your chance to be featured!
If you can’t see the survey, CLICK HERE!
Check out all of our other creative ways to use embroidery hoops below!

I absolutely love these planters!! you are so creative. the paint stick planter looks like something that would cost a pretty penny at a home store and i am definitely making a chicken wire one. i love all things chicken wire. thanks for the inspiration!
Thanks so much, Michelle! I’m so glad you like them! They were fun to create!
Both of these ideas are fantastic! I’m glad you stuck with them even though you hit a few bumps (most of my craft projects go the same way, too).
These are such fabulous ideas! I would never have thought! Great job!