*Affiliate links noted in italics and provided for your convenience. For more info, see my full disclosure here.
Hey, Friends! Did you think I’d already given up on the One Room Challenge? I bet you did! Haha!

Actually, I’ve been sick for a week, so didn’t get to update you all on my progress last week. But, never fear, I’m on the mend and have documented everything we’ve been working on! And by “we”, I mean Jeremy. Let’s be honest, I was laid up on the couch feeling guilty for not being much help. 🙁 Thanks, Babe, for all your hard work! You’re the best!
If you missed the previous weeks, you can find Week 1 here and Week 2 here!
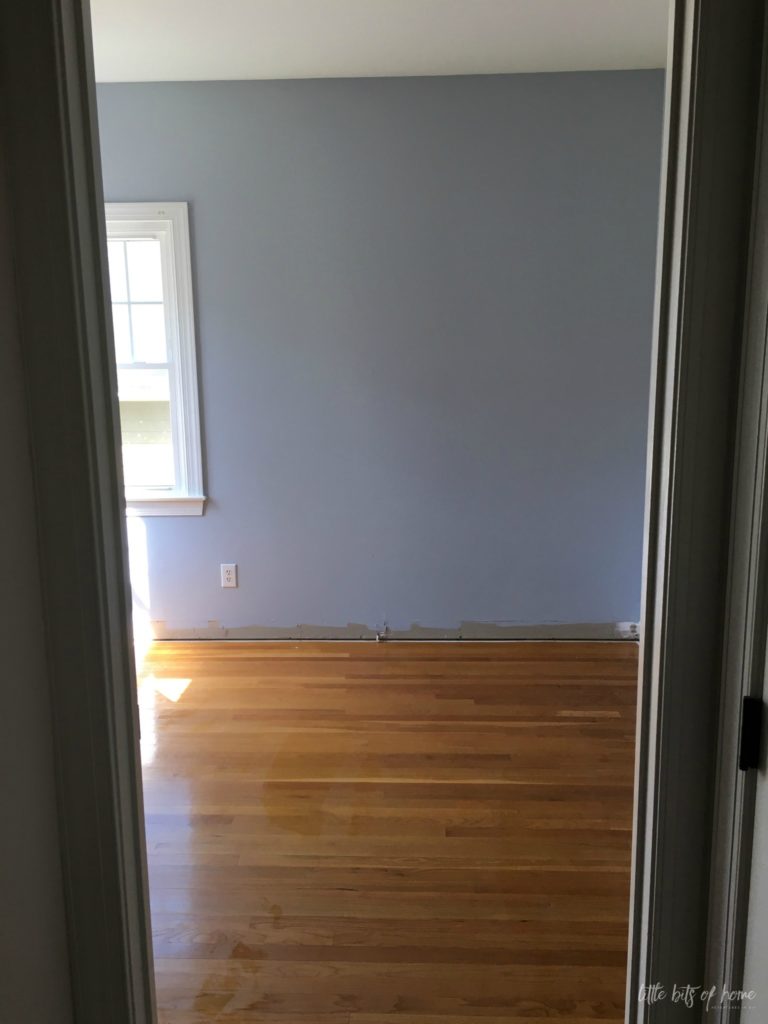
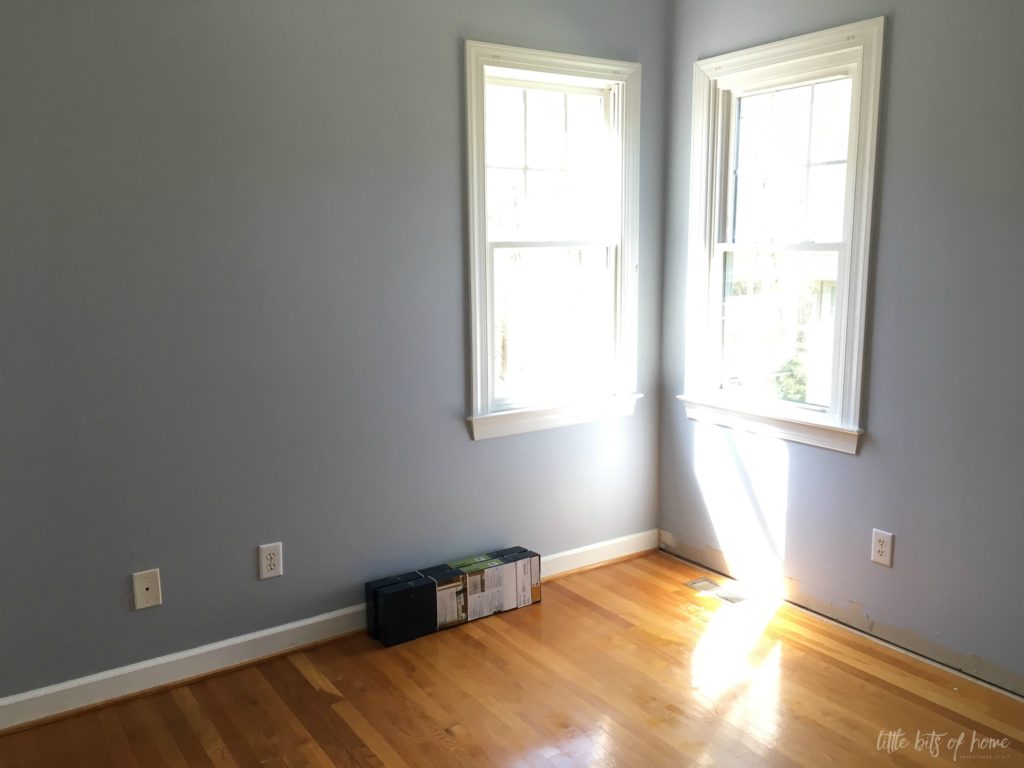
After we got the room repainted, I went in and gave everything a good scrub down. Excuse the wet floors, I had just mopped and was apparently too impatient to wait for the floors to dry before taking pictures.
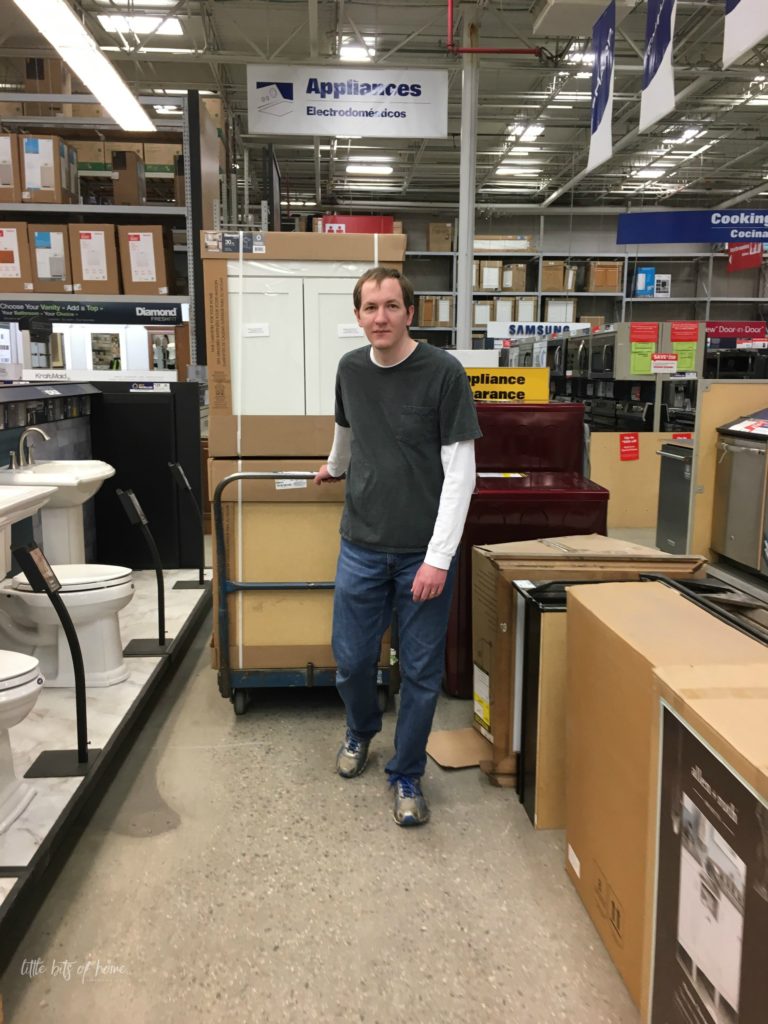
Much of Week 3 was simply purchasing lumber, cabinets, and other supplies and waiting on the electrician. Here’s picture evidence for you– my stud muffin with a heap of cabinets casually passing some toilets. Glam life we live. 😉
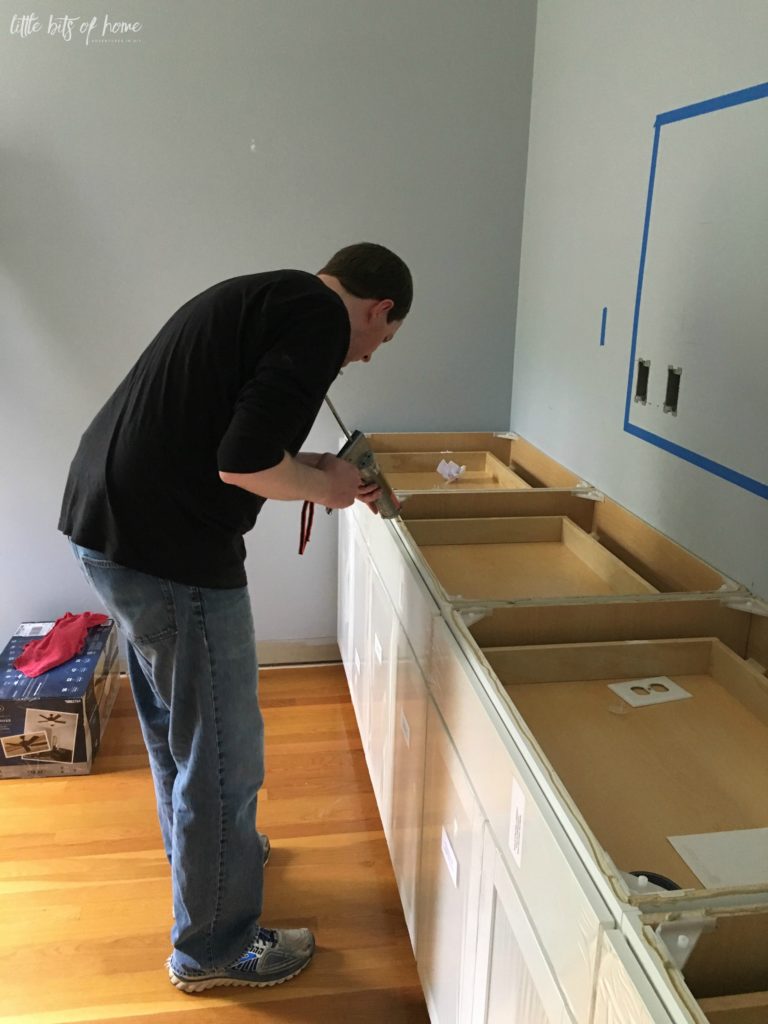
Now on to Week 4! After the electrician came and put in the electrical and cable boxes to plug in the TV, we were able to get started on the built-in! We mapped out where things were going to go with painters tape on the wall, then installed the cabinets for the bottom of the built in! It sounds easy, but getting them right was tricky. Our floors are not level, so it took some creative maneuvering to get everything to look right.
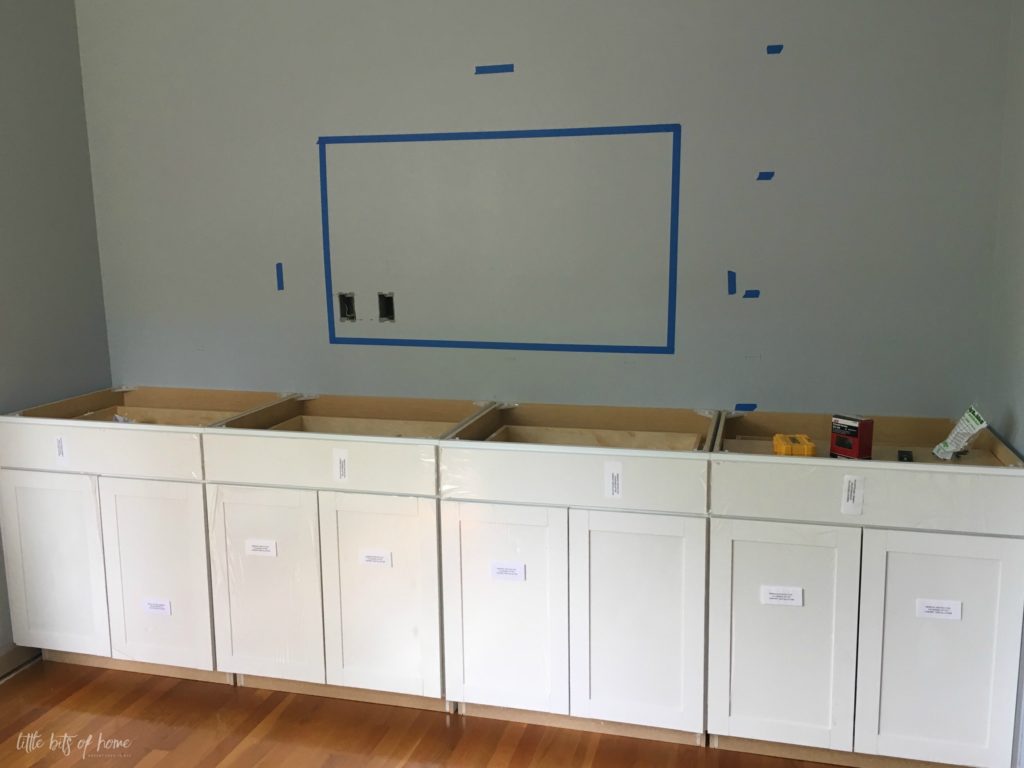
The playroom is 122″, so we were able to fit four 30″ base cabinets, only needing to make two small filler pieces on either side. We had originally planned to use upper cabinets to make less of a footprint in the room, but quickly realized that using uppers would make our bookshelf too shallow to hold kids books and board games. The base cabinets ended up not taking up that much more space and are WAY more functional for us! I’m so excited about all the storage and drawers!!
We topped the cabinets with 3/4′ plywood, adhered to the top with Liquid Nails. We will eventually finish the raw edge of the plywood with edge tape.
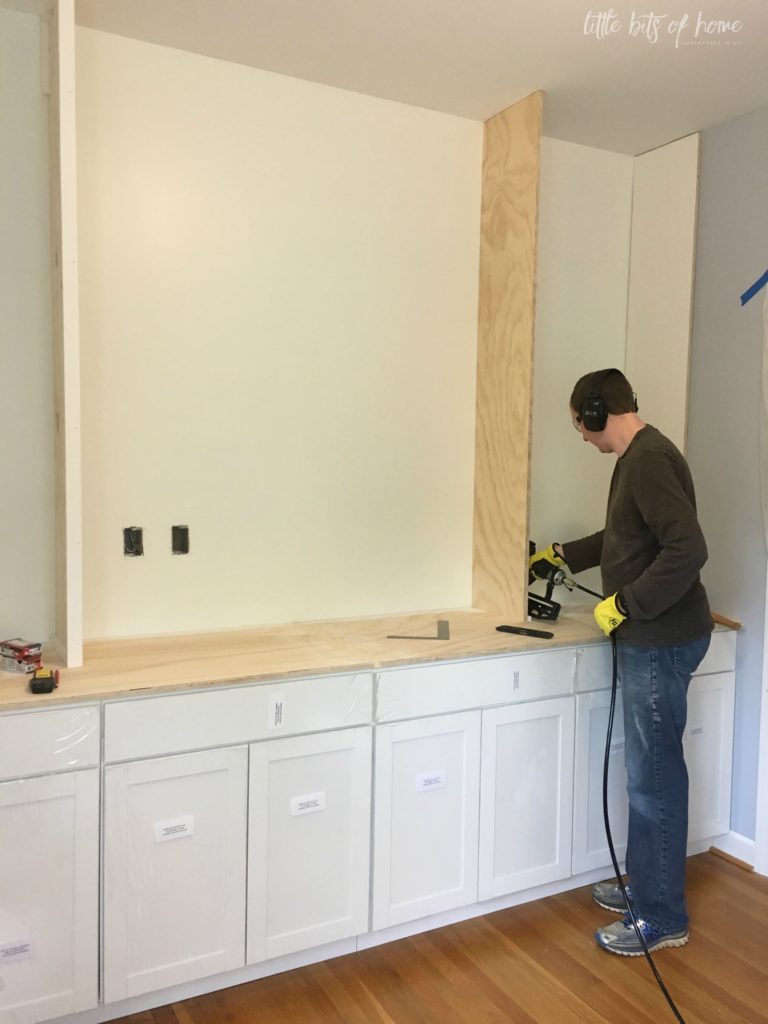
The next day, we started in on the bookshelf portion of the built-in! Jeremy added sides and the two main vertical boards.
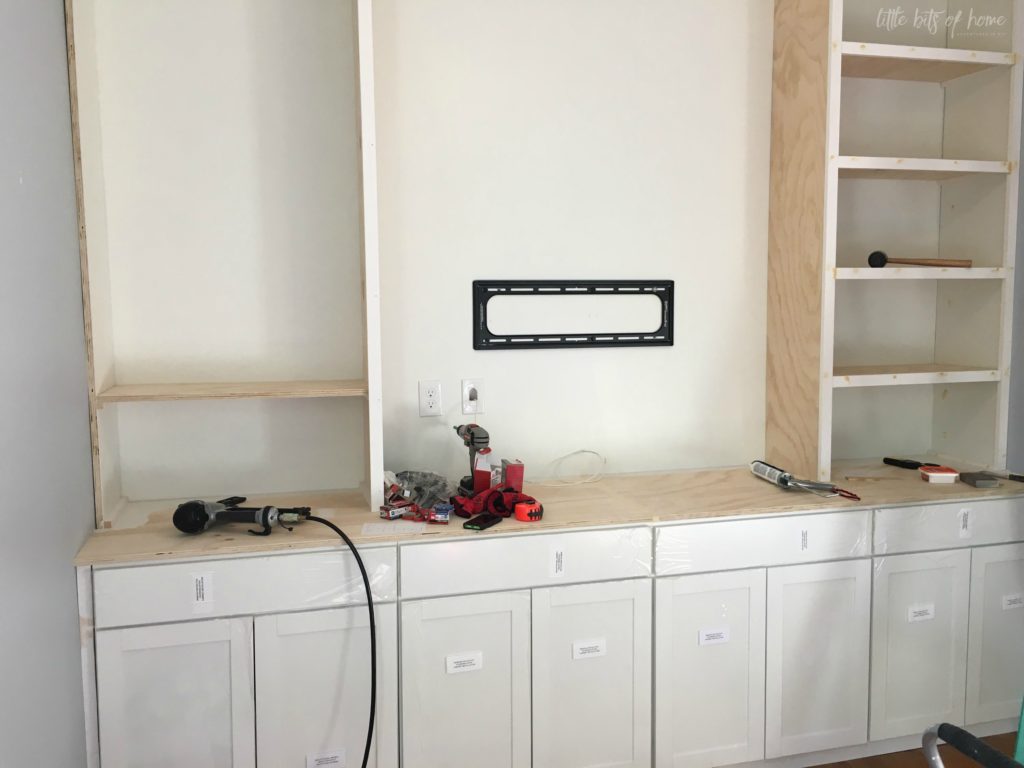
Then, he started filling them in with shelves! He built these like he did in the living room, finishing off each shelf with a 1×2 for a nice, thick shelf look. Love! He also installed the TV bracket and the electrician came and finished all the wiring.
Another day, another shelf! This beast of a built-in took six days total to complete!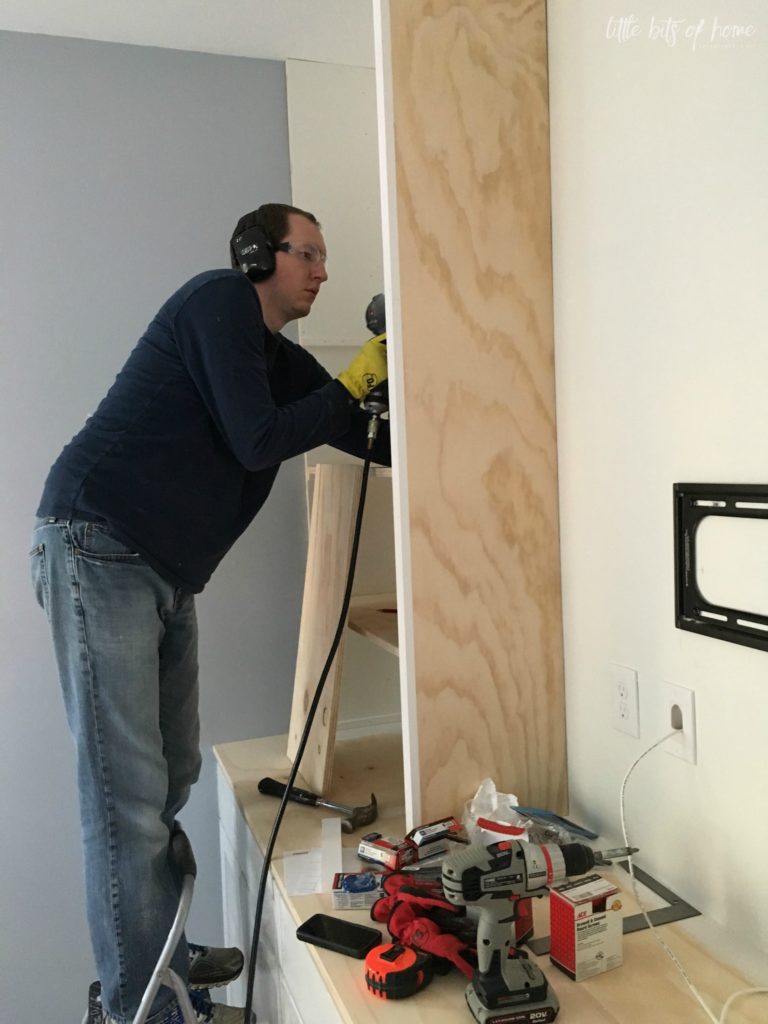
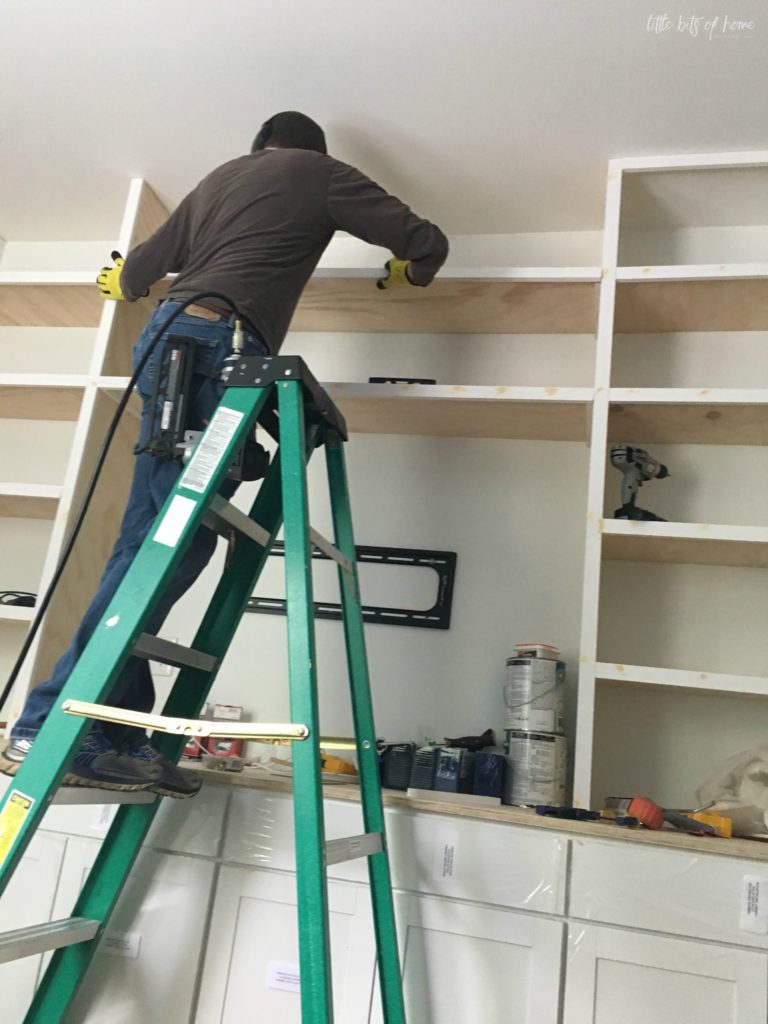
Here’s Jeremy adding the final shelf! We were going to build a divider for those wide top shelves, but nixed that plan at the last minute. We both actually liked how the wide shelves looked, so decided to let them be!
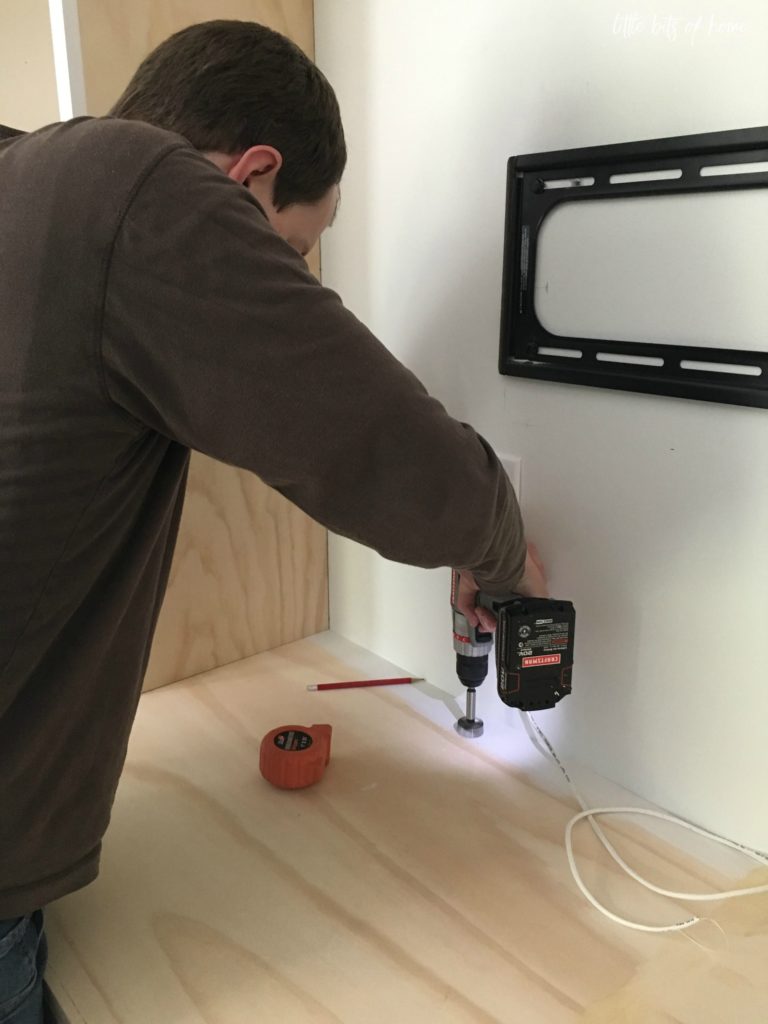
Jeremy drilled a hole in the counter to feed the TV component cords through. Between the TV being wired in place and the component cords feeding into the cabinet below, you won’t be able to see any cords when we’re done! Yay! Side note, we decided to put the TV components on the countertop instead of the cabinet because they get hot when used. We didn’t want to have to leave the cabinet door open to cool the components, so we just put them on the counter where they wouldn’t overheat.
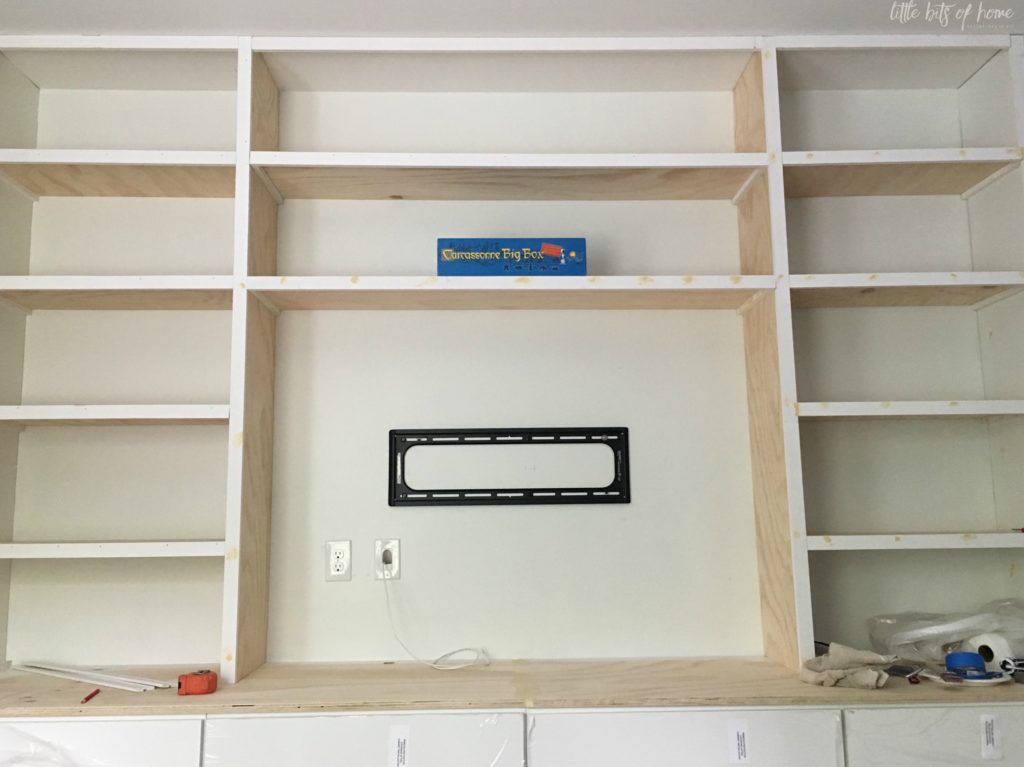
It’s so hard to get the whole thing in one photo, but here it is! The Carcassonne (fun game, by the way!) box is our largest board game, so it was our tester when deciding on shelf height and depth.
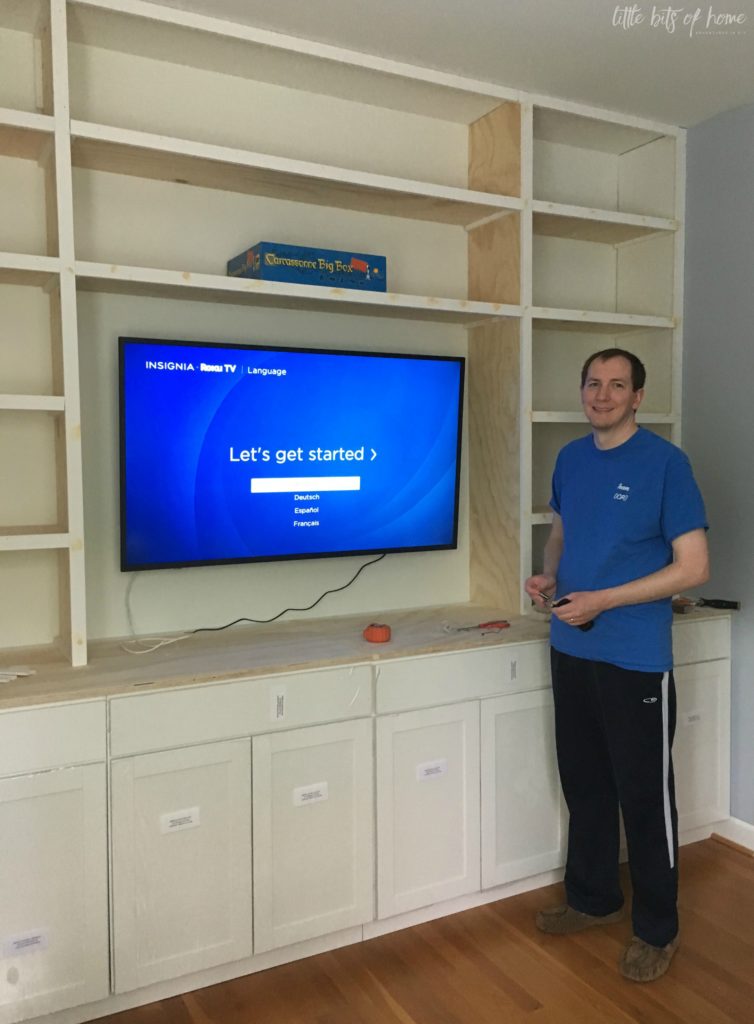
Finally done! As a reward to himself, Jeremy installed the TV and chilled after all that hard work! He earned it! Didn’t he do a great job?!
This week, I’ll be painting painting painting. Send help!

Leave a Reply