*Affiliate links noted in italics and provided for your convenience. For more info, see my full disclosure here.
Happy Friday, Friends! I’m back to share all about how I painted the kitchen cabinets! If you missed the reveal, click here to check it out!
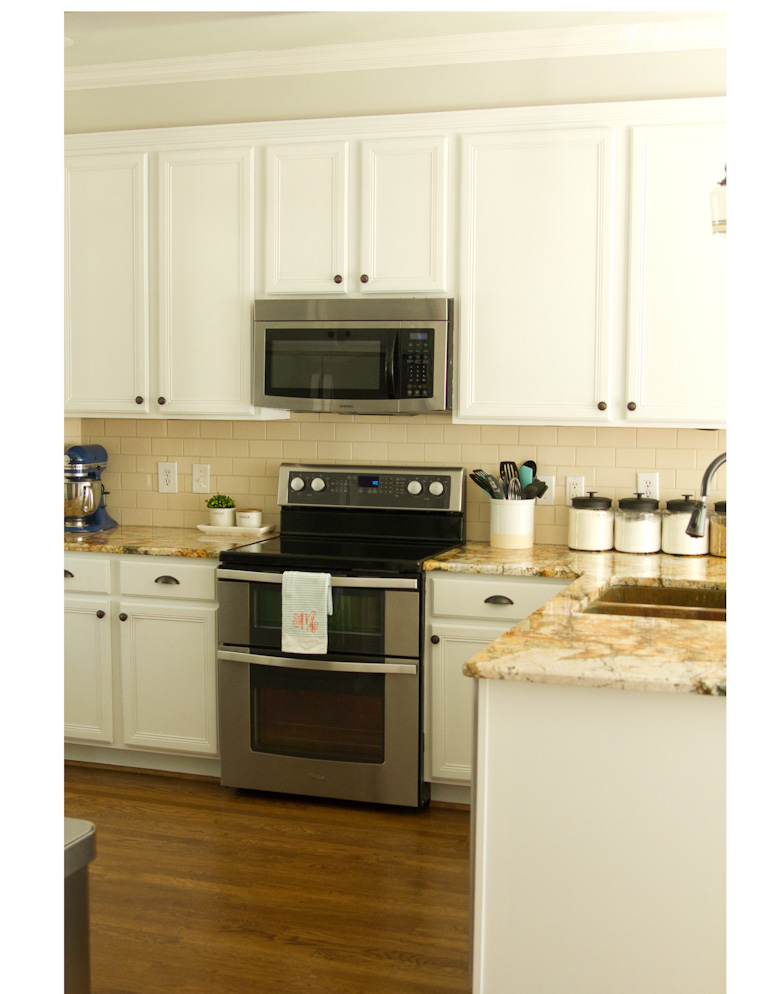
I spent years being intimidated by this project and was actually nervous when I went to do it. I can’t remember ever being nervous about a house project before, but I think I was just so worried I’d mess up the cabinets and couldn’t afford to replace them if it went all wrong. Thankfully, I’m here to report that while it is tedious and time consuming, it’s completely doable! Don’t let this project scare you off! You can do it! Promise. 🙂
On to the tutorial!
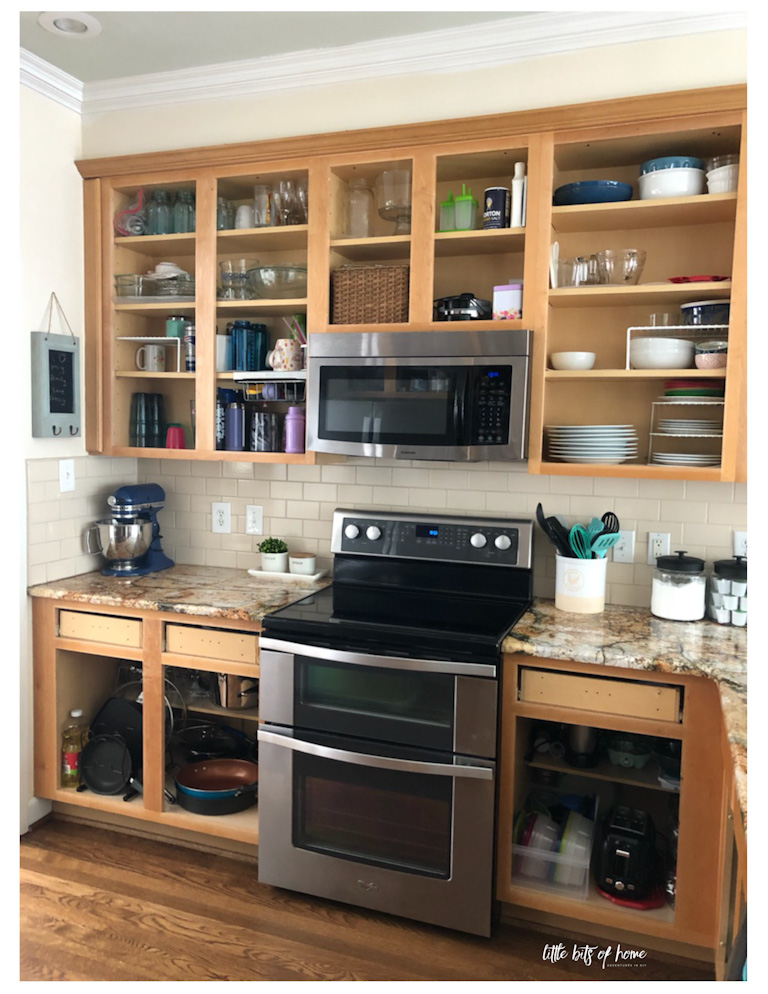
Step One- Remove all the cabinet doors, drawer fronts, and hardware.
Even if your hinges are hidden inside the cabinets, you’ll want to remove them so they don’t get clogged with paint. I highly suggest using little pieces of painters tape and a Sharpie to label your cabinet doors and drawers so you don’t lose track of what goes where. I stored all our hardware with the correct screws in plastic bags so they wouldn’t get lost.
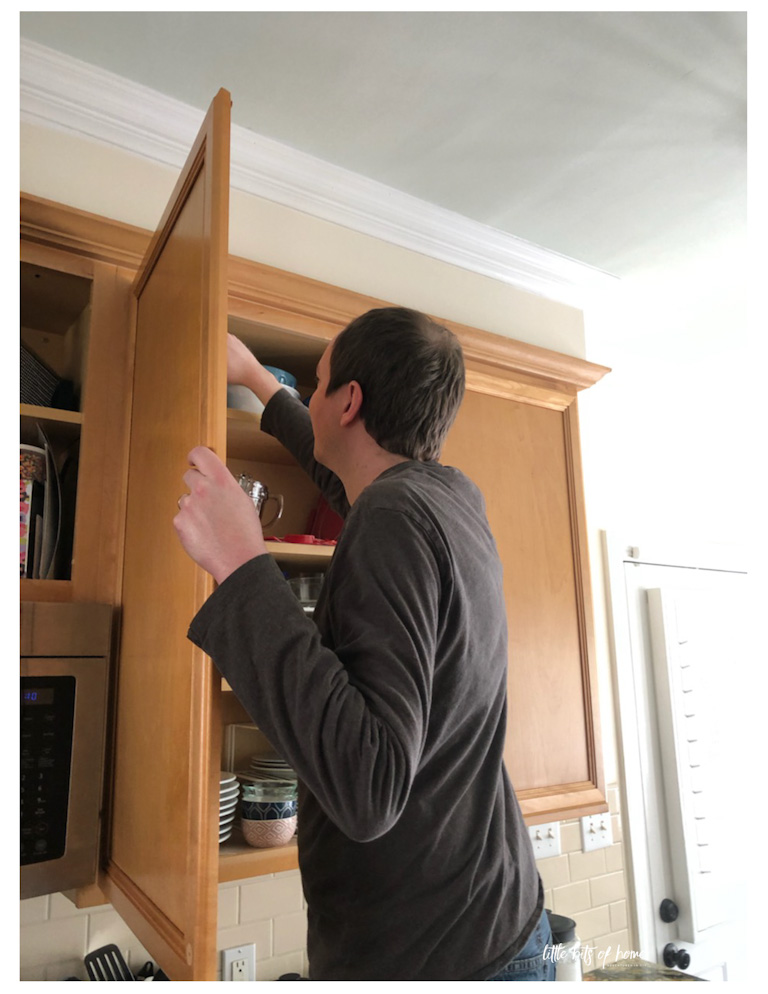
Step 1A- Realize your cabinets are a disaster and you won’t be able to stare at that mess for weeks, so decide to reorganize everything. No? Just me? 😉
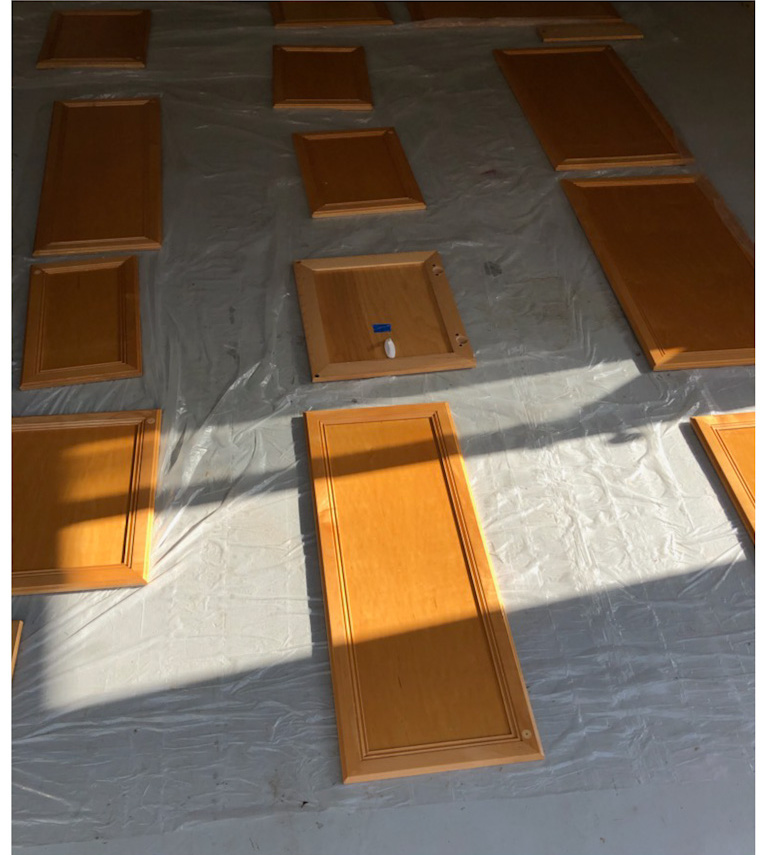
I laid all our cabinet doors out on painting tarps in the garage and stuck the cabinet labels under each cabinet door right on the tarp.
Step Two- Prep
It’s super important to prep the cabinets and cabinet faces well! I started by degreasing and cleaning everything really well. I used blue Dawn to clean with, but there were a few places where I wished I had a degreaser. If it hadn’t been the middle of a pandemic, I would have gone out and gotten this one.
After giving the cabinets a good cleaning, I deglossed the cabinets. The goal of deglossing is to avoid sanding and get rid of the shiny top coat so that the paint will stick to the cabinets well. Sadly, Sherwin-Williams was out of deglosser when I bought my supplies, so I bought a cheap deglosser on Amazon. It did not work well, so I ended up delossing and then doing a light sanding to really make sure I got the shine off the cabinets.
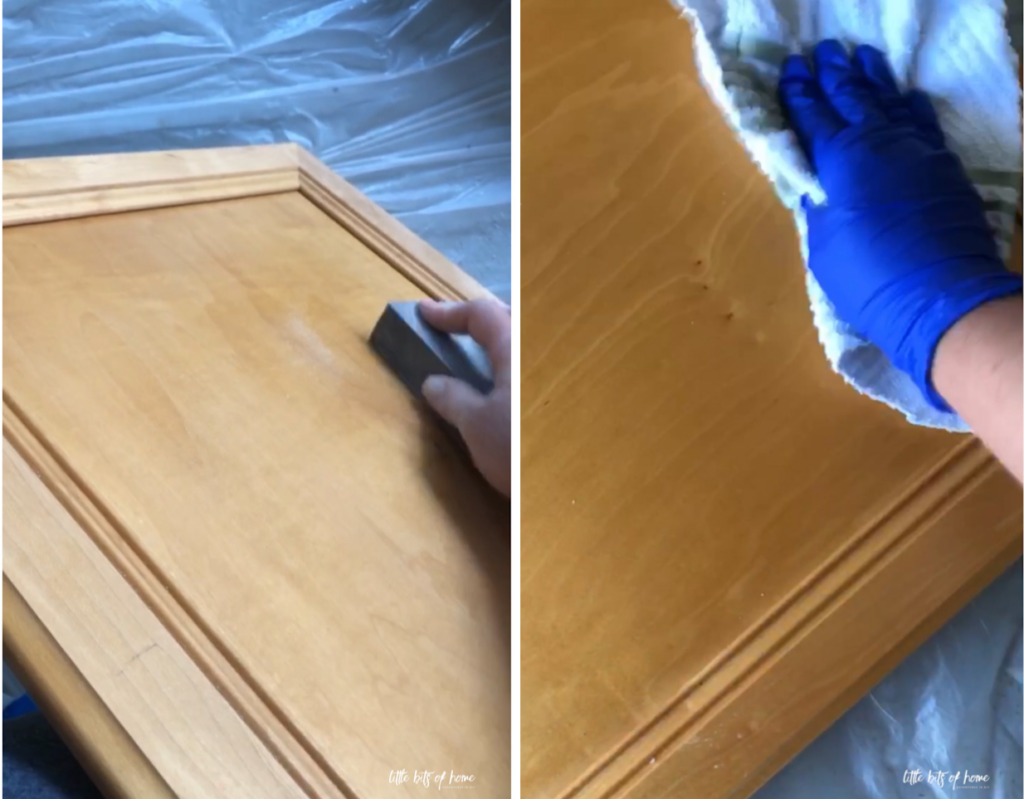
I was struggling to pour enough deglosser on my rag, so one trick I figured out was to pour some deglosser into an old plastic container and then dip my rag into it and wring it out well. It made the process go much faster and easier! I also highly recommend wearing gloves for this step.
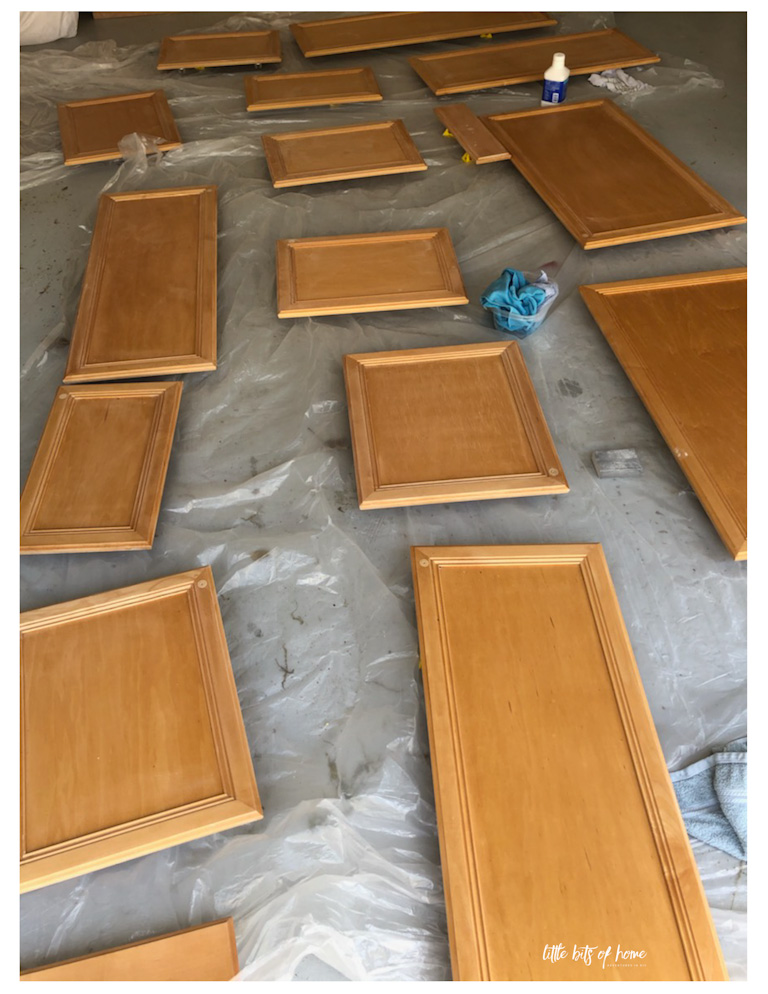
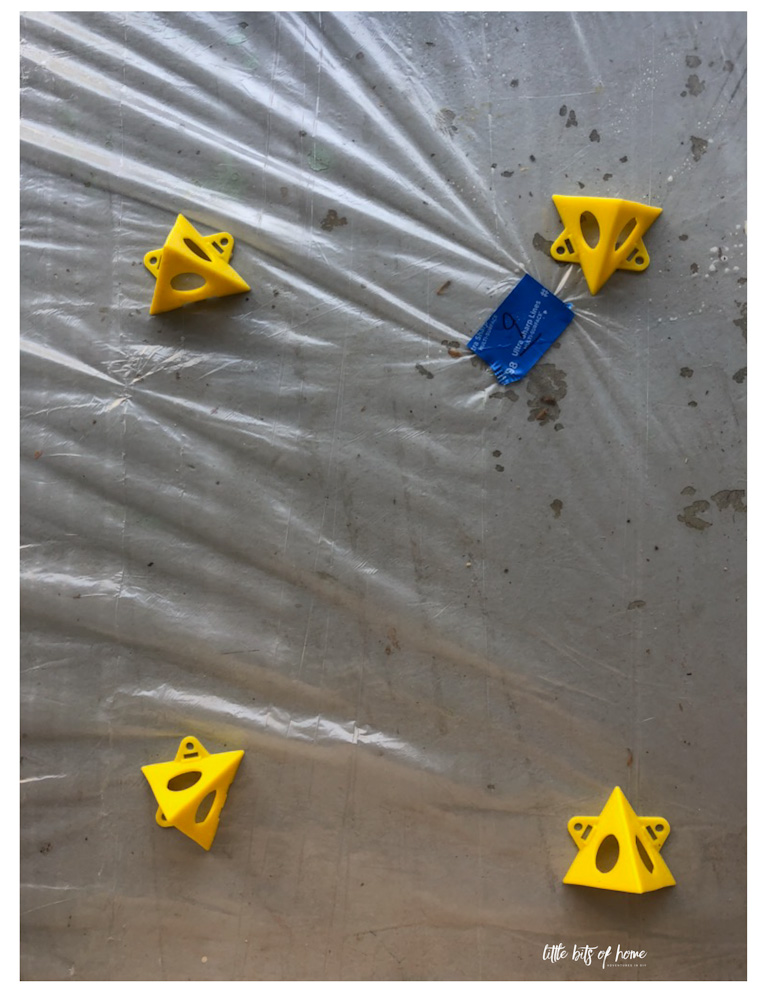
As I finished prepping the cabinets, I wiped them down with a damp cloth to make sure there was no sand or debris on them, then propped each door up on painters pyramids. Painters pyramids are perfect for keeping your cabinets off the ground and from sticking to the tarp! I found these on Amazon and was happy with them!
Last but not least, I taped off the kitchen using my favorite blue painters tape.
Step Three- Prime
Another super important step is to prime your cabinets well! I was planning to use an acrylic primer, but based on the age of my cabinets, the employee at Sherwin-Williams wasn’t sure what my cabinets had been coated with and therefore couldn’t recommend acrylic without testing a door. They did offer to test my cabinets, but I didn’t want to make another trip out for that, so I went with an oil based primer which would stick to any finish. Again, if we hadn’t been in the middle of a pandemic, I would have brought in a door to be tested. But, you can learn from me! Bring a cabinet door or drawer front to the store with you when you go and they should be able to test it and make sure an acrylic primer would be appropriate to use. Oil based paint is super thick and not my favorite to work with–I wish I could have used acrylic!
Regardless of which type of primer you use, I highly recommend a good quality product! Don’t cheap out on this step. This is what will help your paint adhere well to the cabinets and keep any wood grain from peeking through.
The one good thing about primer is that you get to just slap on one coat and call it done! I used an old brush and cheap roller that I could throw away afterward so I didn’t have to use mineral spirits to clean them out. You could also use cheap foam brushes for this step!
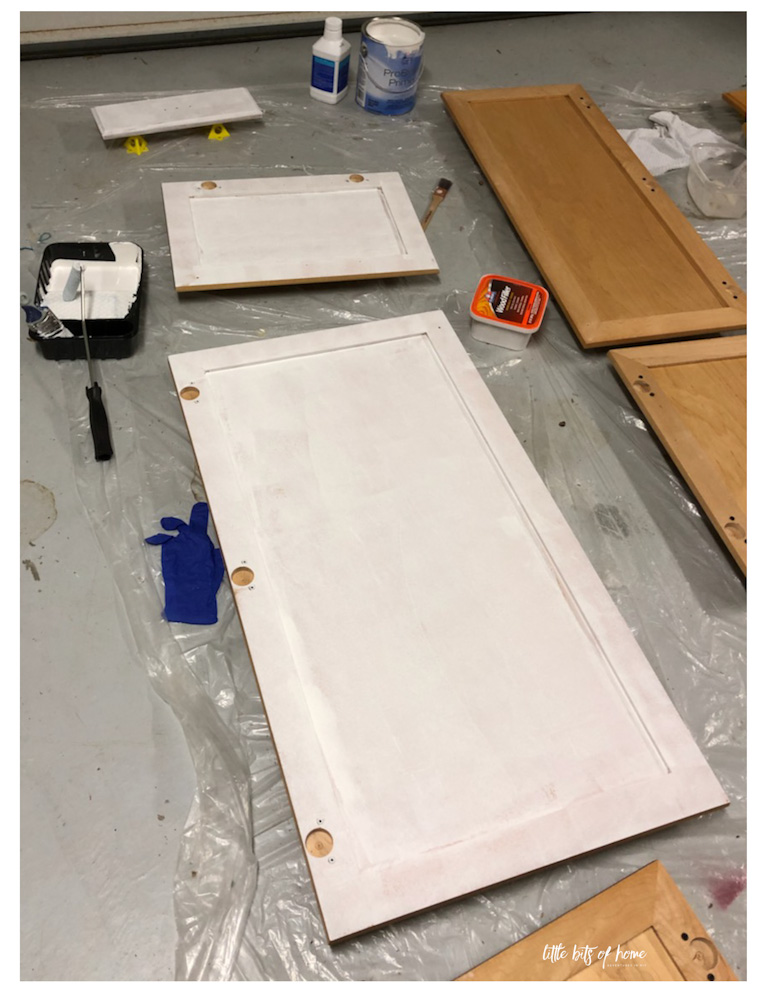
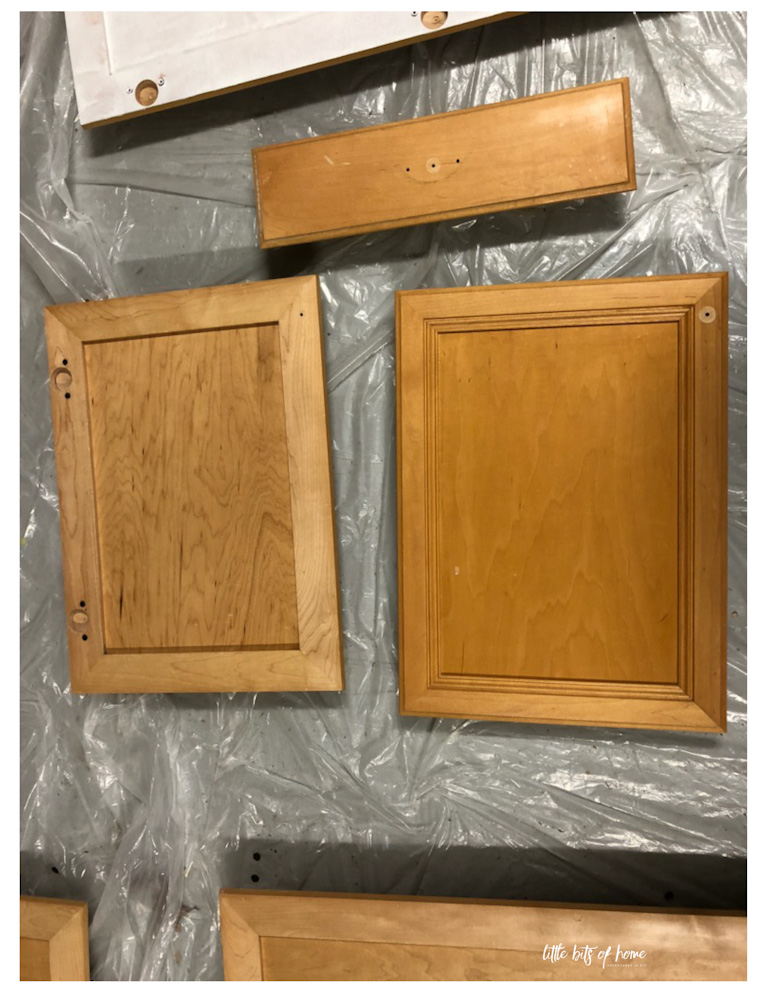
Quick side note, look at the difference in the color between the front and the back of the cabinet doors! The back is what the cabinet doors started out as and the front shows how much they had ambered over the years. And this is after I had already deglossed and sanded! Yikes!
All primed and ready to be painted! 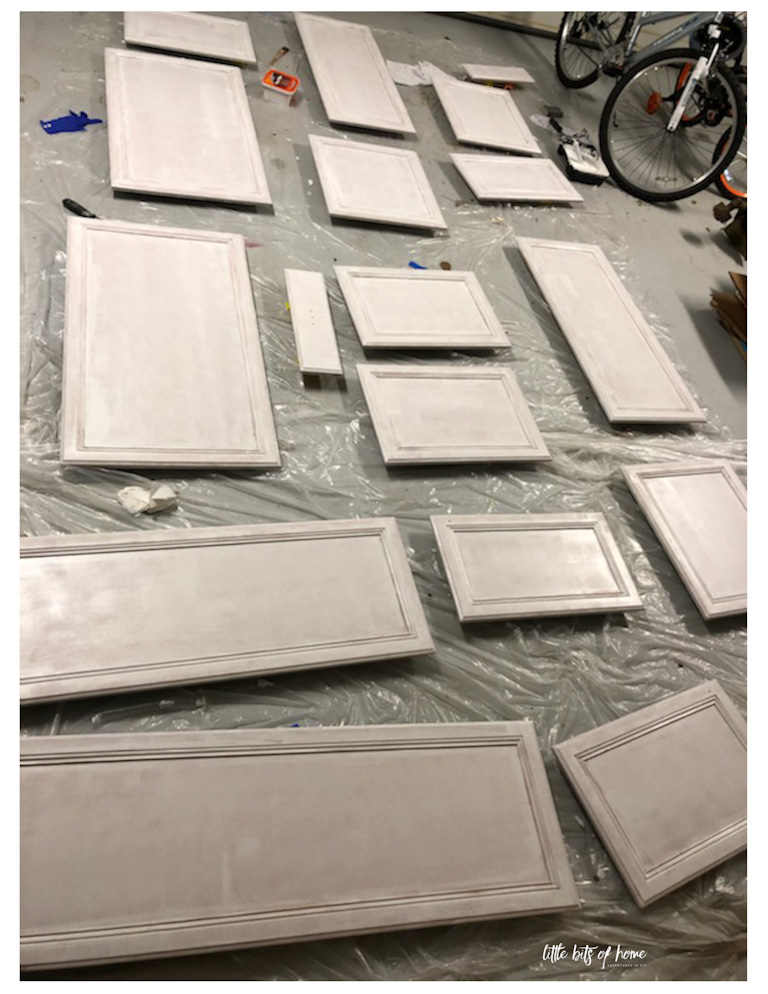
Step Four- Paint
Finally! Time to whip out the cabinet paint! Hooray! I used Sherwin-Williams Emerald Urethane paint in the color Pure White and I really loved the formula! It has great coverage and levels out beautifully! I went with a satin finish because the light streams in from both sides and I didn’t want a ton of brush strokes to show. I love the sheen, but if you don’t have so much angled sunlight, I’d recommend a semi-gloss finish for superior cleaning.
I really wanted to buy a paint sprayer for this project to get the smoothest finish, but it was not in the budget, so I made do without one. If you’re in the market, I’ve heard so many amazing things about this sprayer! I made sure to get the brush and roller Sherwin-Williams recommended for this type of paint and they worked out great, though! You can find the brush here and the roller here.
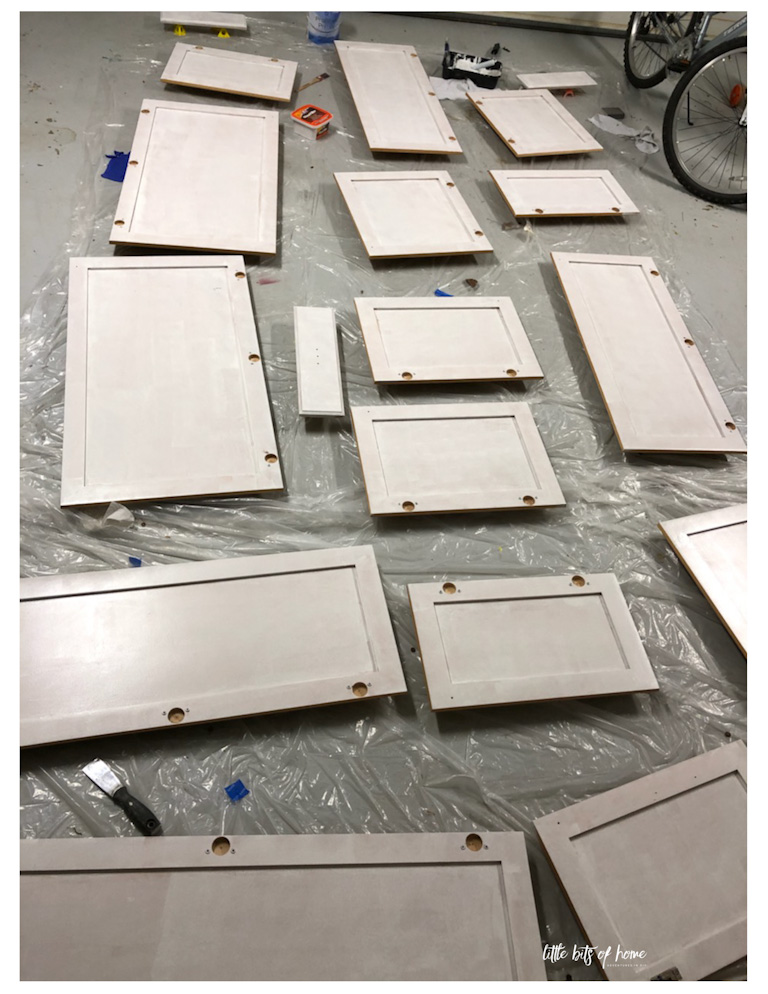
For each door, I brushed on the detailed area, then immediately went in with a roller for the flat portions and the sides. It’s recommended to leave four hours between coats, so I did one coat early in the day, then went back for a second coat later in the day. I did the back sides of the doors one day and let them dry overnight before flipping them over to do the front sides.
The cabinet faces were a chore with all that cutting in, so I split up the coats over two different nights. 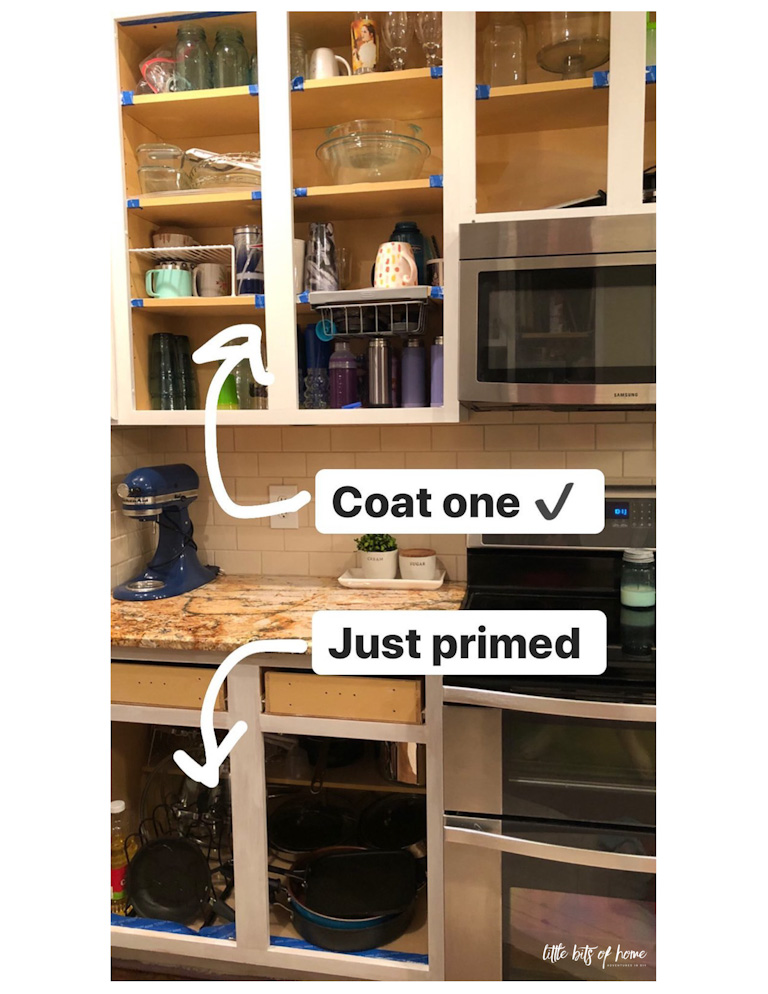
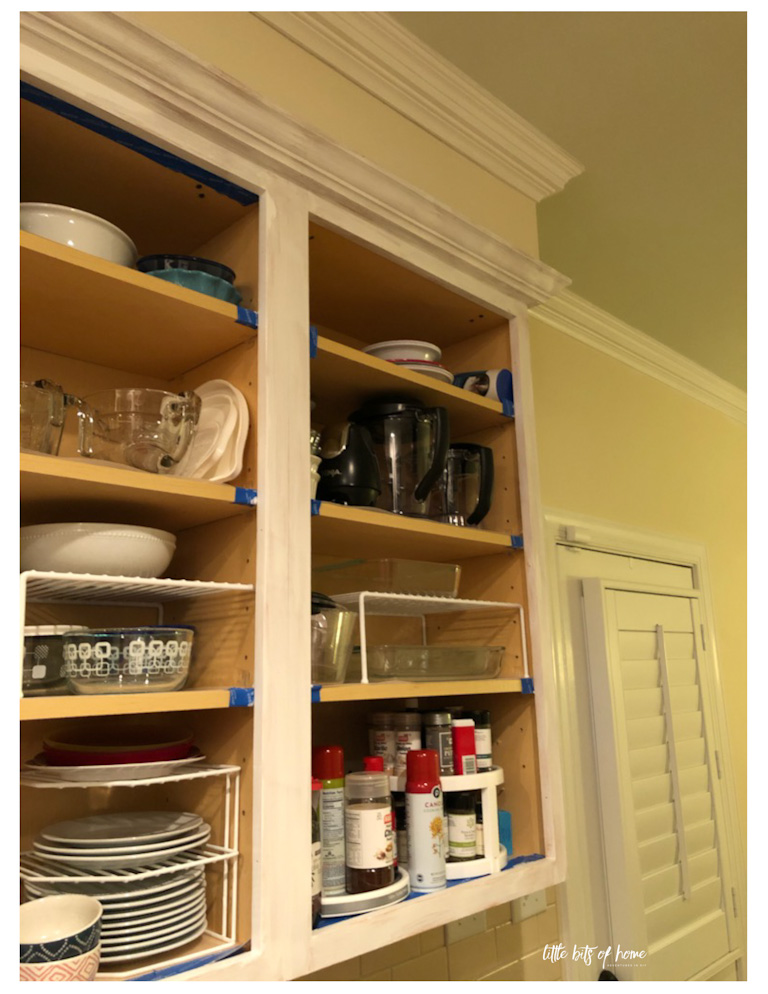
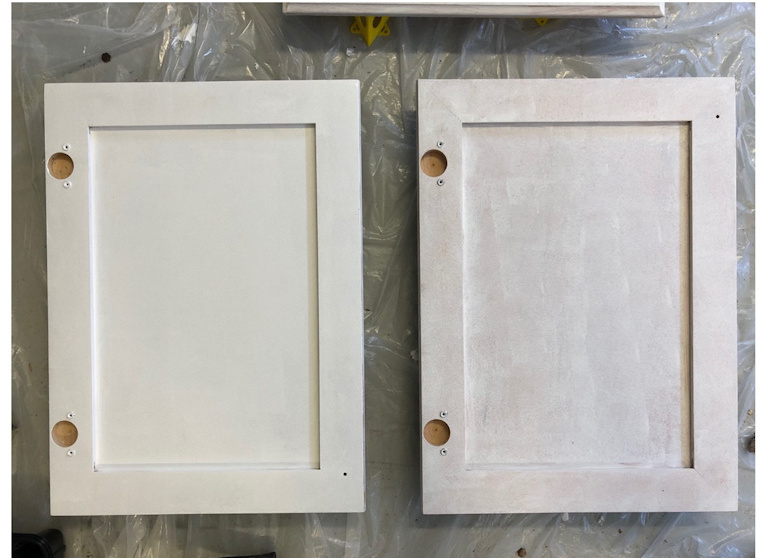
You can really tell the difference between the primer (right) and first coat (left)!
And the coverage you get on the second coat is amazing!
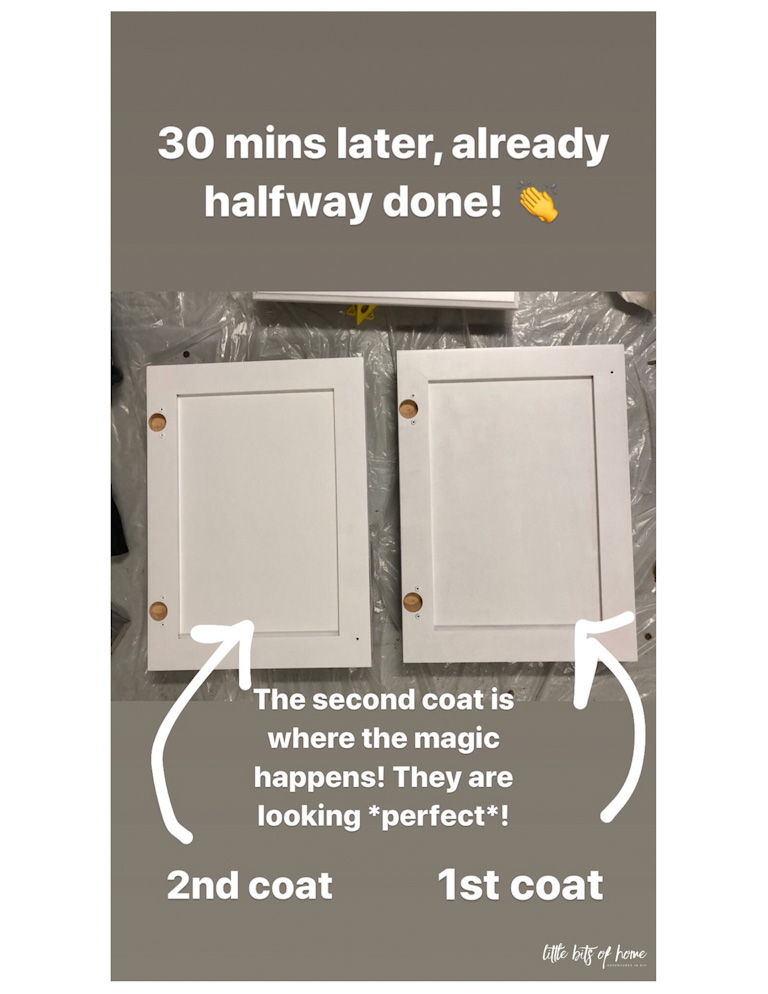
I only needed two coats on the back sides of the doors and the cabinet faces. But, I did go through and roll the flat spaces on the fronts with a third coat to achieve the best coverage. I did the same for the sides of the cabinet boxes where there was just a lot of cabinet to cover.
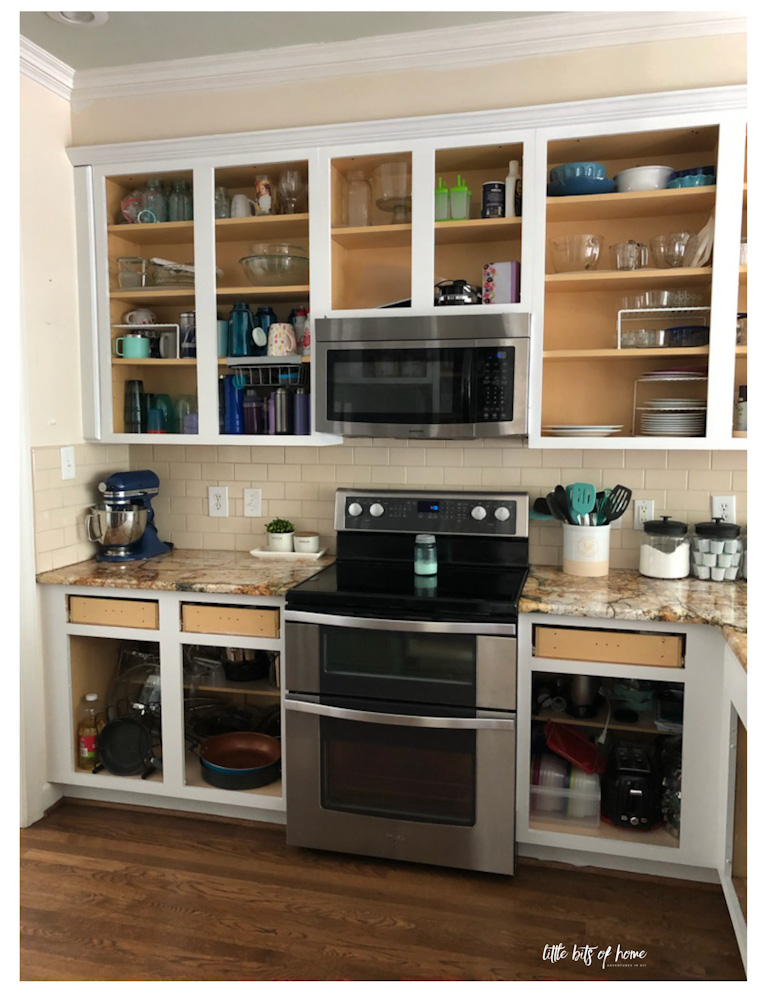
Step Five- Reassemble and Touch Up
Best part of the project…reassembly time! It took us a while, but we got our cabinets hung back up and the hardware put back on! Thankfully, the Emerald Urethane paint does not need additional polyurethane. So nice! To protect our cabinets from slamming, I added new cabinet bumpers to the insides. I found these on Amazon and am happy with them! I also went around and touched up any spots that weren’t perfect for the finishing touch.
It was a lot of work, but man, when you step back and realize the transformation, it’s SO worth it!
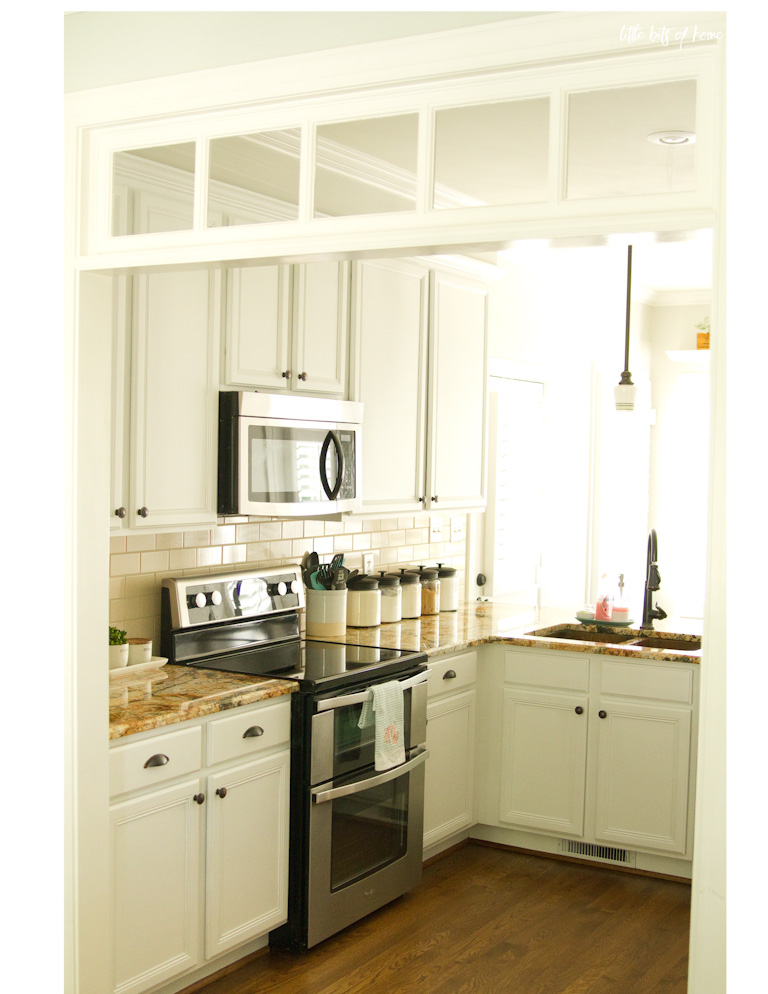
I hope this was helpful! I also posted about every step of the way on stories over on Instagram, so check out my Kitchen Phase 1 highlight bubble over there to see more! To shop more painting products, check out the Products I Love tab. Let me know if you have any questions! Have a great weekend, Friends!

I have just found your site and want to finally get all those jobs that have needed doing or finishing off like the stairwell painting thanks for the tips. Also kitchen cupboards wow that was such a transformation its amazing what you can do. Cant wait to get started. Thanks again, keep up the good work 😁
Thanks for the kind comment! Good luck with your projects!
really nice job. i’m looking at this same paint and same color for our doors and trim, also in the satin finish. Most people online seem to think the satin is dull and chalky…is that your experience? In general i’m not a huge fan of glossy paint and prefer the look of satin. Thanks!
Thanks! I would definitely go with a semi gloss finish for doors and trim. I used same color in that semi gloss for my doors and trim and find it to have some shine without being overly shiny. The satin has almost no shine to it and does feel a bit chalky to the touch. I am happy with it on our cabinets, but I don’t think I’d do that sheen if I was doing it over again and definitely would go up to semi gloss for trim. Hope that helps! 🙂