*Affiliate links provided in italics for your convenience. For more info, see my full disclosure.
It’s been a hot minute since the last office update! But, we’ve been busy busy busy behind the scenes!
After Jeremy finished installing the shiplap, he passed the construction baton to me and I began the caulking marathon. I worked on it an hour or so per day when I could sneak away from the house. It was such a nice, quiet escape, if I’m being completely honest, from listening to two kids on virtual school and Jeremy on calls all day. Haha, oh pandemic life…
It took me over a week to finish caulking! Caulking shiplap is the least fun thing ever. I need to do a quick follow up post to show you how to do it if you are interested! I used this extreme stretch caulk that I’ve been using for a while now and it does a great job not cracking with changes in temperature.
I shared a couple progress videos on Instagram, but other than that, the progress looked minimal so I have no pictures for you. Instead, I’m scattering the reveal pictures throughout the post. Sometimes I wonder how I’ve made it as a blogger for nine years when I pull stunts like this. No progress pictures? Geez. 😉
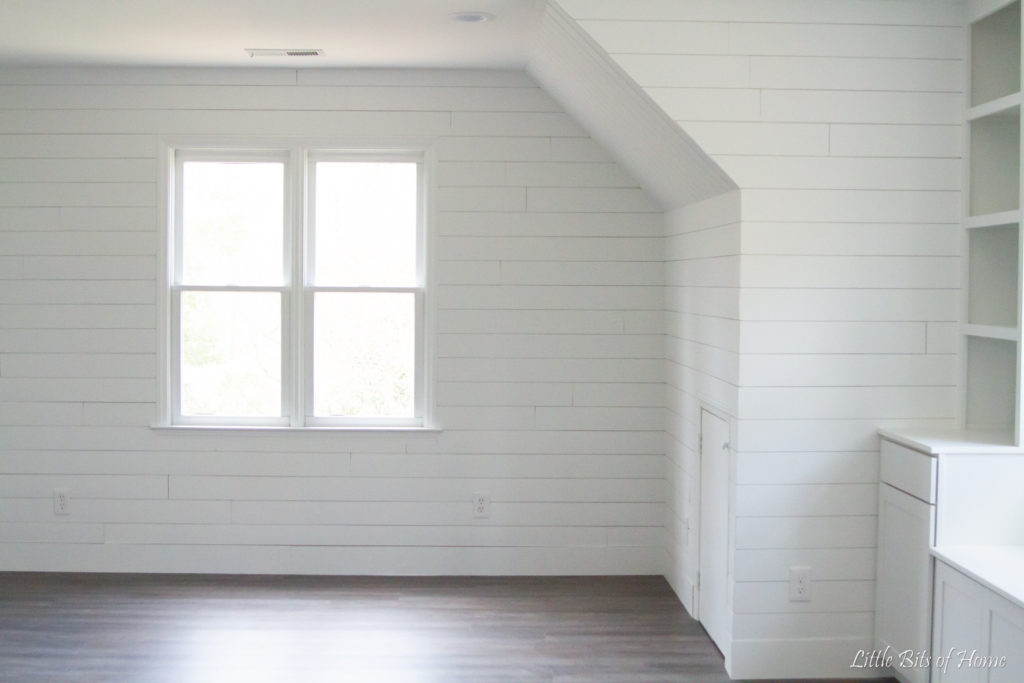
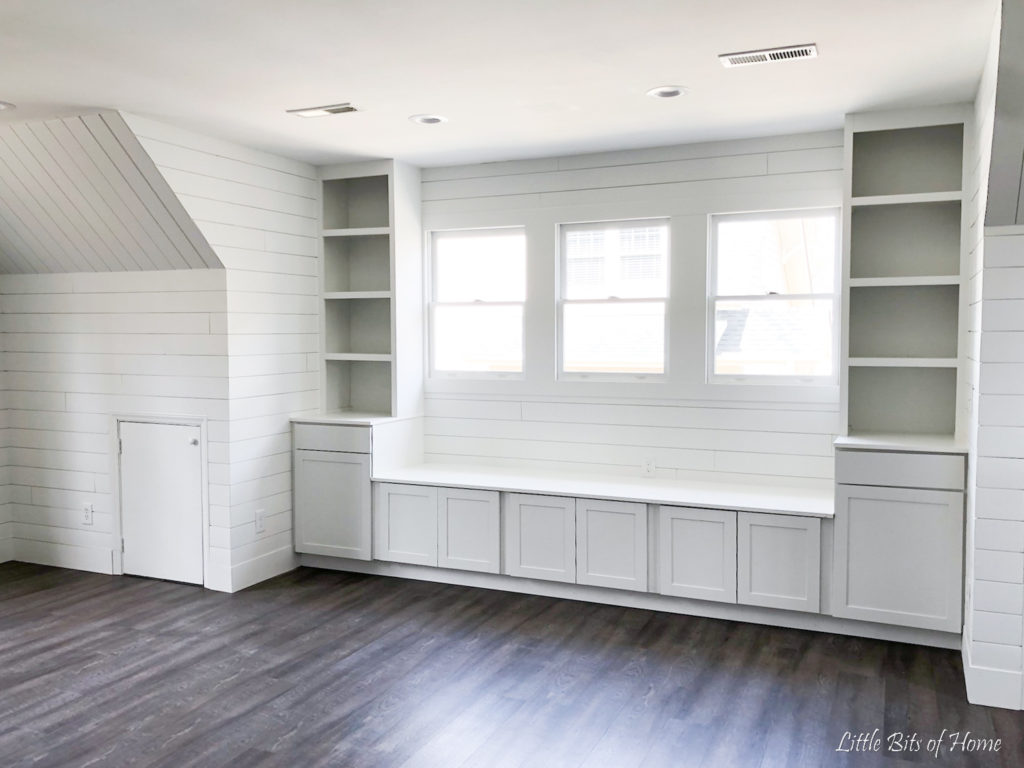
Once all the caulking was finished, we sanded down all the wood filler covering the nail holes and gave the built-ins a good sanding. Then, it was paint prep time. Jeremy vacuumed the seams to removed any sawdust and I went behind him with a wet towel and cleaned all the walls. Finally, it was time to paint!
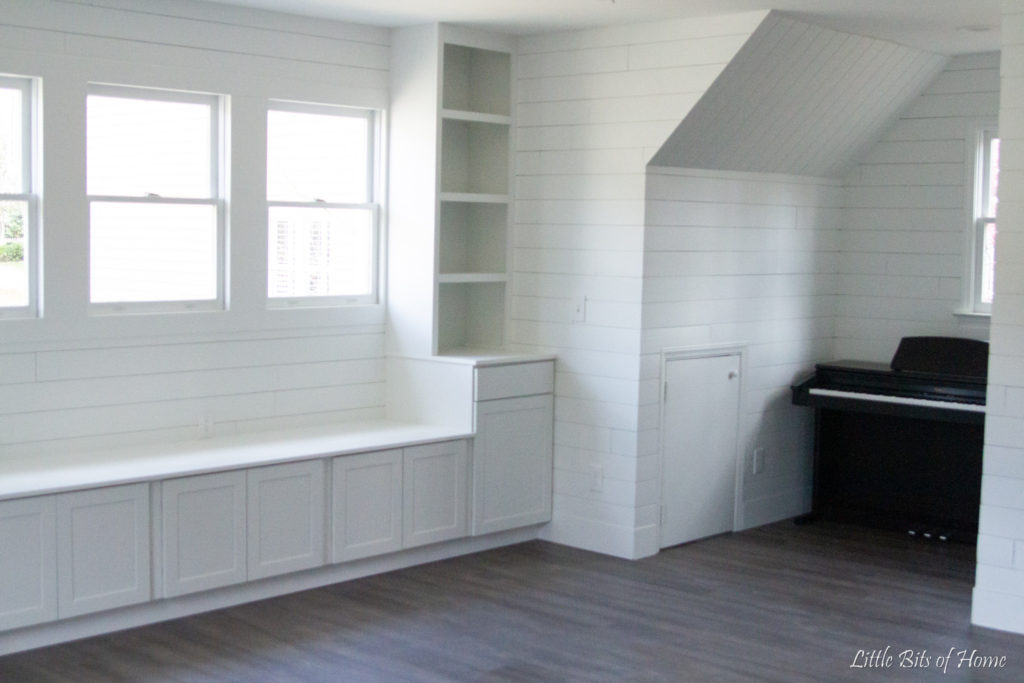
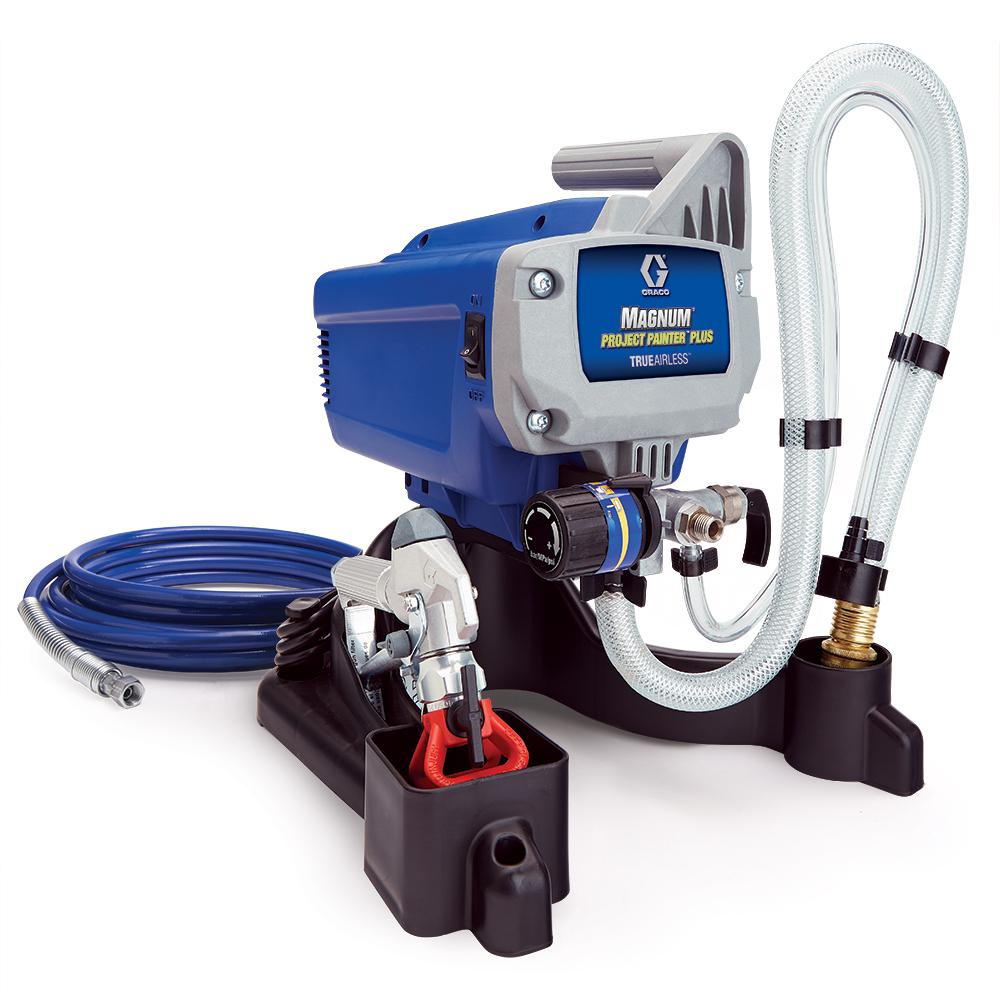
After painting shiplap multiple times now, I was fully aware how time intensive it is. To get the best look, you really need to brush the seams before rolling the paint across the boards. The thought of doing that for such a large space was overwhelming! We decided it would be worth it to get a paint sprayer. We also need to stain our fence, so knowing we had at least two large projects coming up, we decided to go with an airless Graco sprayer. I really wanted an airless sprayer that did not require watering down the paint and I liked that this Graco sprayer connects directly into your paint can so you’re not refilling it constantly while doing a large job.
The sprayer requires a set up and clean up process that are easy enough, but they do take some time. Not to mention, it took a couple hours to properly tape off and tarp all the windows, floors, and cabinets to prep for the paint. But, the actual painting part was so quick! I did the first coat in about an hour and the second coat in less than an hour! How awesome is that?! The finish is gorgeous! It’s soooooo smooth and the paint went into all those seams like a breeze. Totally worth the investment and frustration of learning a new tool!
I watched this video a couple times to get a feel for how to operate my sprayer, as manuals are usually gibberish to me. #visuallearner It was super helpful! If you’re looking for a smaller airless sprayer, I’ve heard good things about this Graco one. It’s less intense than the one we got, but still airless and would be great for smaller jobs.
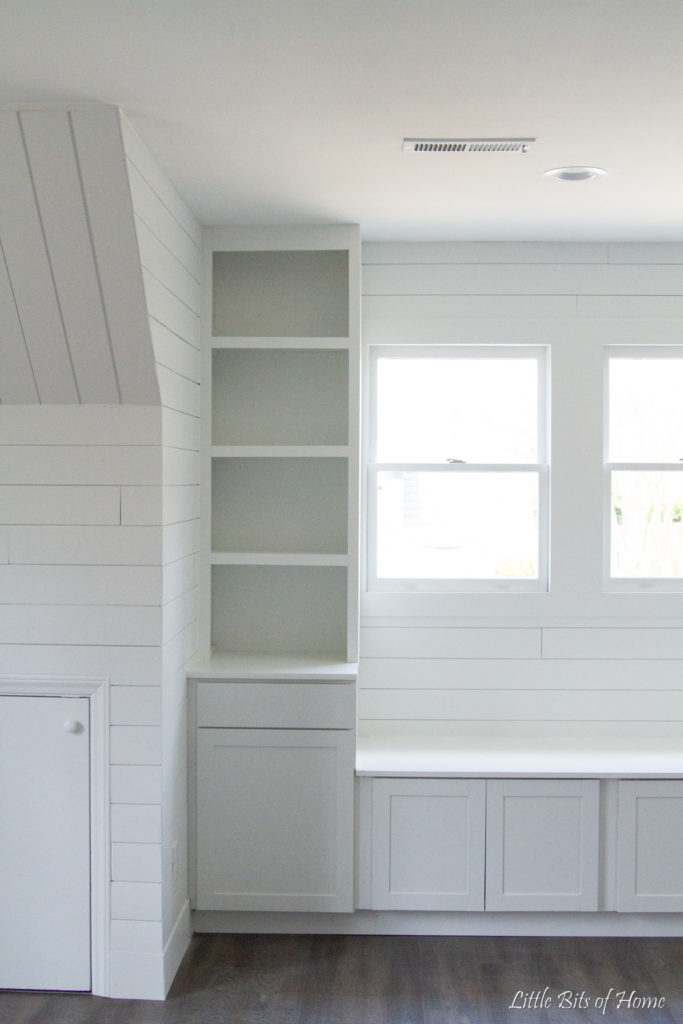
For paint, I went with Sherwin-Williams Pro-Classic in Pure White. It’s the same color as our kitchen cabinets and trim, so I figured if there was any leftover paint, I could use it to continue painting trim in the house. I used a gallon and a half of paint on the first coat (!!!) so Jeremy had to run out and grab more paint for me while the first coat dried. All told, I ended up using a full three gallons of paint for this room! Geesh!
Once I peeled all the tape and tarps off the next day, I was amazed at how transformed the room looked! Jeremy’s face after seeing it painted was the best. He was legit impressed with my paint job and so excited about how the room was shaping up!
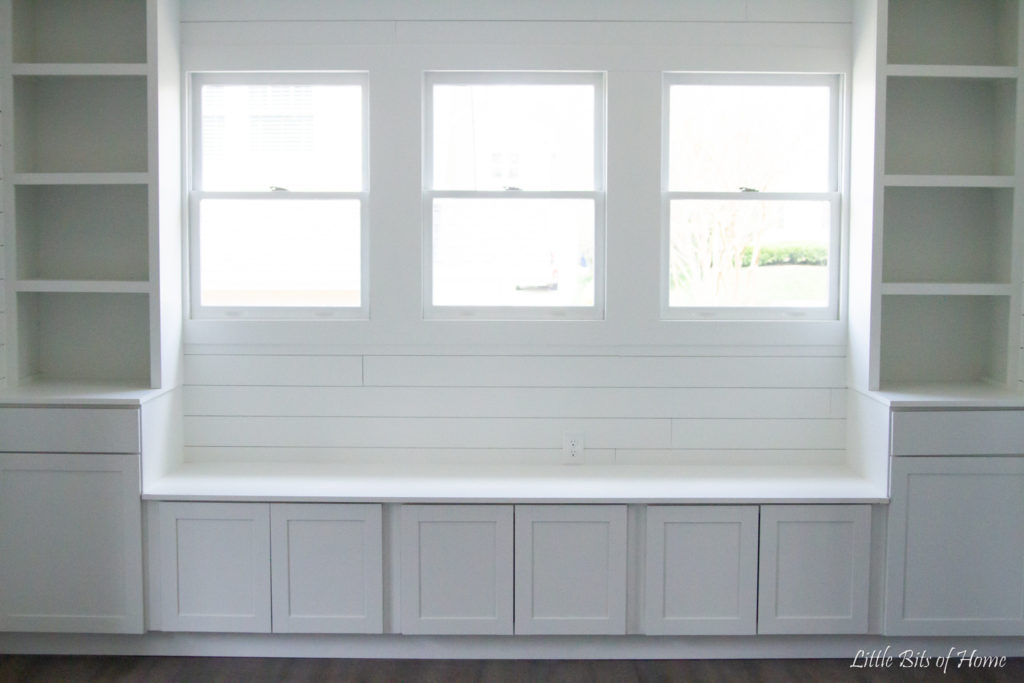
The last part of construction was finishing the electrical work. Our electrician came out and finished installing the outlets, recessed lighting, and exchanged our closet light from a fluorescent light to an LED light. With all the lightswitches and outlet covers on and no more dangling wires, the room was really shaping up!
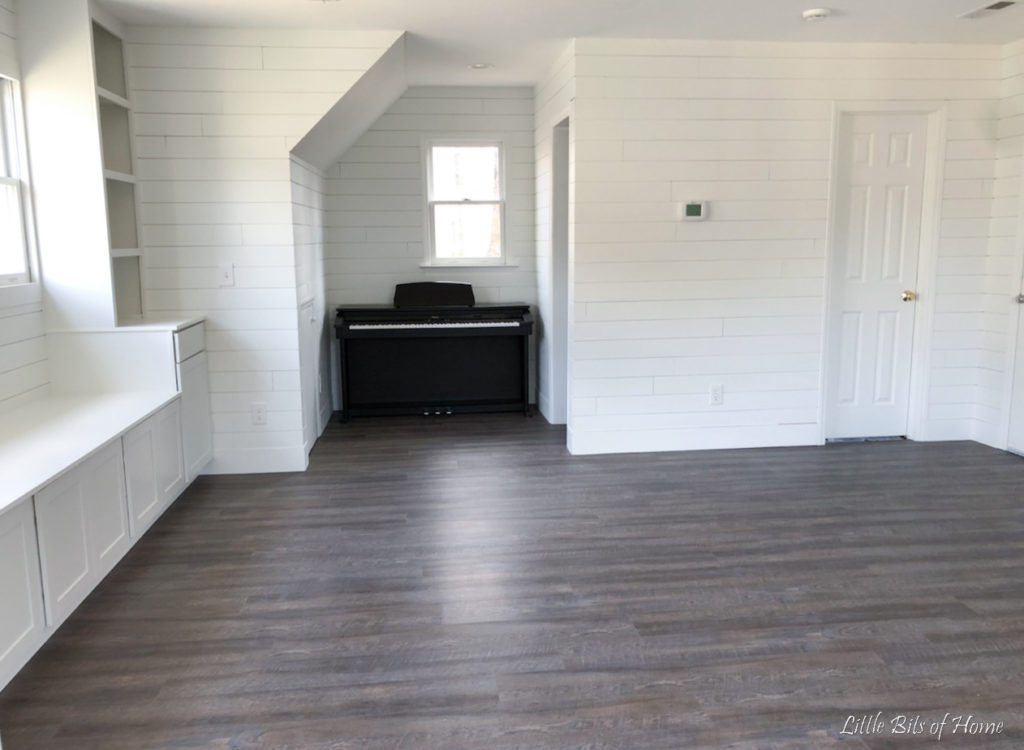
For the final touch, I decided to paint the window tracks because the plastic was yellow/brown and ruining the bright white vibes. I hadn’t sprayed them because I was originally afraid to paint them and glue our windows shut. Glad I got up the nerve to paint them, though, because they look so.much.better painted! After they dried, I ran a razor along the track lines to break the paint seal and was able to open and shut the windows just fine. Whew.
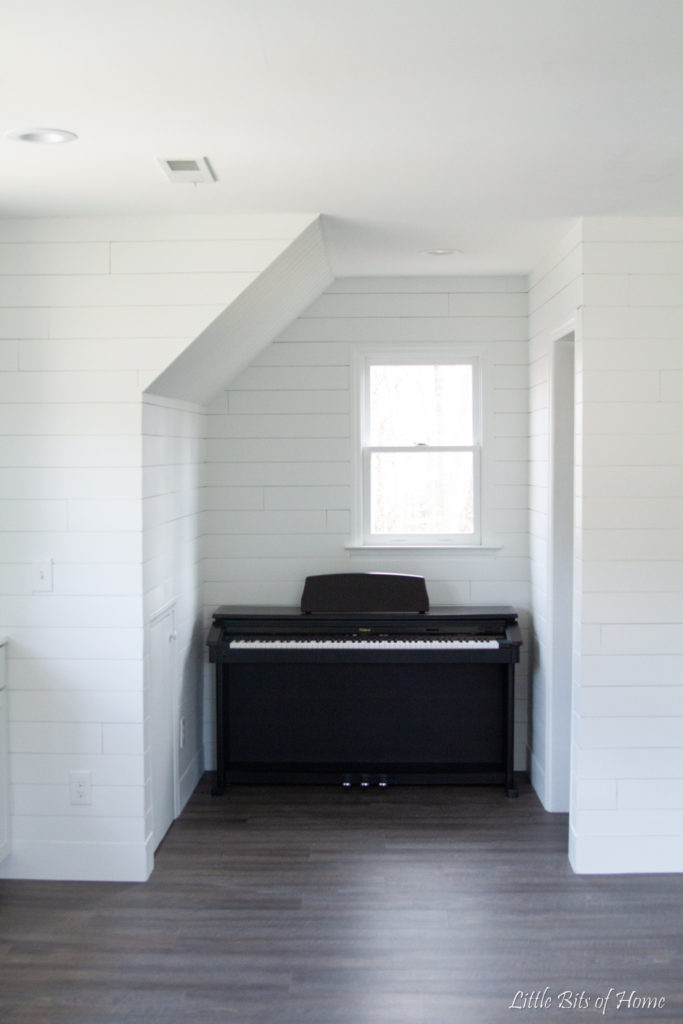
I need to trade out the doorknobs and hinges, but we still need to do the bathroom, so I’m waiting until all that construction is over to install those. We also need to install the hardware on the cabinet doors and drawers, but other than that, the office is done!
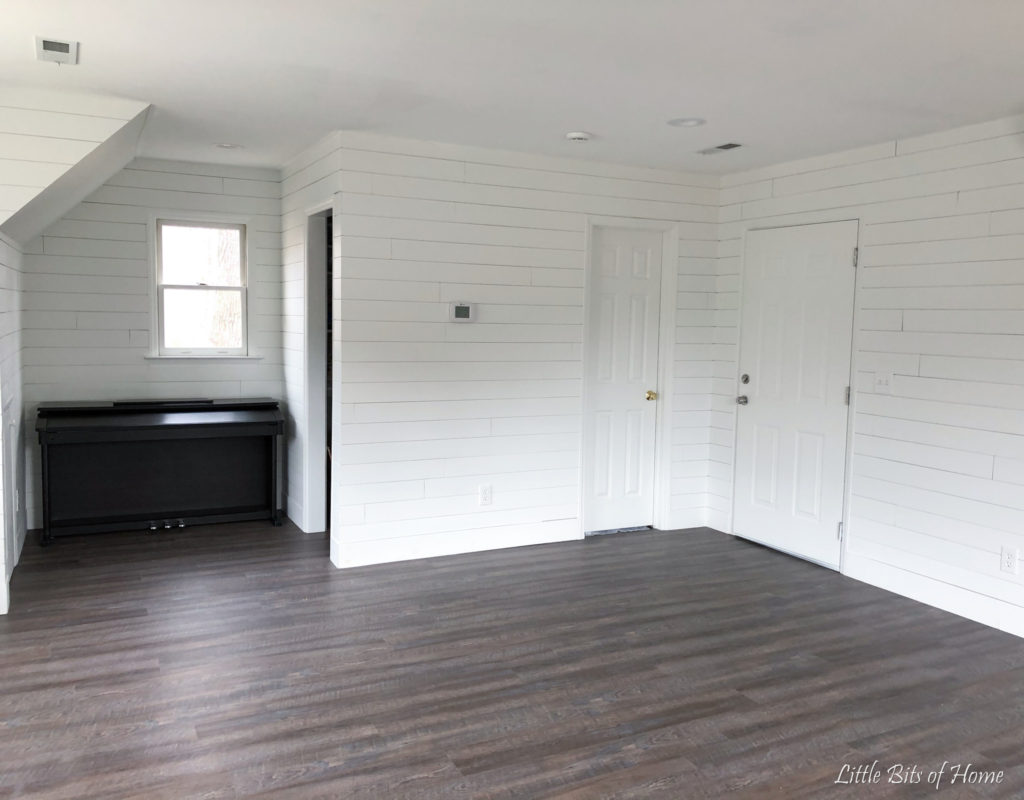
We moved back in over the weekend and it felt SO FANTASTIC to clear all that stuff out of the garage! The mess in the garage was making us both twitchy. Because of the pandemic, some of the things we ordered for the space are delayed, so I’m trying to be patient as I wait to finish decorating and furnishing the room. The couch has shipped, but won’t be here for a couple weeks, and the decor has been slowly trickling in. But, Jeremy’s desk is set up and he’s able to work in his office once again! Yay!
Have a great rest of the week, Friends!

Amazing work! That sprayer sounds like a dream. Not having to fill a paint container to spray is a game changer. Im looking forward to seeing it all furnished!